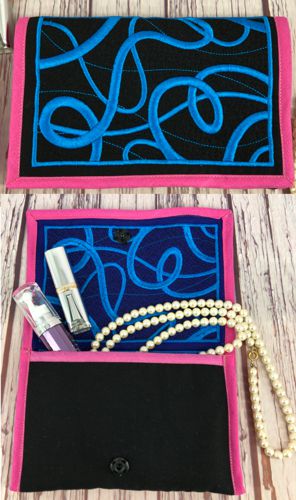
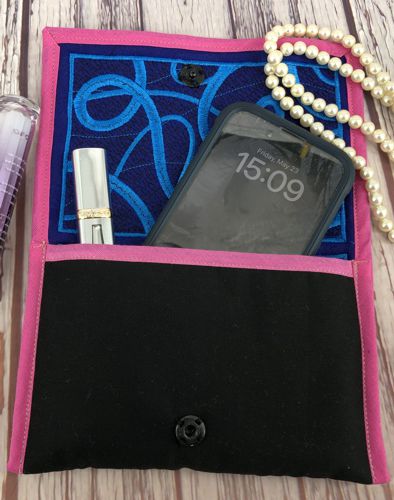
This tutorial walks you through creating an Embroidered Mini Purse. You’ll learn how to embroider a decorative design and sew a functional purse or wallet. The steps combine machine embroidery with basic sewing techniques to craft a compact accessory. It’s ideal for beginners or those looking for a fast, creative project. Follow along to make a stylish purse perfect for holding essentials like makeup or small items.
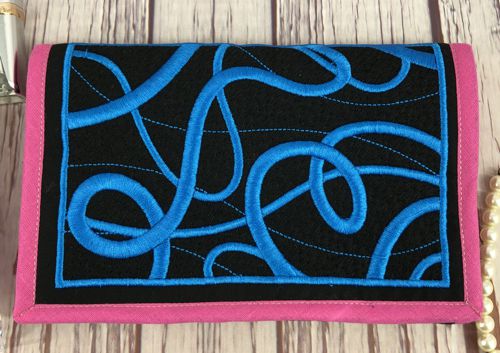
We used designs from the Art Nouveau Decorative Panel Set.
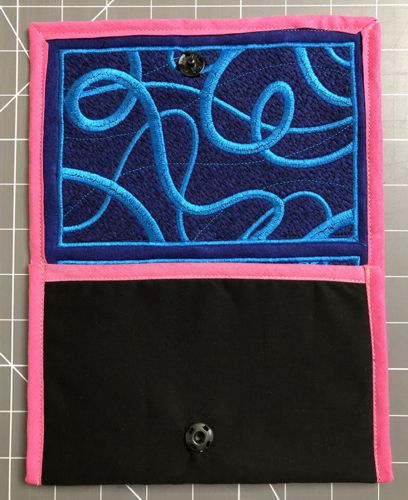
The finished size of the purse is about 8"W x 5"H. |
|
You will need :
- embroidery threads (the choice of colors is yours),
- a piece of solid cotton fabric (again, the choice of color is yours);
- a piece of colored polyester craft felt (it will work both as a stabilizer and the lining);
- bias tape of matching or contrast color.
|
You will also need:
|
- quilter's ruler;
- rotary cutter and/or scissors;
- tailor's colored chalk pencil or disappearing fabric marker;
- iron;
- #12 and #16 universal needle, and sewing thread;
- sew-on snap 1/2" large;
- printer (optional).
|
Embroidery:
|
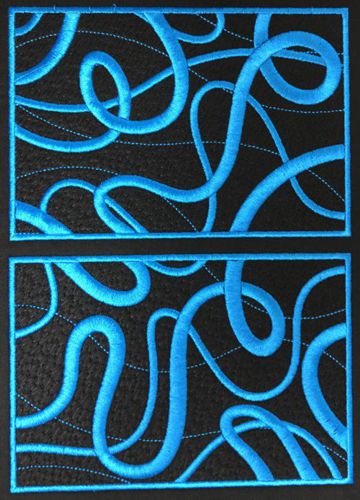
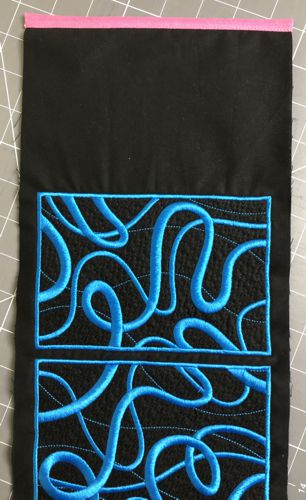
Stabilize the piece of fabric with polyester craft felt. Hoop tightly. In the center of the piece embroider 2 panels, with the distance of about 1/2" between them.
|
|
Cutting:
|
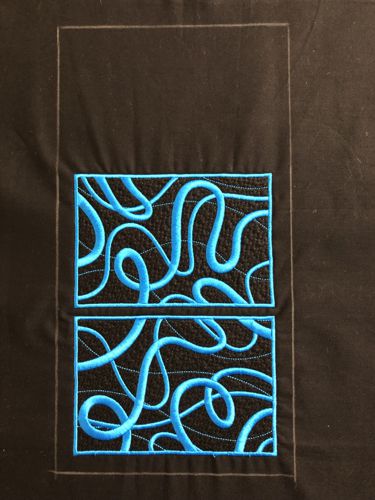
| After the stitch-out is done, measure 1/2" on the left and right sides of the embroidery, draw straight lines. Measure 1/2" on the long side of one of the embroidered panels and 5" on the long side of the other panel. Draw straight lines. |
|
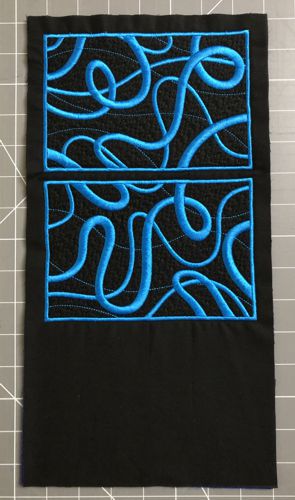
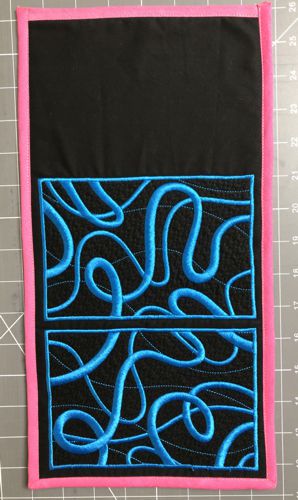
| Cut out the working piece along the drawn lines. |
|
| Assembly: |
| Finish the raw edge of the blank panel with the bias tape. |
|
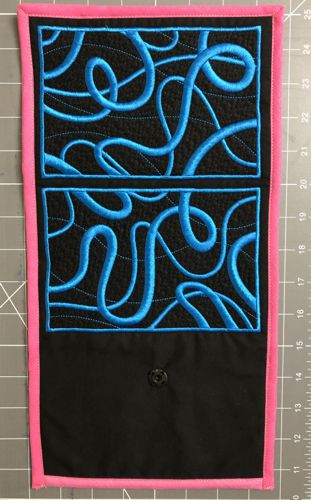
| Finish all edges of the purse with the bias tape. |
|
| Sew the "female" part of the snap to the blank panel: approximately 1 1/2" from the embroidered panel and equal distance from the sides. |
|
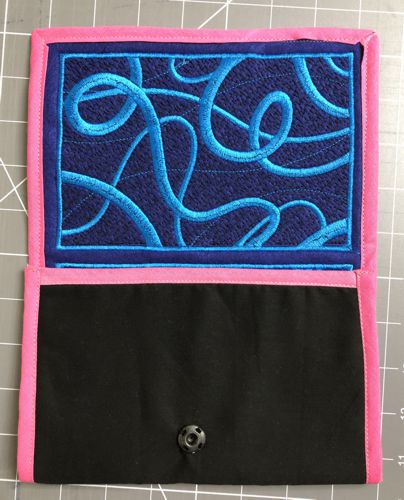
Fold the blank panel onto the embroidered panel, wrong sides together. Align the sides. Topstitch the sides together through all layers.
|
|
| Sew on the "male" part of the snap to the wrong side of the embroidered flap. |
|
You're done!
|
|
|
| Have fun! |
|
Back to Art Nouveau Decorative Panel Set
|
Back to Projects Page
|


