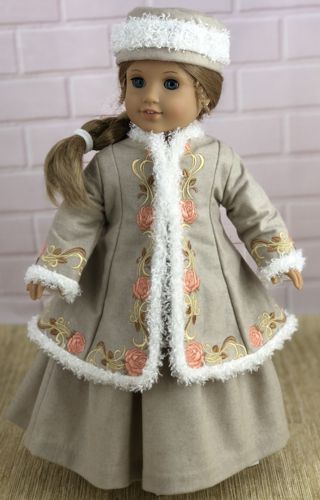
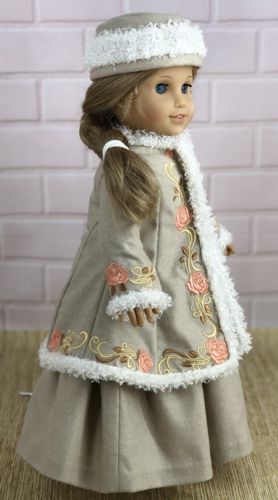
These are instructions on how to embroider and assemble the files from the Winter Coat for Dolls Set.
The coat is designed to fit 18-inch dolls with a soft body, such as American Girl, Our Generation, and similar dolls.
|
|
For the coat you will need:
- embroidery thread, either polyester or rayon (you choose the color),
- about 1/2 yard of solid-colored fabric, such as light-weight wool, wool-polyester blend, thin fleece, etc.,
- light-weight cut-away "no-show" mesh stabilizer,
- small amount of low loft faux fur on stretch base (alternatively, you can use a bias tape for a spring look),
- 2 hook and loop closures,
- scissors,
- sewing pins,
- sewing threads of matching colors,
- iron,
- #12 universal needle.
|
Embroidery:
|
Upload the files into the embroidery machine.
Hoop the fabric with light-weight cut-away mesh stabilizer. Embroider each file.
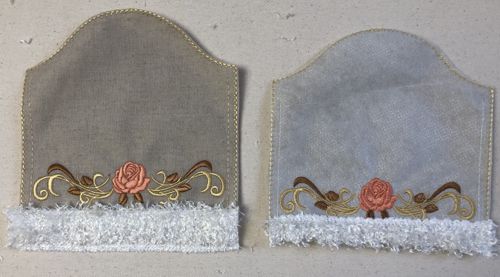
Neatly cut out each stitch-out.
DO NOT remove the stabilizer. No-show mesh stabilizer stays and works as the lining of the coat.
|
|
Assembly:
|
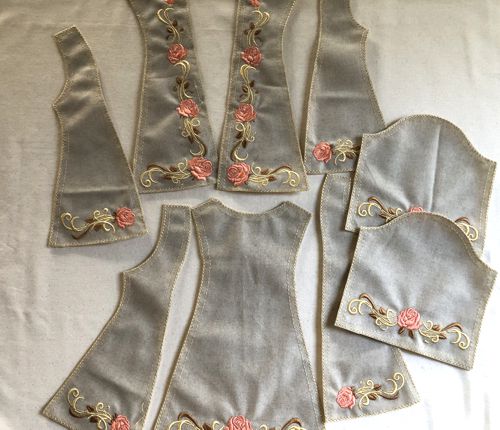
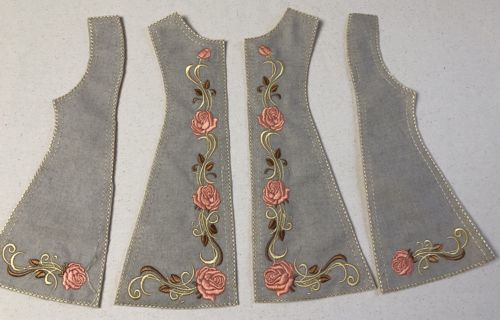
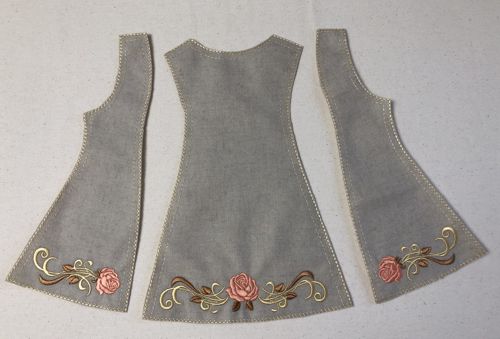
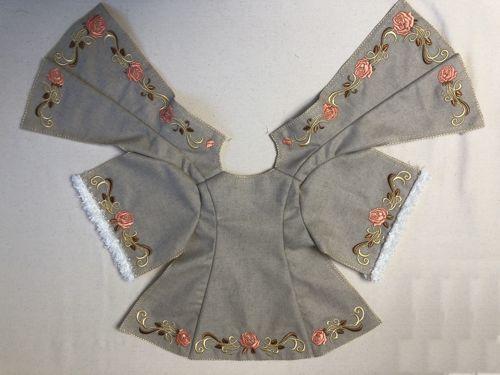
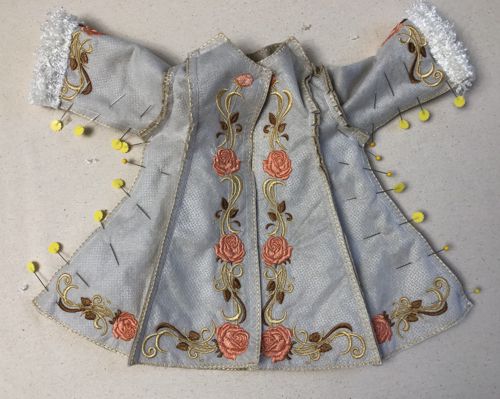
Prepare all 4 parts for the front of the coat.
|
|
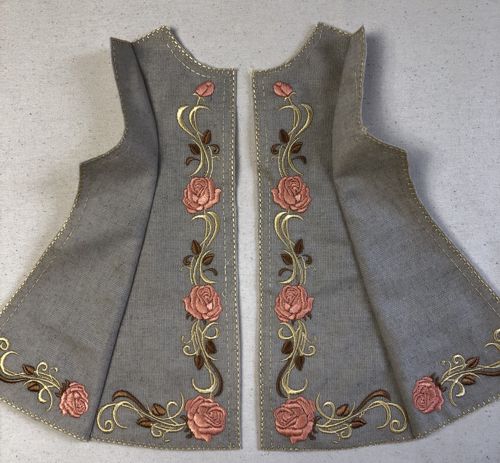
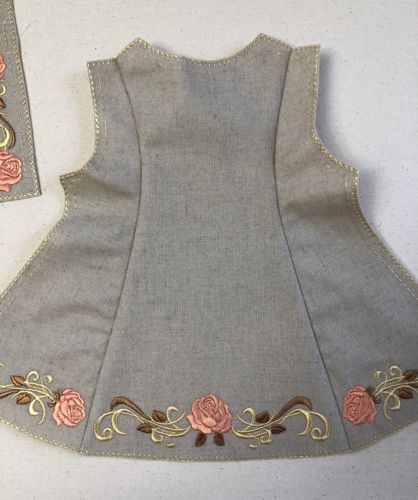
Pin the front sides to the fronts. Baste. Stitch. Clip the curves and press the seam allowance to the sides.
|
|
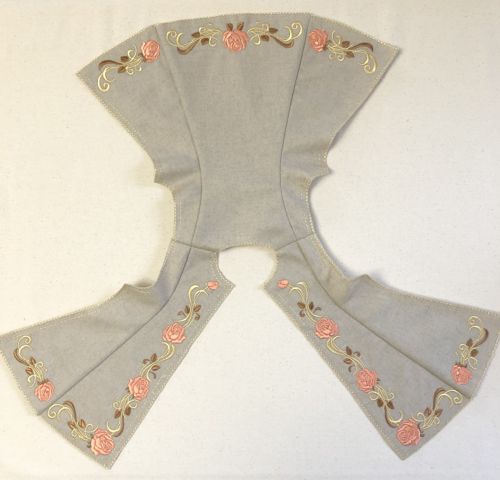
| Prepare 3 parts for the back of the coat. |
|
| Pin the sides to the central part of the back. Baste. Stitch. Clip the curves and press the seam allowance to the central part. |
|
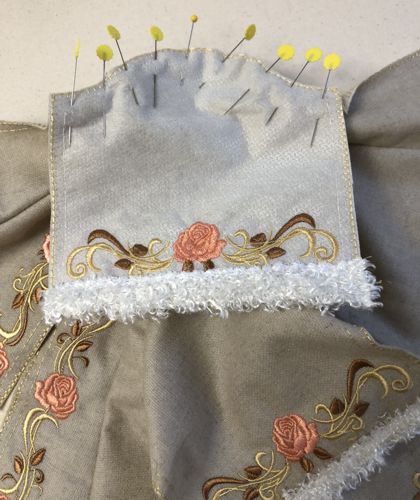
With right sides together, pin and sew the shoulder seams.
|

|
| Press the seams open. |
|
Sleeves
|
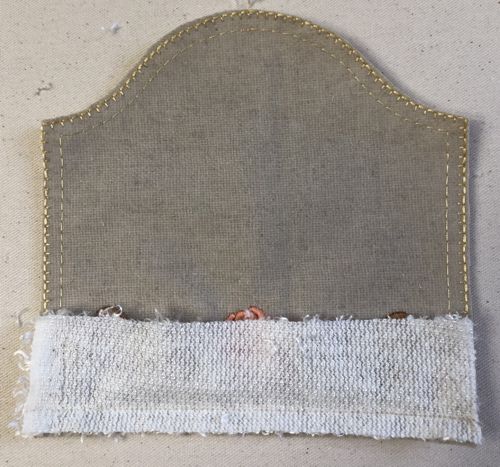
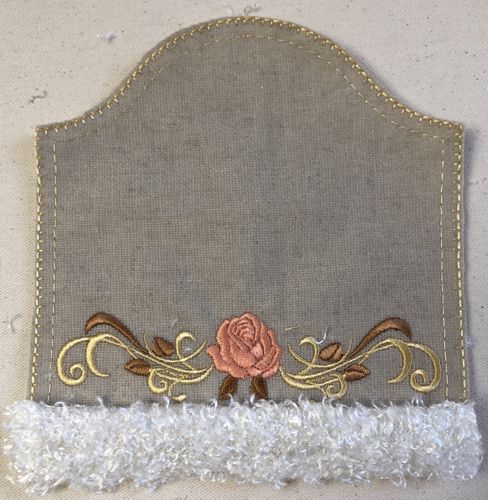
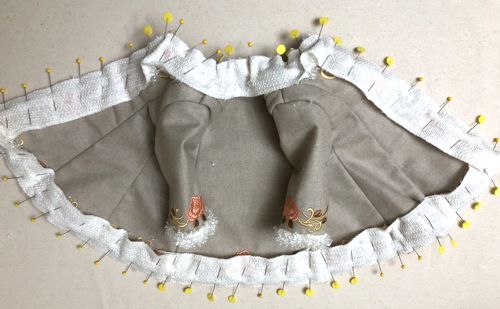
To finish the hem of the sleeve, cut 2 strips of faux fur 1 1/2" wide and the length of the sleeve hem.
With right sides together, position the strip over the sleeve along its hem, align the edges. Pin. Stitch. |
|
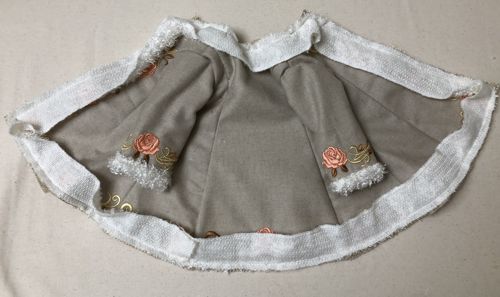
Fold the strip to the wrong side of the sleeve.
|
|
Hand stitch the long edge of the strip to the wrong side of the sleeve.
|
|
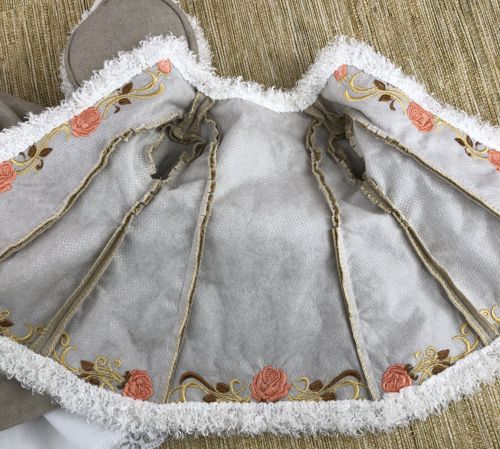
With right sides together, pin, then baste the sleeves to the arm holes.
|
|
| Stitch the sleeves. Clip the curves. Press the seam allowance to the sleeves. |
|
| With right sides together, fold the working piece and align the side edges. Pin from sleeve edge to side bottom. Stitch. Repeat on the other side. Clip curves and press the seams open. |
|
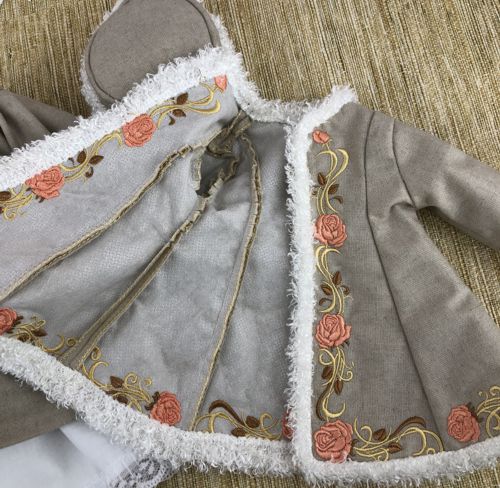
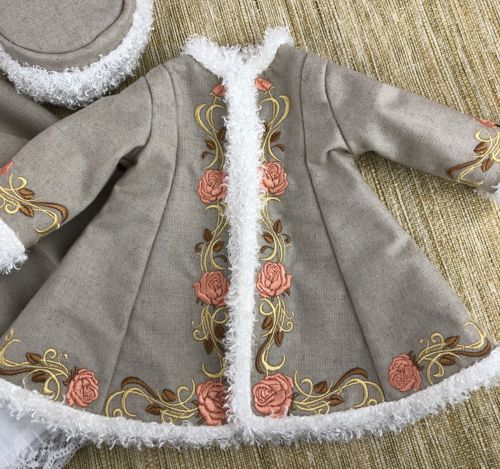
To finish the edges, measure the perimeter of all raw edges. Cut a strip of faux fur the length of the perimeter, plus 1".
With right sides together, pin the strip to the edges. Overlap the ends.
|
|
Stitch the strip to the coat.
|
|
Fold the strip to the wrong side of the coat and hand sew the edge to the lining/stabilizer.
Alternatively, you can finish the raw edges with a bias tape. |
|
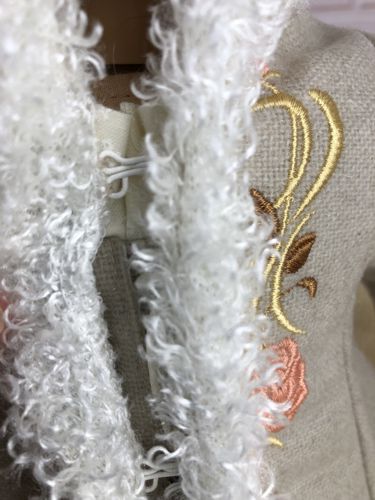
Put the coat on a doll, mark the placement of the hook and loop closures. Hand sew them in place to the wrong side of the fronts, one on the waist line and another closer to the neckline.
|
|
| We used the metal hooks and loops with white coat, which is difficult to see on a picture. |
|
|
|
|
| Have fun! |
|
Back to Winter Coat for Dolls Set
|
Back to Projects Page
|


