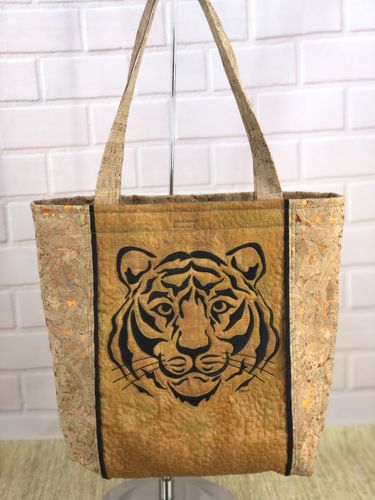
This tutorial shows you how to make a sturdy cork tote bag with a quilted front panel that features a bold tiger embroidery design. You will learn to cut and sew the cork fabric, quilt the front panel, and add machine embroidery for the tiger face. The finished bag has long handles and a simple, practical shape that works well for everyday use. Follow the steps to create your own custom tote.
The tote bag is made mostly of faux cork fabric with a quilted and embroidered front panel. We used the Tiger design, which is available in 3 sizes. We used the largest one (7 1/2" x 7"), but the smaller patterns will work great for this tote too.
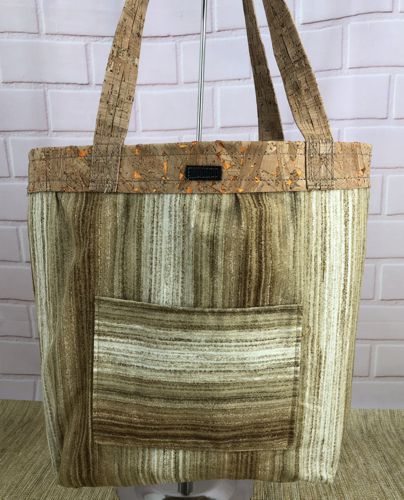
The finished size of the bag is about 14"W x 12"H x 4"D.
|
|
You will need:
- embroidery threads,
- a fat quarter of yellow orange cotton fabric for the center of the front panel,
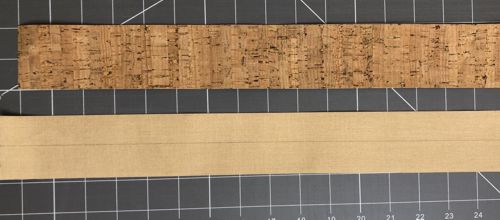
- about 1 yard of faux cork fabric for the outer bag,
- small amount of black cotton fabric,
- about 1/2 yard of cotton fabric for the lining,
- light-weight cut-away stabilizer,
- low-loft polyester batting or polyester craft felt.
|
You will also need:
|
- quilter's ruler;
- rotary cutter and/or scissors;
- tailor's colored chalk pencil or disappearing fabric marker;
- iron;
- #12-14 universal needle, and extra strong sewing thread,
- #12-14 quilting needle and quilting threads of color matching the fabric,
- a piece of Velcro tape.
|
Embroidery and Quilting:
|
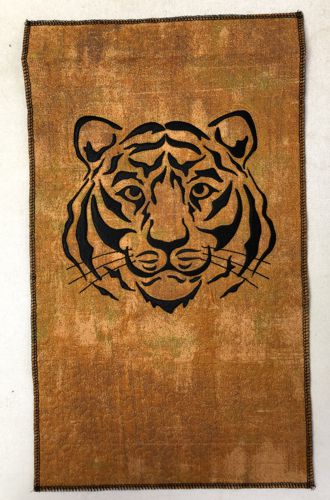
In the center of the yellow orange fat quarter, mark the position of the embroidery.
Stabilize and hoop the fabric tightly.
Prepare threads. Upload the file of the Tiger design into your machine and embroider it.
|
Place the stitch-out on a piece of batting and pin the layers together. Quilt in a free-motion style. Press with steam.
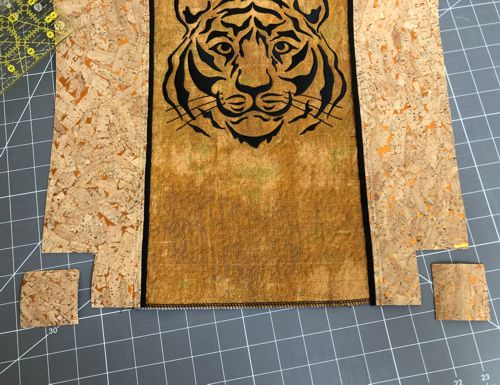
Trim the piece to 16 1/2" H x 9 1/2" W.
Finish the raw edges with zig-zag or overlock. |
|
Cutting:
|
Out of the black fabric, cut:
- 2 strips measuring 1 1/2" x 16 1/2" each.
Out of the faux cork fabric, cut:
- 2 strips measuring 4" x 16 1/2" each,
- 1 square for the back panel measuring 16 1/2" x 16 1/2",
- 2 strips measuring 2" x 24" each for the handles.
Out of the fabric for the lining, cut:
- 2 squares measuring 15" H x 16 1/2" W each,
- 1 strip measuring 6 1/2" x 15" for the inner pocket.
|
The Front Panel:
|
| Note: Seam allowance is 1/4" unless otherwise recommended. Press every seam immediately after you make it. |
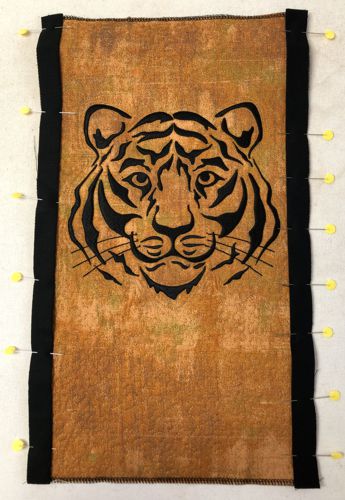
| Fold the black strips lengthwise in half and press. |
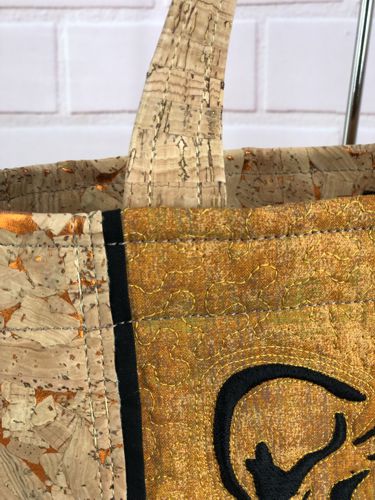
Position the folded and pressed strips along the edges of the part with the embroidery. Pin aligning the raw edges.
Topstitch with seam allowance 1/4". |
|
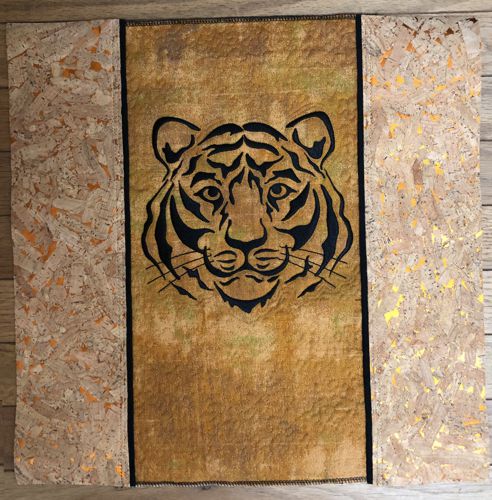
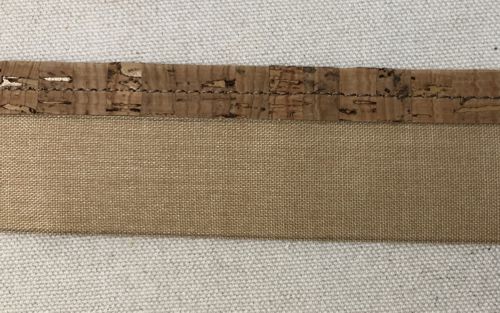
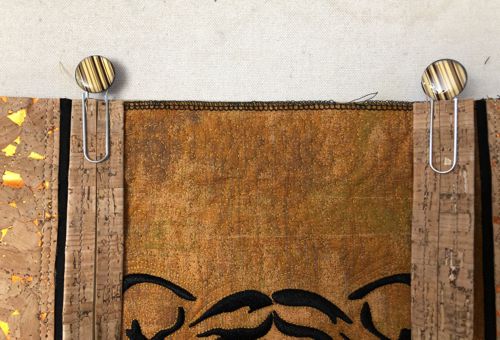
Working with one cork 4" x 16 1/2" strip at a time, overlap it 1/2" with the central part and pin.
Topstitch in place twice with 2 parallel lines. |
|
| Handles: |
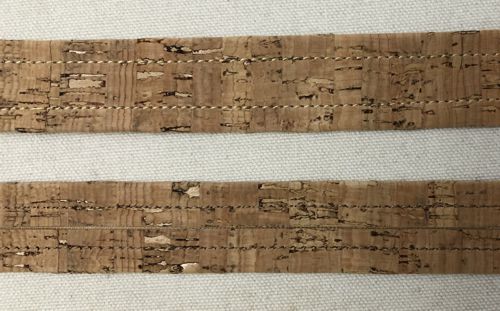
On the back of the cork 2" x 24" strips, use a pencil and ruler to draw a lengthwise line dividing the strips in half.
|
 |
| Working with one long side at a time, fold the long side to the line and topstitch in place. |
 |
Repeat for the other side.
Make another handle out of the remaining strip.
You'll get 2 handles 1" wide and 24" long. Set the handles aside for now. |
 |
| Inner Pocket(s) |
Fold the 6 1/2" x 15" piece of lining fabric widthwise in half, face inside. Stitch the sides together with 1/4" seam allowance. Trim the corners. Turn the piece right side out and press.
Tuck the unfinished edges of the pocket 1/2" inside and press. Topstitch closed. |
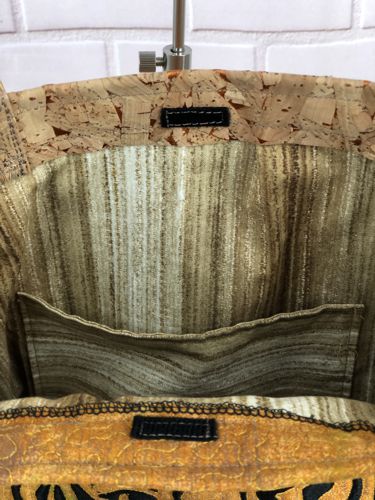
Position the pocket on the lining piece, one of the 15" x 16 1/2" fabric panels, about 3" from the upper edge and an equal distance from the sides. Pin.
Topstitch along the side and bottom edges in place. |
Lining:
|
| Pin the lining panels together, face inside. Stitch the sides with 1/4" seam allowance. Press the seams open. |
| Stitch the bottom with 1/4" seam allowance and press the seam open. |
To make box corners, separate the front and back sides at the corners. Center the seam on the side with the bottom seam.
Measure 1 1/2" along the seam from the corner. Draw a line perpendicular to the seam across the corner and machine-stitch it.
Fold the corners to the side seams and stitch them to the side seams by hand. |
Assembly: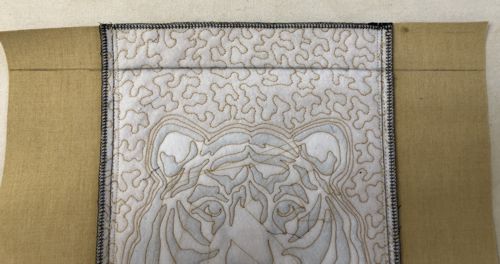 |
| On the lower edge of both panels, cut out 2" x 2" squares at the corners. |
 |
| On the back of the front and back panels, measure 1 1/2" from the upper edge and draw a line with a graph pencil. Fold the fabric along this line and lightly press. |
|
Position the panels face to face and align all edges. Pin the bottom. Stitch together with 1/2" seam allowance.
Topstitch 1/4" on both sides of the seam. |
Pin the handles with their right sides to the upper edges of the front and back panels, equal distance from the side edges.
|
|
Topstitch the handles to the panel with 1/4" seam allowance.
Topstitch again within the 1 1/2" marked line along the edges of the handles with about 1/8" seam allowance, and with a criss-cross line. |
Fold the working piece face inside and align the sides. Working with one side at a time, stitch with 1/2" seam allowance. Open and press the seam. Topstitch 1/4" on both sides of the seam.
Repeat for the other side. |
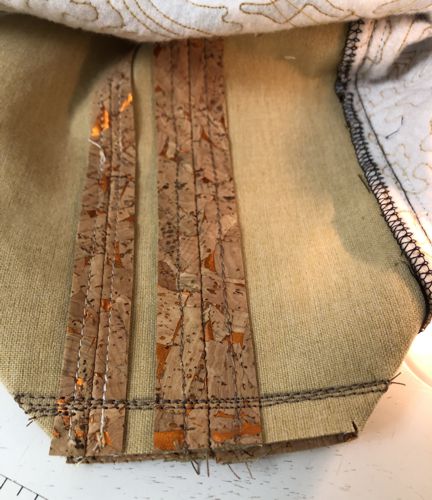
To shape the bottom, fold the bottom of the bag so that the bottom and the side seams align. Pin.
Stitch with 1/2" seam allowance. Stitch several parallel lines. |
|
Fold the upper edge back. Wrong side to wrong side, insert the outer bag into the lining.
Tuck the upper edge of the lining under the folded edge of the bag.
Topstitch in place 1/4" from the cork edge and from the folded edge.
Topstitch small pieces of Velcro tape onto the wrong side of the bag between the handles to make a closure. |
|
| Turn the bag right side out. |
|
|
|
| Have fun! |
|
|
Back to Tiger
|
Back to Projects Page
|


