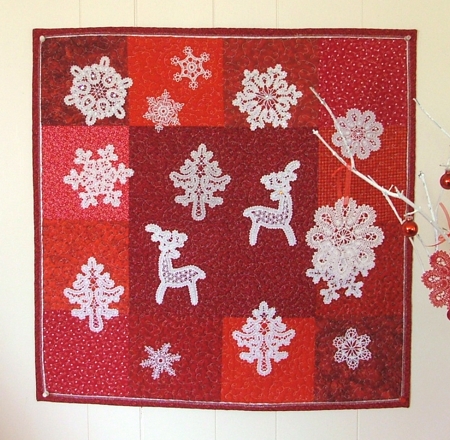
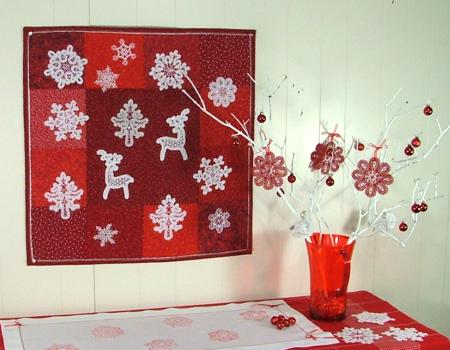
If you like red and white for your Christmas, this simple but eyecatching, quilt is right for you. The background is pieced of red squares and then embellished with different freestanding lace motifs from our collection.
|
Click to enlarge |
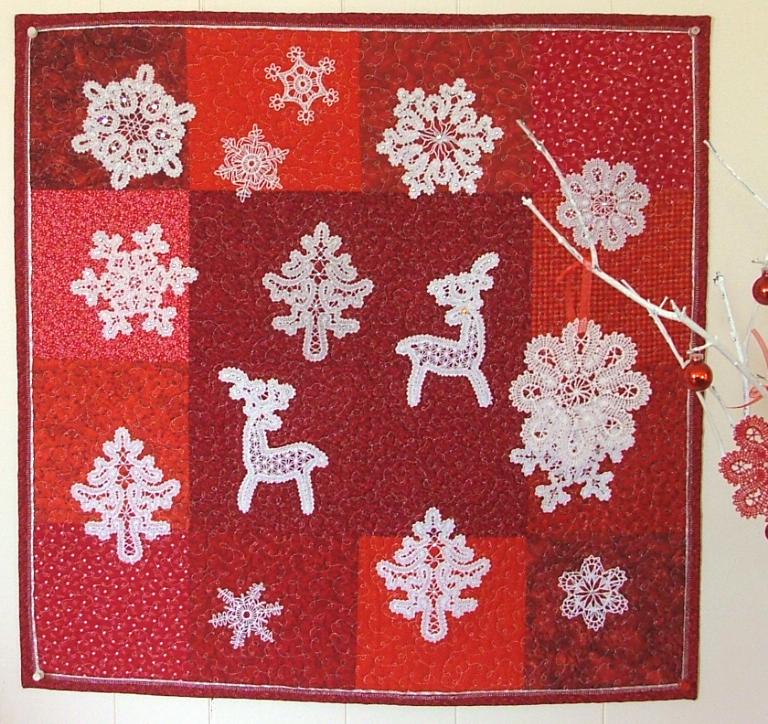
| The finished size of the quilt is about 28"x 28". |
For the background, you will need pieces of red cotton fabrics. The central square is 14"x 14" (cut it 14 1/2" x 14 1/2"). The central part is surrounded with 7" squares (cut them 7 1/2" x 7 1/2").
You will also need batting, fabric for backing and binding. |
| Step One: On your working table, or design wall, lay out the squares. Check that you like the position, patterns and tones of all the red squares. |
Step Two: Join the squares into rows:
1. The first row has four 7 1/2" x 7 1/2" squares;
2. In the second row, join two pairs of the 7 1/2" x 7 1/2" squares; then attach them to the 14 1/2" x 14 1/2" square on the right and on the left.
3. The third row has four 7 1/2" x 7 1/2" squares.
Press all seams. |
| Step Three: Join all rows. |
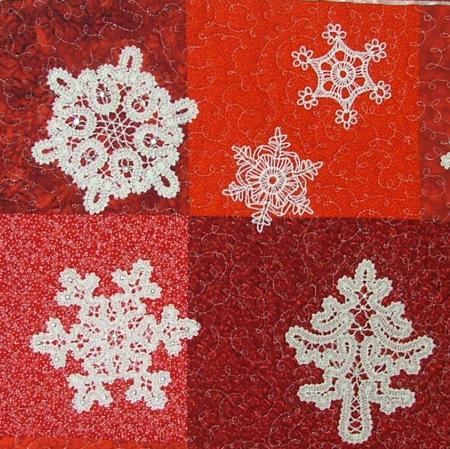
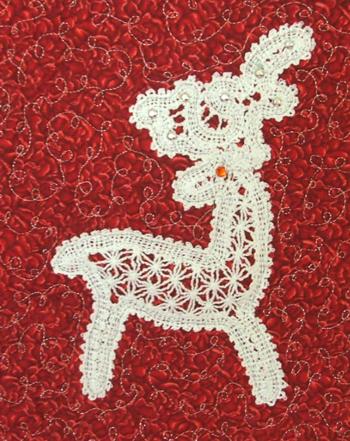
| Step Four: Choose freestanding lace designs you want to make the scene with. We used FSL Battenberg Christmas Tree Lace, a set of Battenberg Lace Snowflakes, the Moose and Snowflake motifs from the FSL Battenberg White Christmas Set and crochet snowflakes from Snowflake Set I. You can also use Lace Pagoda, Reindeer Lace, Crochet Snowflakes Set II and Crochet Snowflakes Set III.
Embroider all the design you chose.
Note: Each lace design should be embroidered strictly in accordance with the instructions enclosed with the embroidery files.
|
| Step Five: Wash away the stabilizer, spread the motifs evenly on a towel and let them air dry. Press with steam. |
Step Six: Lay out the motifs on the quilt top. Arrange them to your taste. When you are satisfied with the composition, pin the motifs in place.
Thread the needle of your sewing machine with matching thread and topstitch the motifs to the quilt top. |
|
Step Seven: Now place the backing on a flat surface (table) face down. Spread the batting over it and spread your working piece over the batting. Pin all layers together with 1" pins and start quilting.
We quilted with silver metallic thread in a free-motion manner. |
| Step Eight: Press the quilt with heavy steam from the back of the quilt. Square the quilt and finish the edges with binding. We made binding out of the same fabric as the central square and added silver metallic piping. |
|
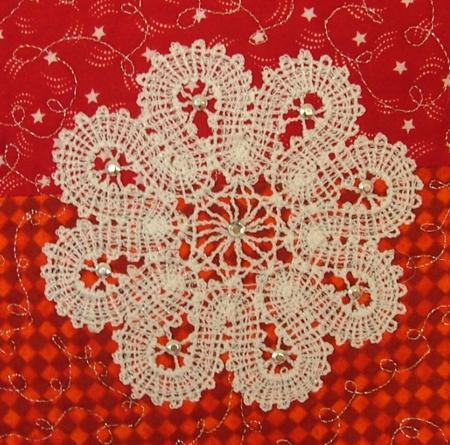
| Step Nine: You are basically finished. You can further embellish the lace with hot fix crystals to add a winter sparkle. |
|
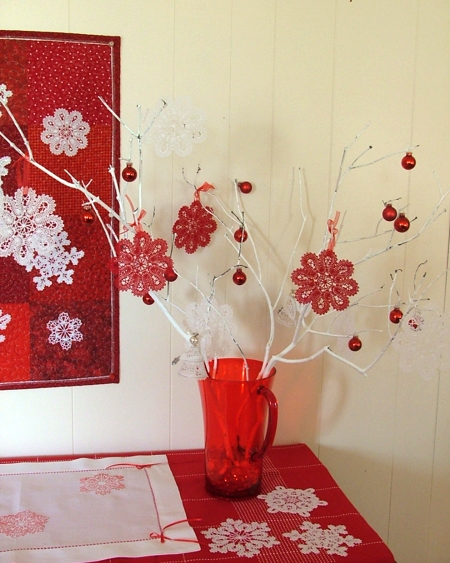
| To put the finishing touch to our interior decor, we made a winter bouquet. We picked up some tree branches and painted them white, using water-based paint that had been left over from home renovating projects (this had been ceiling paint). The branches were then arranged in a red jug. |
|
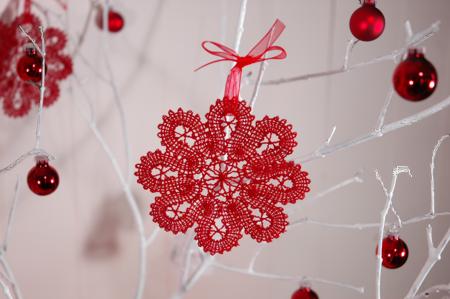
| Decorate the branches with red lace and ornaments. |
|
| We hope that you liked our idea and will come up with many of your own. |
|
|
Back to the Projects Page
|


