You will need a fat quarter of any light fabric, water-soluble stabilizer, embroidery and sewing threads, and 2 snap buttons.
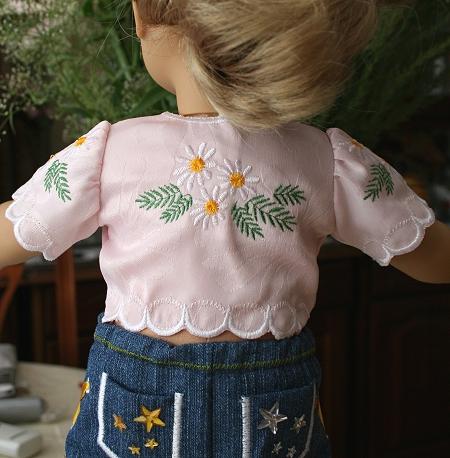
All parts are embroidered in the same way. As an example, we're going to show how to embroider the back part.
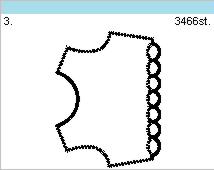
Step One: Hoop the stabilizer. Start the machine. It will embroider the outline of the part and stop.
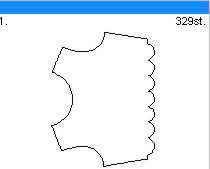
Step Two: Place a piece of fabric over the outline and start the machine. It will embroider the outline again, now over the fabric, and stop again.
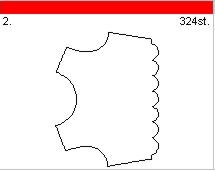
Step Three: Take the hoop out of the machine and with a pair of sharp scissors cut away the excess fabric as close to the outline as possible. Return the hoop to the machine. It will finish the edges with zig-zag stitch and the neck line and hem with satin stitch.
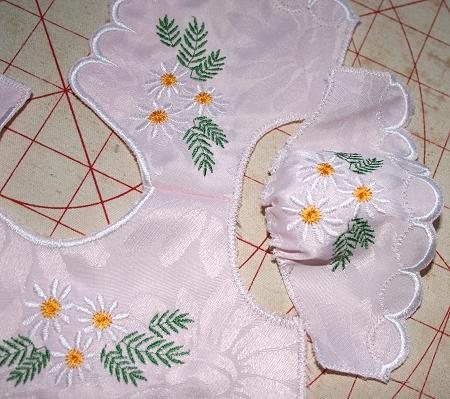
Step Four: Embroider the flowers on the part, changing the threads as needed. The order of embroidery is: petals, centers of flowers, leaves.
Repeat steps 1-4 for all parts of the blouse. Embroider each part once, and only the sleeve twice.
Step Five: First cut away the stabilizer as close to the blouse parts as possible, then dissolve the remainder. To dissolve it completely, place the parts into a bowl with warm water for about an hour and change the water several times. Spread flat on a towel and leave to air dry. Press with steam.
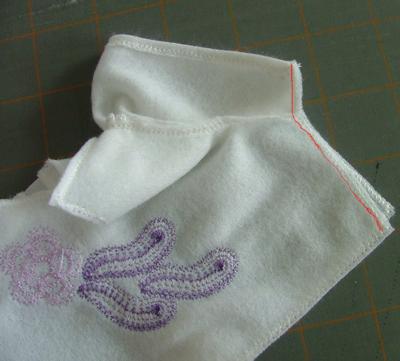
Step One: Place the back and the front together, right side to right side, and stitch together at the shoulders. Stitch inside the zigzag outline. Seam allowance should be about 1/8".
Step Two: Thread a needle and manually baste the sleeve.
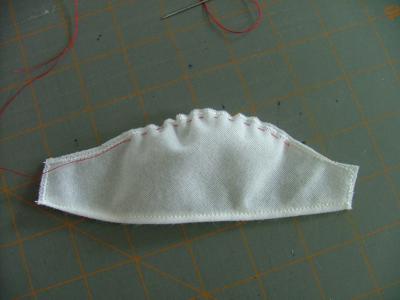
Step Three: Align the sleeve with the arm hole of the blouse. The sleeve and blouse are placed with their right sides together. Pin in place. Then machine-stitch with a straight stitch.
Step Four: After both sleeves are attached, stitch the sleeve seam and the side seam closed with one straight stitch, shown in red.
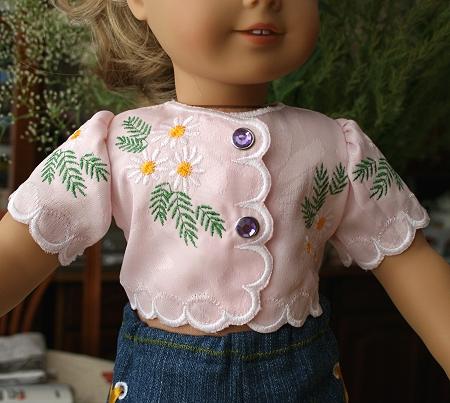
Step Five: Attach two small snaps.
The blouse is ready! You can now put it on your doll.