This is the second part of our Plastic Mesh Tote Bags project. Here, we explain some more ways to use the mesh for bags. You can read about how to embroider on plastic mesh in the Plastic Mesh Tote Bags with Embroidery Part I
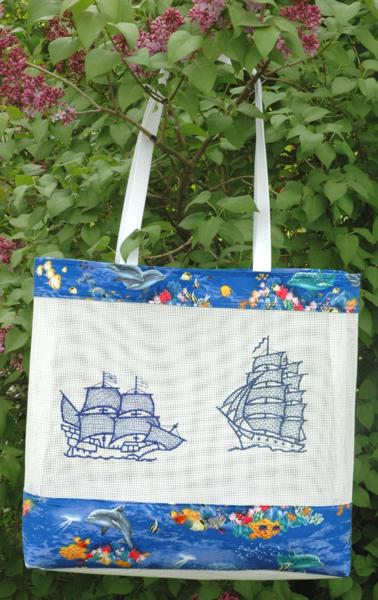
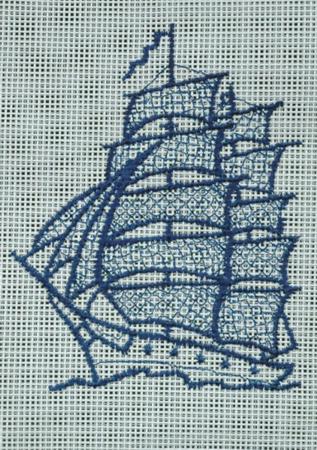
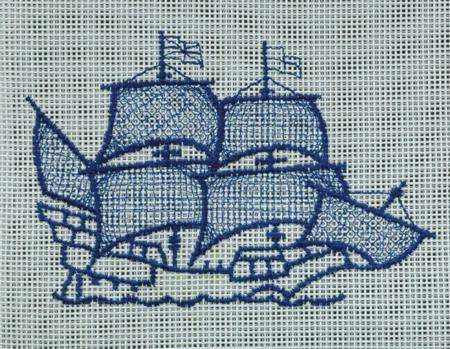
Our Nautical tote-bag is about 16" high x 20" wide x 4" deep. We used white plastic mesh (24" x 36" piece), marine-themed fabric (1/2 yard), two yards of nylon webbing and the designs Caravel and Schooner.
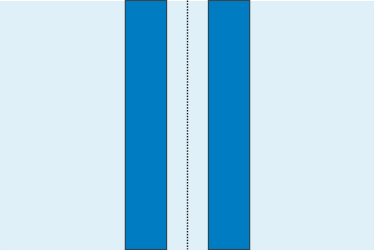
Step One: Cut a piece of plastic mesh measuring 24" x 36" . Out of marine-themed fabric cut four strips measuring 5" x 24".
Step Two: Reinforce the four fabric strips with light-weight iron-on cut-away stabilizer, in the following way:
Out of light-weight iron-on cut-away stabilizer, cut two strips measuring 4" x 24".
Iron the stabilizer strips onto the back of the fabric. Leave a 1/2" margin from each long edge of the fabric strips.
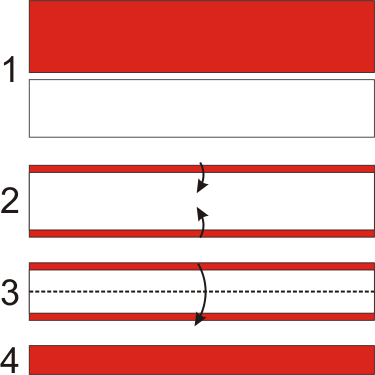
Fold the 1/2" edges to the back of the fabric and press. (Fig. 1-2 on the picture)
Fold two of the strips in half lengthwise and press. You'll get double strips 2" wide. (Fig. 3-4 on the picture) Put them aside for a while, you'll need them later for attaching handles. Do not fold the other two strips.
Step Three: Measure 18" from each of the shorter side of the mesh piece and mark the central line (use a removable marker or a graphic pencil, which can be removed later with a damp cloth). Place the two fabric strips that you didn't fold 2" away the central line, on both sides. Pin and then top-stitch them to the mesh.
Step Four: Make the embroidery: hoop the plastic mesh with water-soluble mesh (Vilene), use embroidery threads of matching colors in the needle and the bobbin. When the embroidery is finished, cut away the excess stabilizer and rinse the remains. Try not to wet the fabric. Wipe the mesh with a cloth.
We used the same thread in the needle and in the bobbin to get two-sided embroidery.
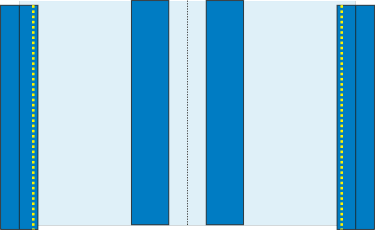
Step Five: Place the working piece on a table. Unfold the fabric strips that you folded earlier and pin them onto the short edges of the mesh, 2" from the edge, so that the crease in the fabric strip is aligned with the edges of the mesh. Top-stitch the strips in place along their inner edges (marked in yellow on the diagram).
Step Six: Fold back the fabric strip. Pin in place.
Step Seven: For the handles, cut 2 pieces of webbing measuring 1 yard each. Measure 8" from each side, tuck 1" of the webbing's ends under the fabric. Pin. Repeat for the other side of the tote. Note: the handle loops should be pointed towards the center of the working piece.
Top-stitch stitch 1/8" from the lower edge of the fabric strip to attach the handles and secure the fabric to the tote. Make the second stitch 1/4" from the same edge. Both stitches are marked in yellow on the diagram.
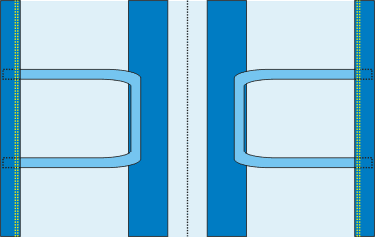
Fold the handles upwards. Pin. Machine-stitch 1/4" from the edges of the tote bag to secure the handles.
Step Eight: Fold the working piece in half, right sides inside, align all edges and stitch the sides together 1/2" from the edges.
Step Nine: Make box corners at the bottom of the bag. For this, separate the front and back sides at the corners. Center the side seam with the central line of the bottom. Measure 2" along the seam from the corner and machine-stitch perpendicular to the seam across the corner. Do not trim the seam. Fold it onto the bottom and attach with several manual stitches. Repeat for the second corner.
Step Ten: Turn the tote-bag right side out. You're done!
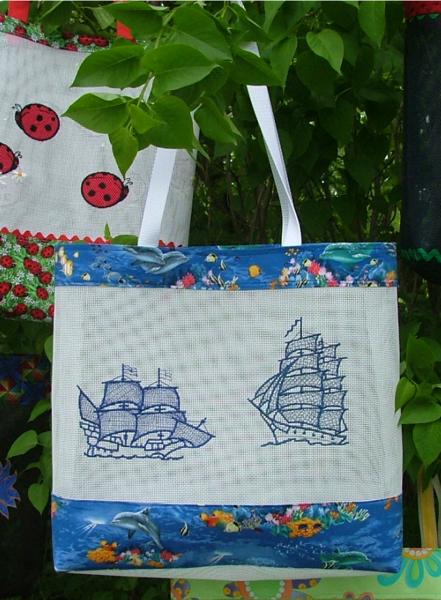
We hope that you liked our idea and will come up with many of your own.
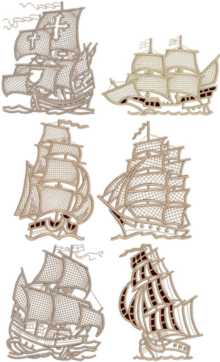
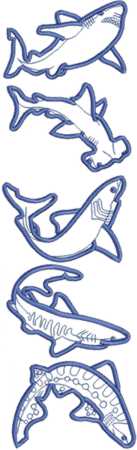
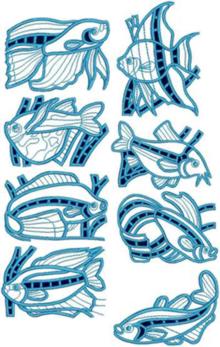
Here are some more designs that can be used for the project:
 |
 |
 |
 |
 |
 |

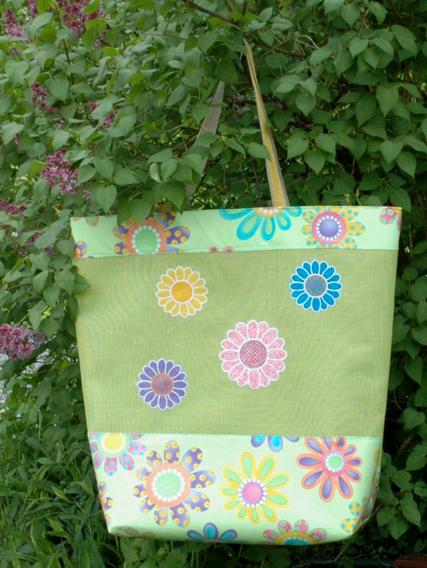
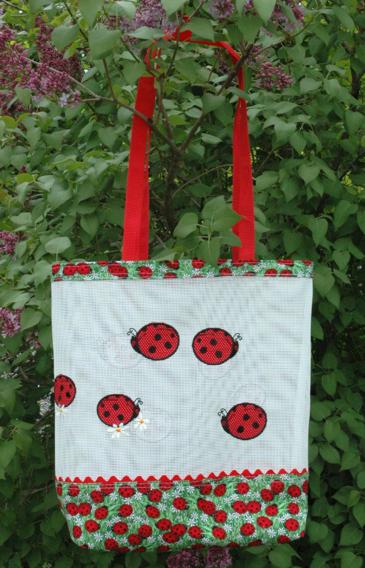
The Daisy and Ladybug totes will be described in Part III.