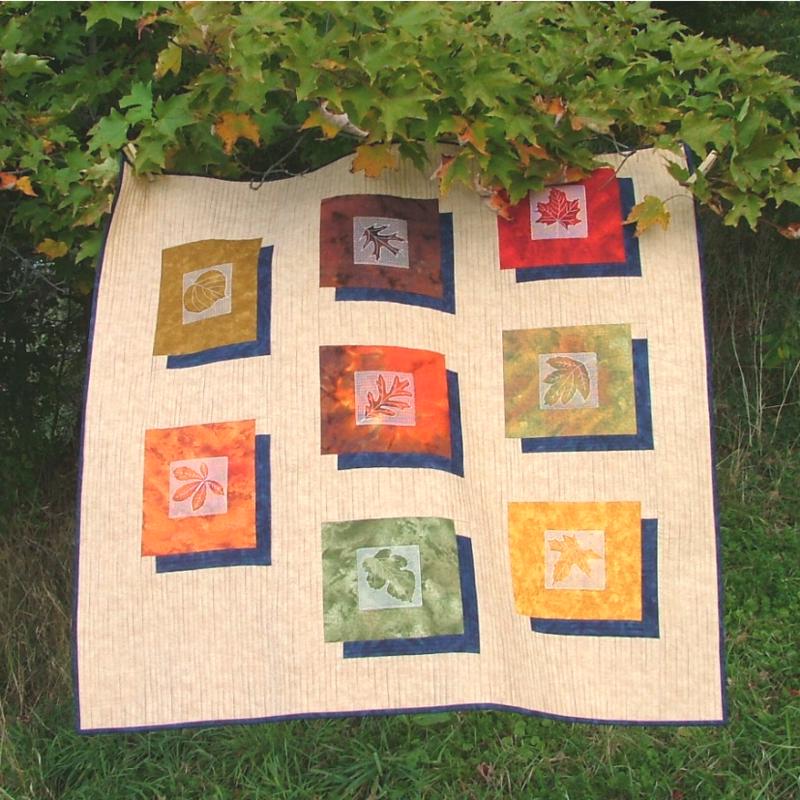
This wall quilt is extremely easy to make. You can put it together over the course of a weekend. The results, however, are breathtaking. The finished size of the quilt is 36 1/2" x 40". We used embroidery designs from the Leaf Block Set.
|
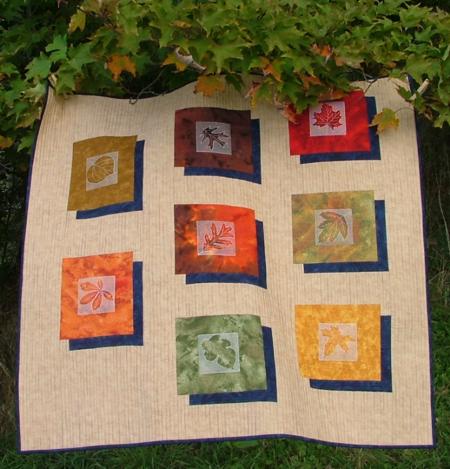
Click here to enlarge
|
| For the background we chose light camel fabric. Light grey or light blue will also work well. You will need about 1 yard of this fabric. For the embroidered blocks you will need 8 pieces of fabric in bright autumn colors. Moda marbles or batiks work well. Each finished block is 7 1/2" x 8 1/2", but it would be difficult to hoop pieces that size in your large (5" x 7") hoop, so start with pieces no smaller than 10" x 13".
For the shadows and binding you'll need 1/4 yard of a navy blue fabric.
You will also need low loft DreamPoly batting or polyester felt to serve as a stabilizer for the embroidery.
Finally, you'll need batting for the rest of the quilt and backing.
|
|
Embroidery:
|
| Hoop the fabric for embroidery with low-loft DreamPoly or polyester felt. Embroider all designs from the Leaf Block Set one by one. For the embroidery we chose camel-colored thread which matches the color of the quilt's background. Note: We highly recommend to make a test stitch-out first.
|
| After the embroidery is finished, press it. On your cutting mat, trim the embroidered pieces to get blocks measuring 7 1/2" x 8 1/2". Turn each of the blocks to the back and with a pair of sharp scissors, neatly cut away the excess stabilizing material around each embroidered square.
|
Cutting:
All measuments include 1/4" seam allowance.
|
| The quilt consists of 4 strips of background fabric intermixed with 3 columns that contain the embroidered blocks. For the 4 strips, out of background fabric:
Cut 2 strips measuring 3 1/2" x 36 1/2" and 2 strips measuring 4 1/2" x 36 1/2";
For the first column, out of background fabric:
Cut 3 rectangles measuring 8 1/2" x 6 1/2", 8 1/2" x 4 1/2" and 8 1/2" x 8 1/2"
For the second column, out of background fabric:
Cut two rectangles measuring 9 1/2" x 4 1/2" and 9 1/2" x 2 1/2" and two rectangles measuring 9 1/2" x 3 1/2";
For the third column, out of background fabric:
Cut two rectangles measuring 9 1/2" x 4 1/2" and 9 1/2" x 2 1/2" and two rectangles measuring 9 1/2" x 3 1/2";
You already have 8 embroidered blocks. For the shadows around the blocks, cut:
16 strips measuring 1 1/2" x 7 1/2" out of navy blue fabric;
16 squares measuring 1 1/2" x 1 1/2" out of the quilt's background fabric.
|
Assembly:
Do not forget to press each seam after you make it.
|
|
| On your working table (or designer wall) lay out all the embroidered blocks and organize them in colums as you'd like them in the finished quilt. Note that the 2 embroidered rectangles in the first column of the quilt are laid out vertically so that the shorter side (7 1/2") is the width and the longer side (8 1 /2") is the height. In the second and the third columns, the blocks are laid out horizontally so that the longer side (8 1/2") is the width and the shorter side (7 1/2") is the height.
|
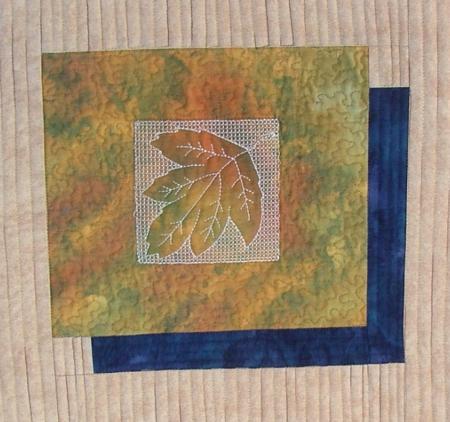
| Step One: To make the shadows, take the navy strips and the small squares out of background fabric. Attach a square to the end of each strip. You will get 16 strips measuring 1 1/2" x 8 1/2". |
| Step Two: Attach a shadow strip to the longer side of each embroidered block. Attach a second shadow strip to the shorter side of the block. See the diagram above for details. |
Step Three: To assemble the first column,
Aattach the 8 1/2" x 6 1/2" rectangle to the upper edge of the first embroidered block.
Attach the 8 1/2" x 4 1/2" rectangle to the bottom of the first embroidered block.
Attach the second embroidered block to this unit.
Attach the 8 1/2" x 8 1/2" rectangle to the bottom of the second embroidered block. |
Step Four: To assemble the second column,
Attach the 9 1/2" x 4 1/2" rectangle to the upper edge of the first embroidered block.
Attach the 9 1/2" x 3 1/2" rectangle to the bottom edge of the first embroidered block.
Attach the second embroidered block to the bottom of this unit.
Attach the 9 1/2" x 3 1/2" rectangle to the bottom of the second embroidered block.
Attach the third embroidered block to the bottom of this unit.
Attach the 9 1/2" x 2 1/2" rectangle to the bottom of the third embroidered block. |
Step Five: To assemble the third column,
Attach the 9 1/2" x 2 1/2" rectangle to the upper edge of the first embroidered block.
Attach the 9 1/2" x 3 1/2" rectangle to the bottom edge of the first embroidered block.
Attach the second embroidered block to the bottom of this unit.
Attach the 9 1/2" x 3 1/2" rectangle to the bottom of the second embroidered block.
Attach the third embroidered block to the bottom of this unit.
Attach the 9 1/2" x 4 1/2" rectangle to the bottom of the third embroidered block. |
Step Six: Now assemble the whole top in the following order:
The 4 1/2" x 36 1/2" background strip to the 1st column, followed by the 3 1/2" x 36 1/2" background strip, followed by the 2nd column, then the other 3 1/2 x 36 1/2" strip, followed by the 3rd column and finally the 4 1/2" x 36 1/2" strip. |
|
|
Place the backing on a flat surface (table) face down. Spread the batting over it and spread your working piece over the batting. Pin all layers together with 1" pins and quilt.
We quilted in a free-motion style around the embroidery and with straight lines all over the quilt. |
| Press the quilt with heavy steam. Square the quilt and finish the edges with binding. The quilt is done!
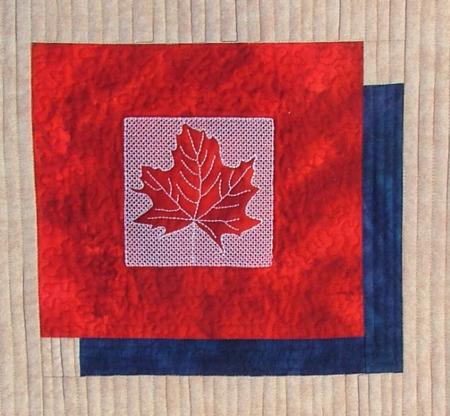
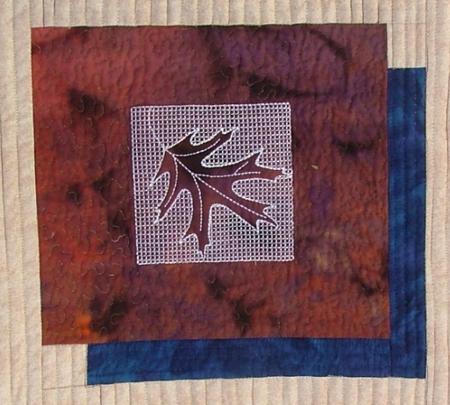
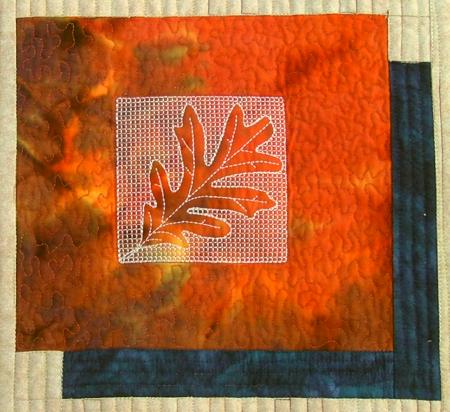
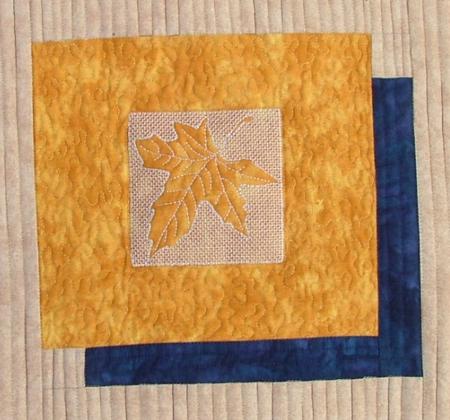
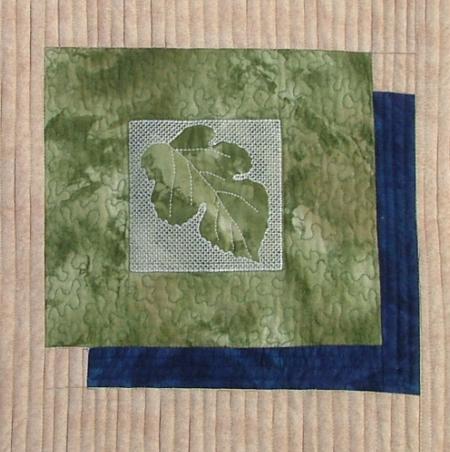
Here are some close-ups:
|
|
|
|
|
|
|
| We hope that you liked our idea and will come up with many of your own. |
|
Back to the Projects Page
|