These are instructions on how to embroider and assemble the FSL Crochet Easter Basket.
The parts of the FSL Crochet Easter Basket are embroidered in the same way as our crochet-style freestanding lace. Please read our General Guidelines and Step-by-Step Guide to Embroidering our Crochet-Style FSL designs.
Most Importantly: ALWAYS make a test stitch-out of the design. This helps you to select the threads, needles, stabilizers and settings of your machine correctly.
Some points to remember from the General Guidelines:
Use Vilene water soluble stabilizer;
Use COTTON thread;
Use the same thread for the needle and bobbin.
DO NOT embroider several designs in one hoop.
Using the designs from the set, it's possible to make square or rectangular baskets and coasters, doilies, a tablerunner or a tabletopper.
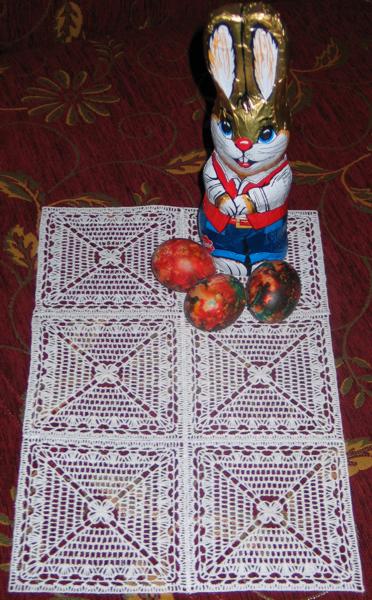
The finished size of this doily is about 10" x 14"
Step One: To make doilies, you need to embroider the file "EBbottom" as many times as you need. Our small doily consists of 6 squares.
Use 2 layers of Vilene-type water-soluble stabilizer. Use the same cotton thread for both the needle and bobbin.
Rinse the stabilizer and leave to air dry.
Step Two: Press all parts with steam. Thread your sewing machine with the same thread that you used for the embroidery. Using the zig-zag stitch, join the six squares into a rectangular doily.
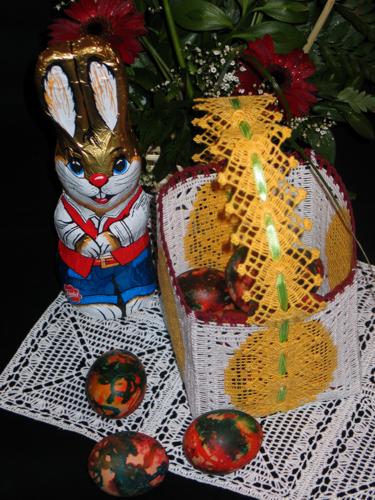
The finished size of the square basket is about 5" x 5" x 10".
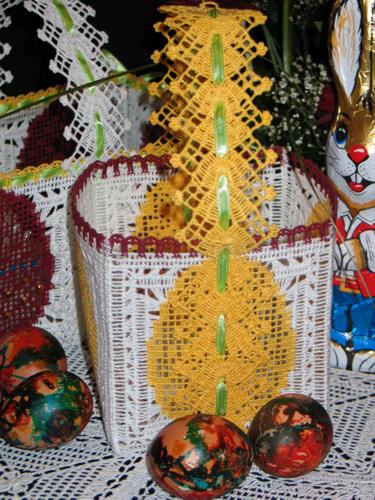
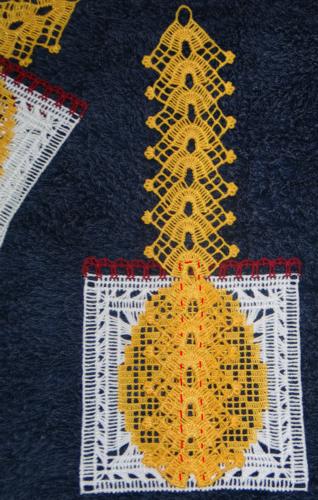
Step One: To make the square basket, embroider the files "EBbottom" once, "EBPanel" four times, files "handle" and handle2" two times each.
Use 2 layers of Vilene-type water-soluble stabilizer. Use the same cotton thread for both the needle and bobbin.
Rinse the stabilizer and leave to air dry.
Step Two: Press all parts with steam. Thread your sewing machine with the same thread that you used for the embroidery. First, either manually or on your machine, join the handle parts - attach the shorter section to the longer section to get 2 new long sections of handle.
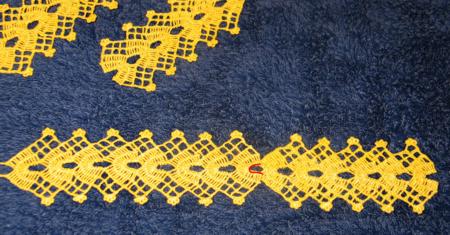
Then topstitch both sections to 2 panels of the basket, shown in red on the picture below.
Using zig-zag, stitch all panels together. Leave the last seam open. Fold each seam and press.

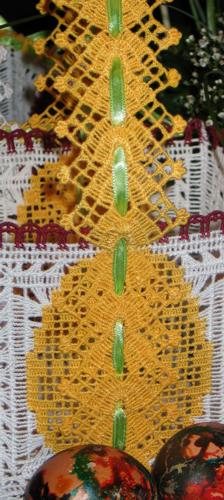
Using zig-zag, attach the bottom panel to the bottom edge of each side panel. Finally stitch closed the last side seam. Manually, either stitch the handles together, or with the help of a ribbon tie a small bow to connect the loose ends. Decorate the basket with a narrow satin ribbon (optional).
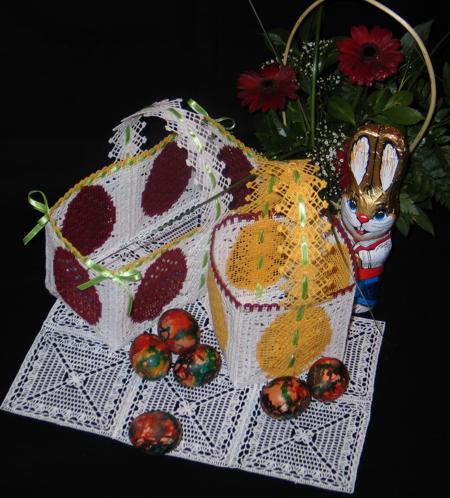
To make a large, rectangular basket, embroider 6 side panels and 2 bottom panels. Stitch the handles first. Using zig-zag stitch, join all side panels, leaving the last seam open. Join the two bottom panels. Attach the handle parts to the sides. Zig-zag the bottom to the side panels. Finally, close the open seam in the side panels. Connect the loose ends of the handles.