For this project we used the designs Hydrangea and FSL Battenberg Butterfly Lace Set.
|
|
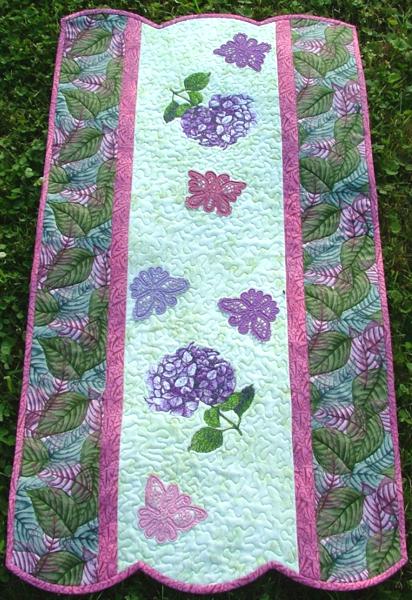
| The finished size of the table runner is about 34" x 18". You will need 3 different fabrics for the top, DreamPoly batting and fabric for the backing and binding.
We used pale green fabric for the central part, patterned pink fabric for the narrow border and binding, and green and pink fabric with a leaf pattern for the wide outer borders.
If you do not have DreamPoly batting, you can use polyester felt, or any other well-pressed batting.
We first assembled the top, then embroidered it.
|
|
Cutting:
|
Out of pale green fabric, cut a strip measuring 8 1/2" x 35" .
Out of pink fabric, cut 2 strips measuring 1 1/2" x 35" each
Out of pink and green fabric, cut 2 strips measuring 4 1/2" x 35" each.
Out of batting cut a piece measuring 19" x 36".
Out of fabric for the backing cut a piece measuring 19" x 36". |
Assembly and Embroidery
All seam allowances are 1/4". Do not forget to press seams after every step.
|
| Step One: Join the pink strips to the pale green central part on each side. Then, attach the green and pink borders to the working piece. |
| Step Two: Spread the batting on the table and cover it with the top. Use your hands to spread the top evenly over the batting. If you use DreamPoly or polyester felt, the fabric will cling to the batting and will not slide. |
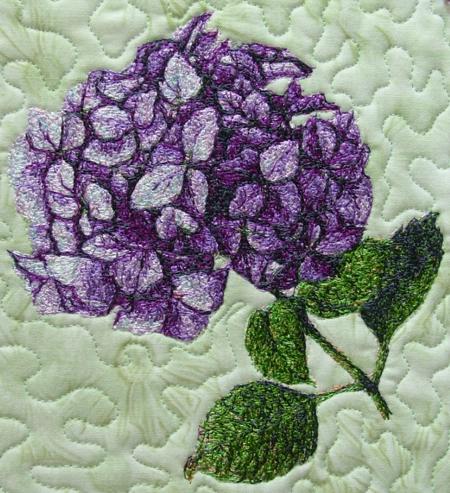
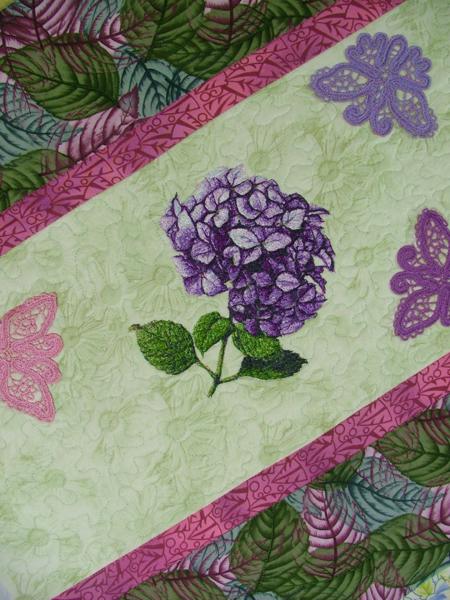
Step Three: With a paper print-out of the Hydrangea design, mark the spot for the embroidery on the working piece.
Hoop the top together with the batting, which will work as a stabilizer. Make the embroidery. We embroidered the Hydrangea twice, towads the ends of the table-runner. |
|
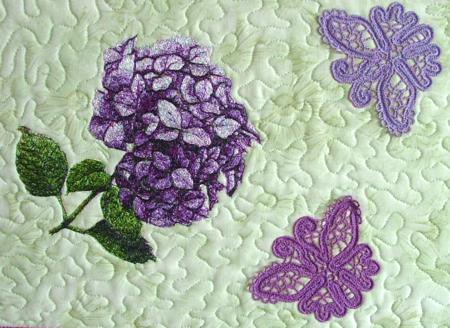
| Step Four: Embroider the butterflies from the FSL Battenberg Butterfly Lace Set. We embroidered them as freestanding designs and then stitched them onto the tabletopper. Choose the threads of matching colors. |
|
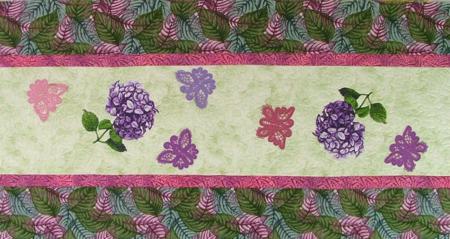
| Step Five: After the embroidery is finished, add the backing, pin all three layers together and start quilting. Quilt with a matching thread starting from the center. We used meandering on the pale green part, quilted in the ditch along the narrow pink borders and quilted over the leaves on the outer borders. |
| Step Six: After the quilting is done, press the working piece with heavy steam and square it. After squaring, the tablerunner should be 35" x 18". If you like the rectangular shape of the tablerunner, you can stop at this stage and finish the raw edges with binding. |
|
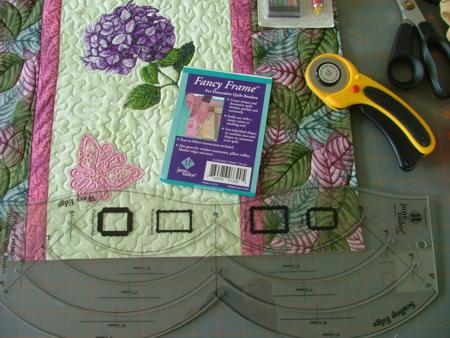
| However, if you want something more fancy, you can try scalloped edges. The short sides of the tablerunner are 18", so 6" scallops will work nicely here. |
|
| Place the working piece on the cutting mat. With the help of a ruler and rotary cutter cut the scallops to give the table runner its final shape. |
|
| Finish the raw edges with the binding and.press. |
|
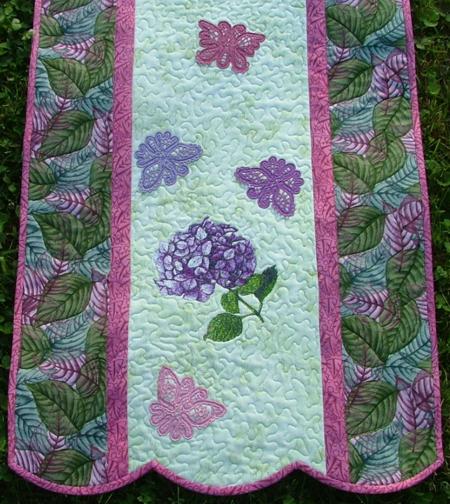
The table runner is ready. Enjoy!
|
|
| We hope that you liked our idea and will come up with many of your own. |
|
Back to the Hydrangea design
|
|
Back to FSL Battenberg Butterfly Lace Set.
|
|
Back to Projects Page
|


