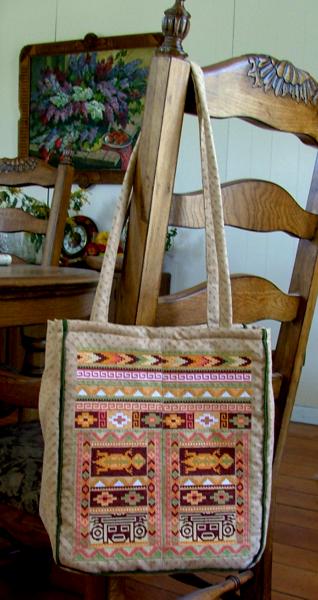
For this project we used the designs from the Southwestern Indian Motif Purse Set.
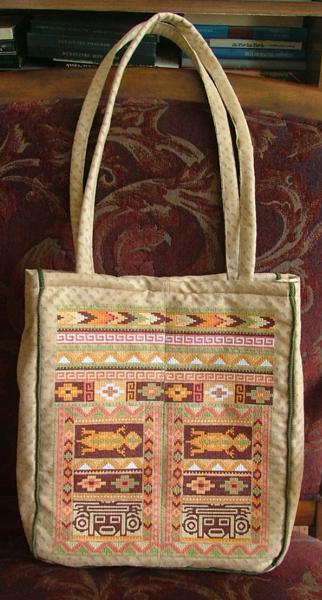
The finished size of the tote bag is about 10 1/2" x 13 1/2 x 4". We used synthetic suede (1/2 yard) for the top and 100% cotton fabric (1/2 yard) for the lining. You will also need a cord or piping, fusible interfacing and magnetic snap closure.
Cutting:
Out of the fabric for the top, cut:
two rectangles of about 12" x 20" for the embroidery.
one rectangle measuring 11 1/2" x 14 1/2" (the back panel)
two rectangles measuring 5" x 14 1/4" (side panels)
one rectangle measuring 5" x 11 1/2" (bottom)
two strips measuring 2" x 32" (handles)
Note: You can also make embroidery on four separate pieces of fabric, each measuring 12" x 12".
Out of the fabric for the lining, cut:
two rectangle measuring 11 1/2" x 14 1/2" (the front and the back panels)
two rectangles measuring 5" x 14 1/2" (side panels)
one rectangle measuring 5" x 11 1/2"(bottom)
Out of fusible interfacing, cut
two rectangle measuring 11 1/2" x 14 1/2" (the front and the back panels)
two rectangles measuring 5" x 14 1/2" (side panels)
one rectangle measuring 5" x 11 1/2" (bottom)
Note: If you want your bag soft, you can use felted quilt batting, like high loft DreamPoly, or polyester felt. To give the bag firmer sides, we recommend Pellon Peltex interfacing.
If you are using felt or batting for interfacing, cut it 1" larger on all sides and trim after sewing.
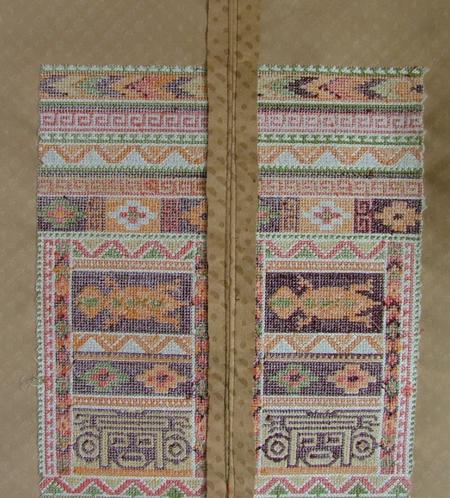
Step One: On the 12" x 20" make the embroidery of the Southwestern Indian Motif
When the embroidery is finished, place the embroidered parts face to face. Match both embroideries, then stitch the panel together to have one panel. Trim the seam to 1/2", open it, and topstitch 1/8"-1/4" from the seam.
If needed, press through the cloth with steam.
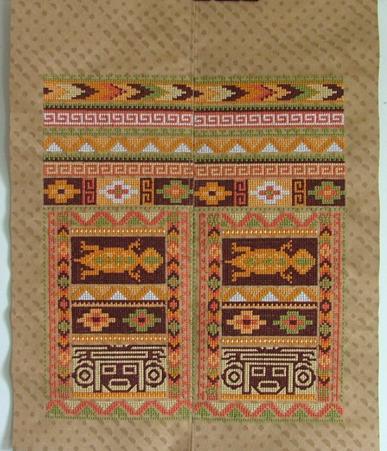
Step Two: The embroidery on the panel measures about 9" x 10 1/2". Trim the fabric around the embroidery to get a rectangle measuring 11 1/2" x 14 1/2". Leave a 1 1/4" space on the left and right sides of the embroidery; leave a 1" space on the bottom and a 3" space on above the embroidery.
Step Three: Place the embroidered panel on the interfacing rectangle, fuse, following the manufacturer's instructions.
Repeat with the back panel of the tote and the second interfacing rectangle.
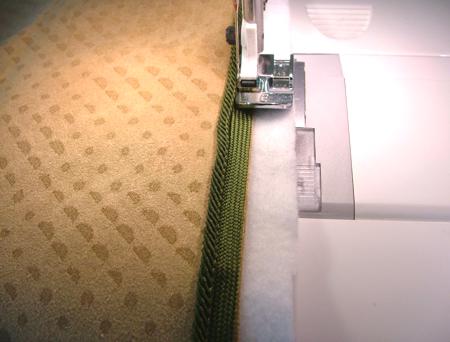
Step Four: Position and pin the decorative cord or piping along the side and bottom edges of embroidered rectangle. The raw edge of the cord should be even with the raw edge of the fabric. Using a zipper foot, stitch the cord to the fabric.
Repeat with the back panel.
Step Five: Fuse the interfacing panels with the corresponding side and bottom panels on the bag's top.
Sew the side panels to the bottom panels, leaving 1/4" unstitched at each end of the seams.
Step Six: With right sides together, pin the bottom/side panel to the bag's front. Using a zipper foot, stitch the parts together.
Repeat with the back panel.
Step Seven: Assemble the lining. first, stitch the bottom and side panels. Attach the front panel to the side/bottom piece. Attach the back panel as well, but leave an opening of about 7-8" in the bottom.
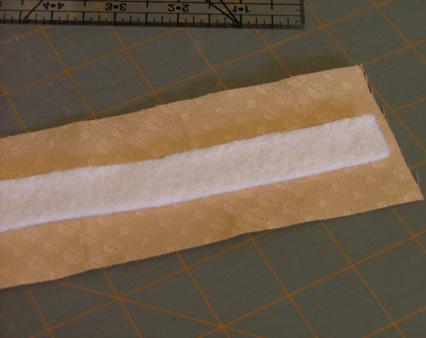
Step Eight: To make handles, place 2" x 32" strips face down on the table. For body and firmness, place a strip of interfacing measuring 3/4" x 32" in the middle. Fold the long sides of the fabric over the interfacing and stitch in place.
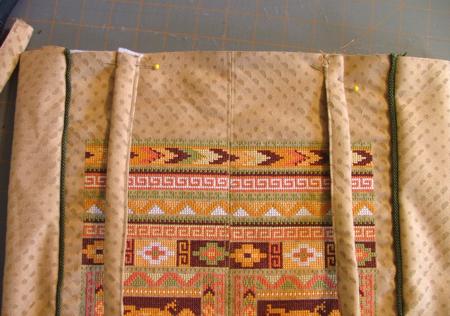
Step Nine: Position one handle on each side of the bag 1 1/2" from the side seams. Stitch the handles to the bag. Stitch back and forth to attach 1" of each end of the handles to the bag,
Step Ten: Tuck the bag with handles into the lining. Match all the seams, and even up all the raw edges. Stitch 1/4" from the raw edges around the upper edge. Turn the bag right side out through the opening in the lining.
Step Eleven: Manually slipstich the opening in the lining.
Step Twelve: Tuck the lining into the bag, fold of about 1" of the bag's upper edge inside. Topstitch 1/2" from the upper edge of the bag.
We hope that you liked our idea and will come up with many of your own.


