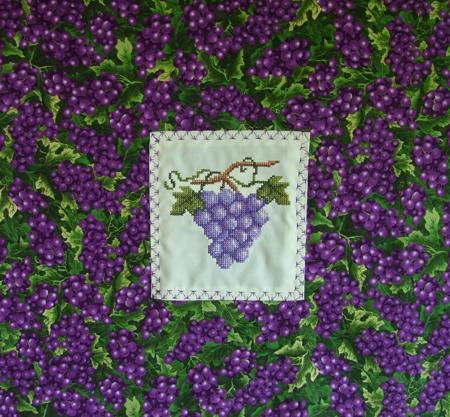
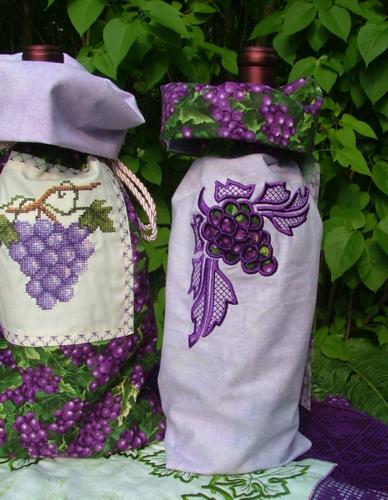
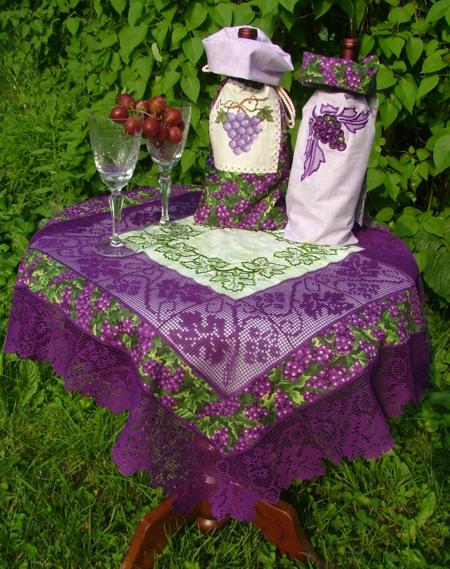
For this project we used the design Grapes in the cross-stitch technique and one of the designs from the Grapes and Vine Lace Set in the cutwork technique.

The finished size of the bag is about 7" x 15 1/2 x 3". For one bag you need 2 pieces of fabric - one for the outer bag and one for the lining - measuring 15" x 17" each. For the cross-stitch design you will also need a piece of fabric large enough to be hooped in a 5" x 7" hoop.
Step One: For the bag with the Grapes cross-stitch design, make the embroidery on a piece of fabric. When the embroidery is finished, press and trim the fabric around the embroidery to get a square measuring 5 1/2" x 5 1/2". Fold the fabric back 1/4" around all the edges and press. Attach the square to the bag's outer fabric with a decorative stitch. Attach it approximately 5" from the upper edge and 5" from the side edges.
For the bag with the cutwork design, embroider the design in the center of the piece of outer fabric.
Step Two: Place the embroidered piece on a table, face up, and cover it with the lining, face down. Stitch them together along the top side. Unfold the working piece. Press the seam allowance to one side.
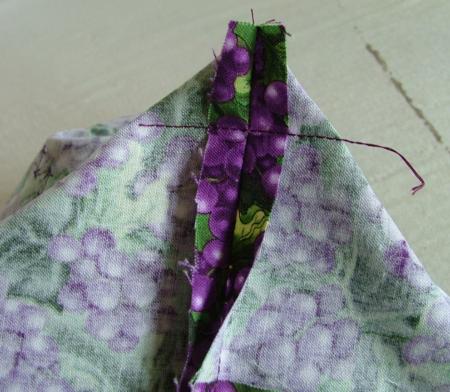
Step Three: Fold the working piece lengthwise, right side inside and align all the sides. Make a straight stitch along the long edge that's open. Rearrange the sleeve in such a way that the seam ends up in the center. Press the seam open. Stitch along one of the short sides of the outer bag.
Step Four: Flip the working piece over. Stitch box corners at the bottom of the bag. For this, separate the front and back sides at the corners. Center the seam on the bottom with the center of each side. Measure 1 1/2" along the seam from the corner and make a straight stitch perpendicular to the seam across the corner. Do not trim the seam. Press it inside and attach it to the bottom stitch with a few stitches.
Step Five: Turn the sleeve right side out through the opening at the bottom of the lining. Slipstitch the opening.

Step Six: Tuck the lining inside the bag. Place a bottle into the bag and tie a ribbon at the bottle's neck. Unfold the upper part of the bag as a collar.
We hope that you liked our idea and will come up with many of your own.
Yopu can read about how to make the lace table topper at FSL Crochet Grape Vine Border and Insert.


