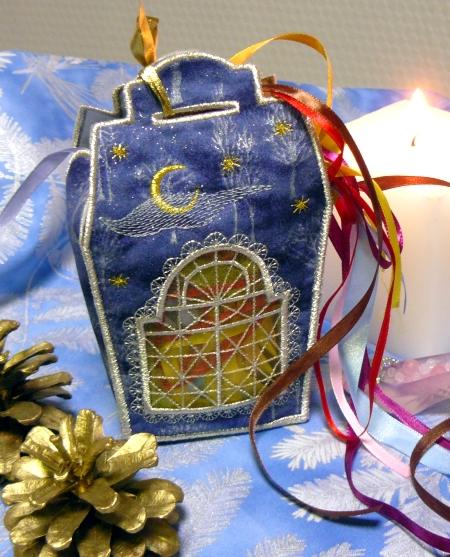
The holiday season is almost here, and the Winter Season Gift Bag is an excellent way to package all kinds of small gifts.
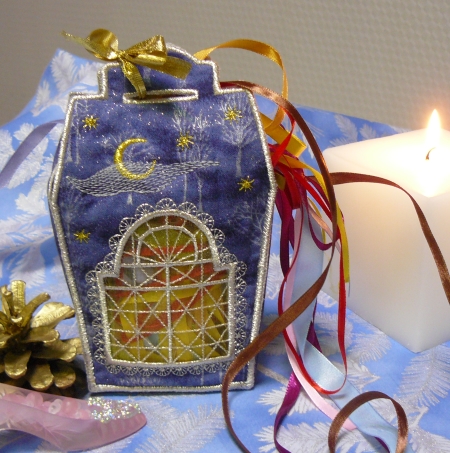
The finished size of the box is about 4" x 7" x 2". These are instructions on how to embroider and assemble it.
You will need four 6" x 8" sheets of polyester (craft) felt for the lining, pieces of fabric for the outside of the bag, a 4" x 5" scrap of organza, watersoluble mesh stabilizer and embroidery threads.
We used metallic threads to emboider the designs. For this type of thread, you will need a special needle.
The package contains 2 files: "SidePanel" and "ChBoxPanel". You will have to embroider each file twice.
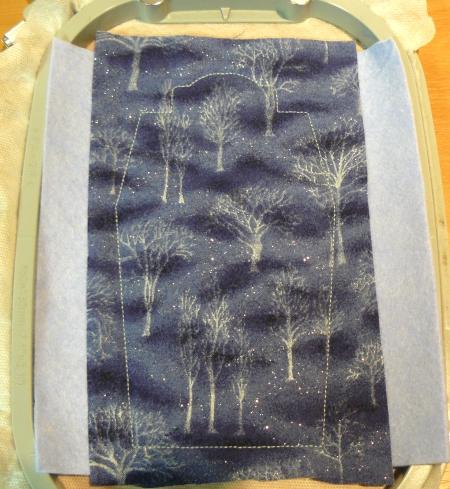
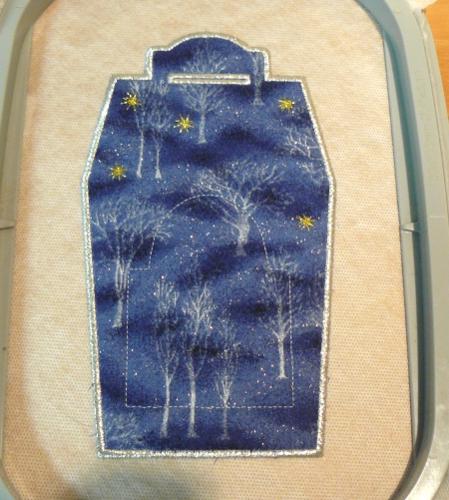
Step One: Hoop 2 layers of watersoluble mesh. Upload the file "ChBoxPanel" into your machine. Start embroidering. The machine will make the outline of the panel and stop.
Place a sheet of fabric onto a sheet of felt. Smooth out the fabric with your hands. Place these two layers over the embroidered outline and start the machine. It will embroider the outline again and stop.
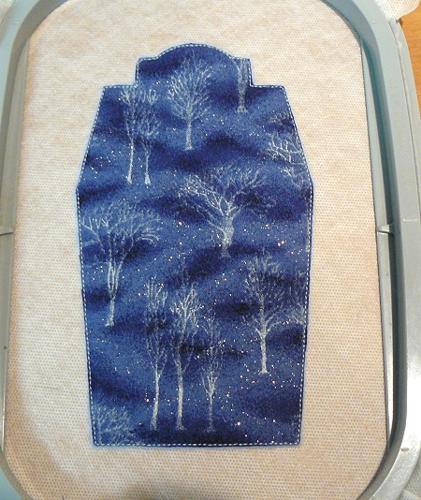
Step Two: Take the hoop out of the machine and with a pair of sharp scissors cut away the fabric and the felt outside the outline. Be careful not to cut the stabilizer.
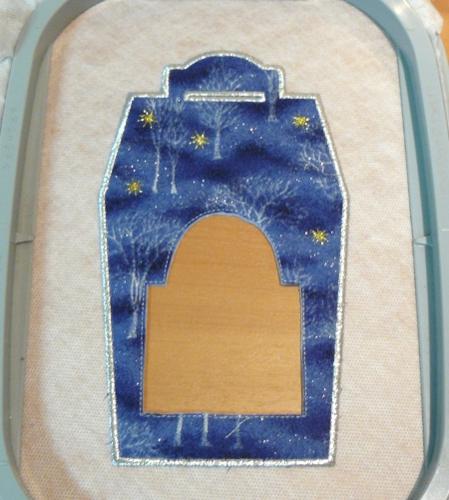
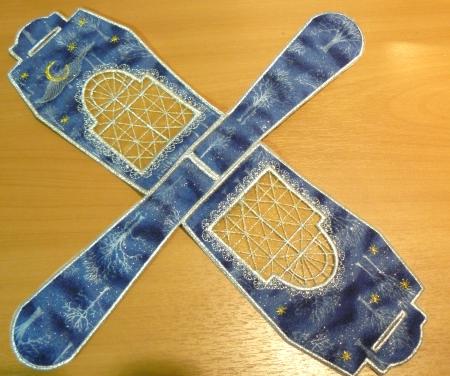
Step Three: Return the hoop to the machine. It will finish the raw edges, make the button hole and the outline of a window. It will look like this:
Step Four: Do this next step very carefully! With a sharp rotary cutter or a craft knife, make a small X-shaped cut inside the window outline. Insert really sharp scissors into the cut and cut away the fabric and felt inside the window outline. Do not open the hoop and try not to displace the stabilizer.
Step Five: Cover the window opening with a piece of organza. Secure with pins, outside of the embroidery area.
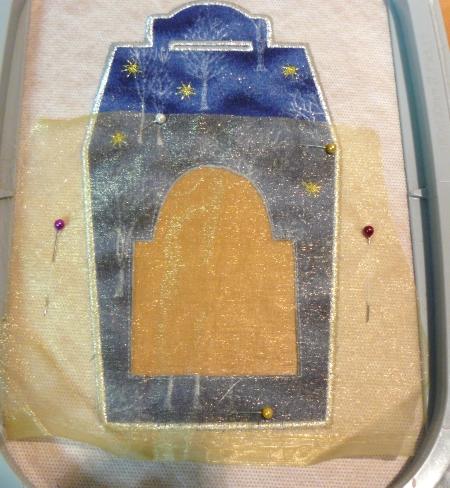
Start the machine. It will make the window outline over organza.
Cut away the excess organza as close to the stitches as possible.
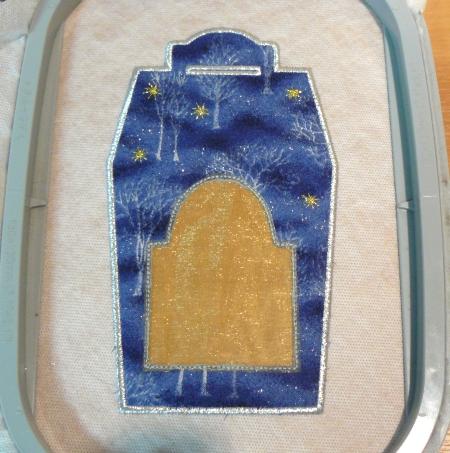
Step Six: Return the hoop to the machine and finish the embroidery.
Step Seven: Take the embroidery out of the hoop. Neatly trim the excess stabilizer. Rinse the remainder.
To wash away the stabilizer thoroughly, you might need to place the fabric into a bowl of water for half an hour and change the water several times. Use only luke warm water.
Spread the panel on a towel and leave to air dry.
Press with steam.
Step Eight: The file "SidePanel" is embroidered in almost the same way, but with a few differences. Because there are no lace elements, you don't have to use water-soluble stabilizer, you can use tear-away stabilizer.
Hoop the stabilizer. Place the fabric you are using over the felt and smooth it down with your hands. Insert the hoop into the machine and place the felt and fabric on top of it. Start the machine. It will embroider the outline of the piece and stop. Cut away the excess felt and fabric around the outline. Make sure not to cut the stabilizer.
Return the hoop to the machine and finish the design. Tear away the stabilizer (if using tear-away stabilizer) or rinse (if using water-soluble).
You will need two of the Side Panels.
Using your sewing machine, invisible thread, and zig-zag stitch:
Join the short edges of the side panels.
Match the midpoint on the bottom edge of the front panel with the seam between the two side panels and zig-zag them together.
Repeat for the back panel.
Cut through the button holes.
Fold all the panels back. One by one, zig-zag each of the four edges to connect the panels.
Thread a ribbon through the button holes and tie a bow.
The gift bag is ready! Now just fill it with a few small gifts and give it to your giftee!