Before embroidering a project, most designers will make test stitch-out to make sure that everything is alright with the design and that the threads, needles and settings of the machine have been set correctly. In a short time, these test stitch-outs pile up, take up space and gather dust. The idea of this project was to show how we can use the test stitch-outs to make small and cute quilts to hang up around the house or to give away as charming gifts.
This project is also a great exercise to hone your skills in free-motion quilting.
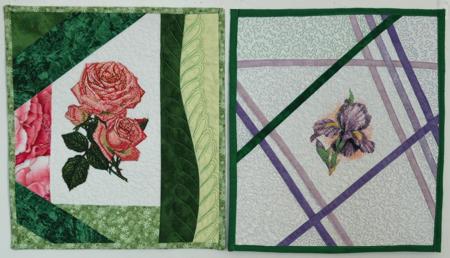
The finished size of the Iris quilt is 11" x 12 1/2". You quilt maybe a little bit larger or smaller, depending on your preference.
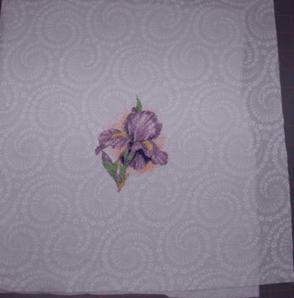
We started with a stitch-out of the Iris design. Then we selected scraps of violet, lilac and green fabrics. We cut them into 3/4" wide strips. Working with one strip at a time, place it face-down across the base fabric with the embroidery. Stitch the strip to the fabric, giving it a seam allowance of 1/4". Fold the strip to cover the seam. Press. Fold the raw edge of the strip under the strip. Press. Top-stitch in place.

In this way, attach several strips of different colors. When you are finished, press the working piece. Make a sandwich out the backing, batting and top. Start quilting.

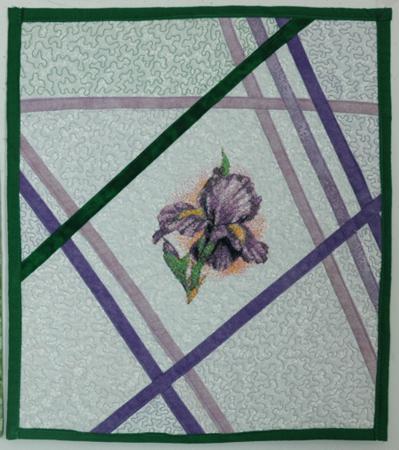
We quilted in a free-motion style, using lilac, yellow and green threads.
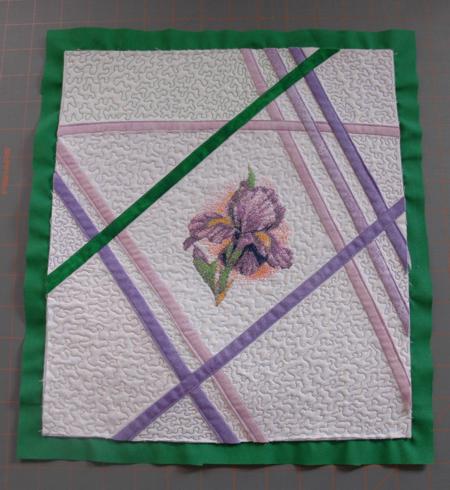
Square the piece and finish the raw edges either with binding or with satin-stitch over the edge.
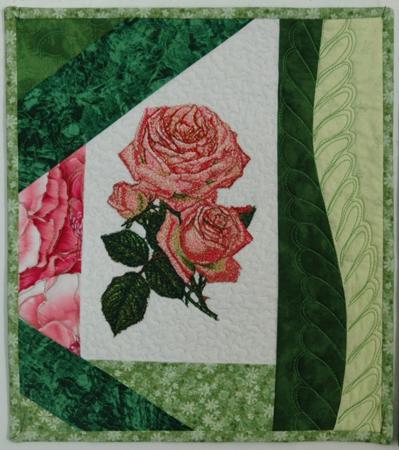
For the second, rose quilt, we used a stitch-out of the Queen Mary Rose and strips of pink and green fabrics of various widths and lengths. Its finished size is 11" x 12 1/2".
Attach the first piece. Seeam allowance is 1/4".
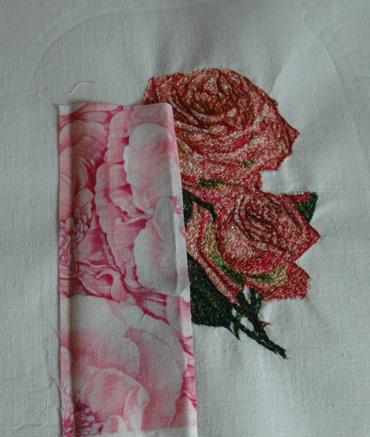
Fold it back and press.
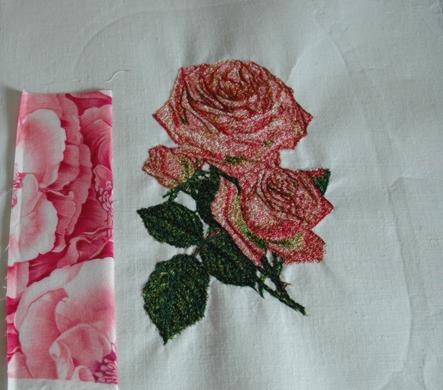
Place the second strip so that it covers one of the raw edges of the first strip. Attach in the same manner. Fold back and press.
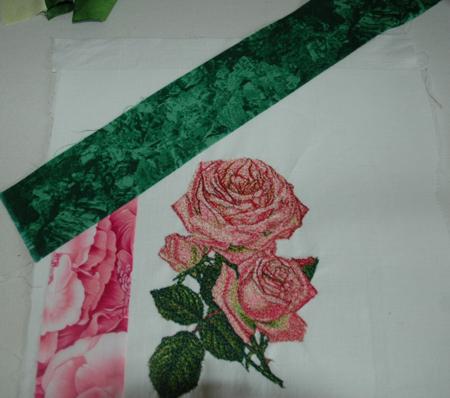
Go on until you have borders around the embroidery. Add a second row, if you wish. When you like the composition, square the piece. Add batting and backing and quilt. You have a small "crazy" quilt.You can either free-motion it or, using decorative stitches from your machine, top-stitch along the seams.
We hope that you liked our idea and will come up with many of your own.


