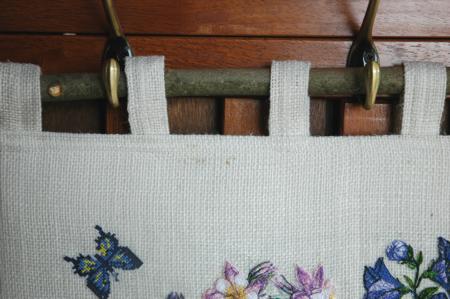
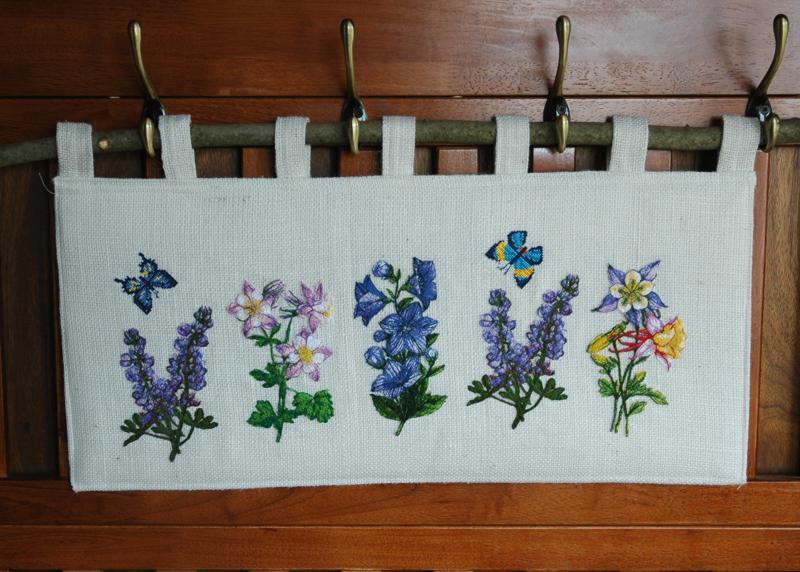
This charming wall hanging features several summer wildflowers from our collection. To give it a relaxed, rustic look, we used natural-colored burlap and hung the piece on a dried branch we found outside.
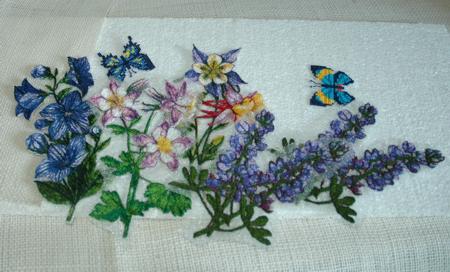
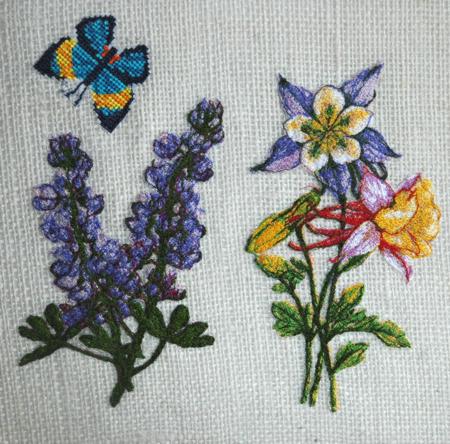
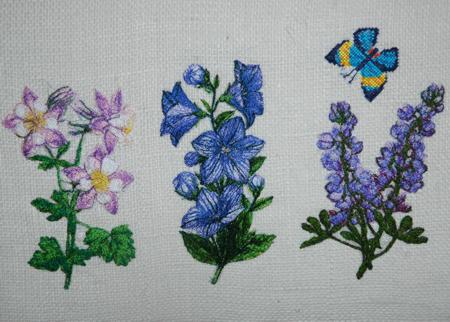
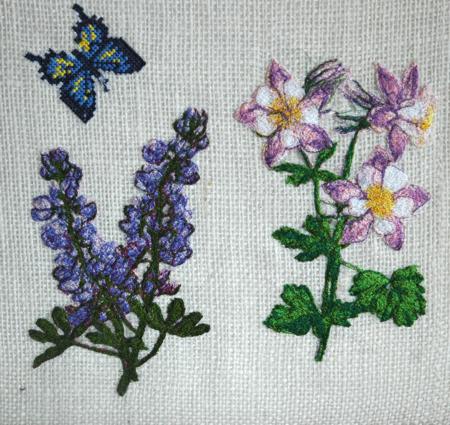
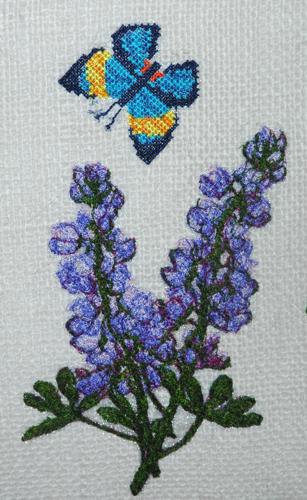
We used the floral photo-stitch designs of the Columbine, Balloon Flower, Bluebonnet, Columbine II and cross-stitch butterflies from the Butterfly Set.

The finished size of this panel is 25" x 11".
You will need 3/4 yard of burlap, medium-weight iron-on interfacing, Floriani Stitch N Shape fusible stabilizer, or similar fusible stabilizer, invisible thread, #12 sewing needle and #14 top-stitch needle. You will also need a 30" long branch or rod. Baste or temporary fabric adhesive spray will be helpful.
For the embroidery, you will need organza, watersoluble mesh, embroidery threads and a #11 or #12 embroidery needle.
We started by embroidering the flowers and butterflies. We used a layer of organza and a layer of water soluble mesh. After the embroidery was finished, we roughly cut the flowers out and placed them in a tub of warm water for a couple of hours. We changed the water several times. Then we placed each design on a towel to air dry.
When the pieces were dry, we neatly cut away all excess organza as close to the embroidery as possible.
Stabilize the burlap with a light-weight to medium-weight iron-on cut-away stabilizer to make the piece easier to work with. Cut out a piece measuring 23" x 27", and two strips measuring 2 1/2" x 24".
Out of Floriani Stitch N Shape fusible stabilizer, cut a piece measuring 11" x 25".
Fold the large burlap rectangle lengthwise, with the face side inwards. Stitch along the long side with a seam allowance of 1/2".
Open the seam allowance and press.
Turn the working piece out. You will get a tube. Insert the 11" x 25" piece of the stabilizer into the tube so that the seam is positioned approximately across the middle of the back.
Tuck the unfinished sides in about 1". Press the working piece to fuse the interfacing.
Topstitch the sides to close them.
Take the 2 1/2" x 24" strips and fold the long sides inwards so that they meet in the center. Press.
Topstitch both edges.
Subcut the strips into 6" long strips for the loops. You will need 7 loops.
Pin the loops to the back of the panel.
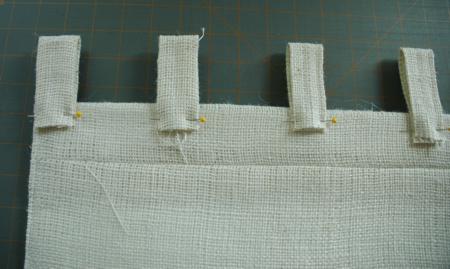
Topstitch them in place.
Now place the embroideries on the panel. Whan you like the composition, pin the pieces in place. You can also use a baste or temporary adhesive spray.
Using invisible thread, stitch the patterns to the panel in a free-motion style.
We hope that you liked our idea and will come up with many of your own!


