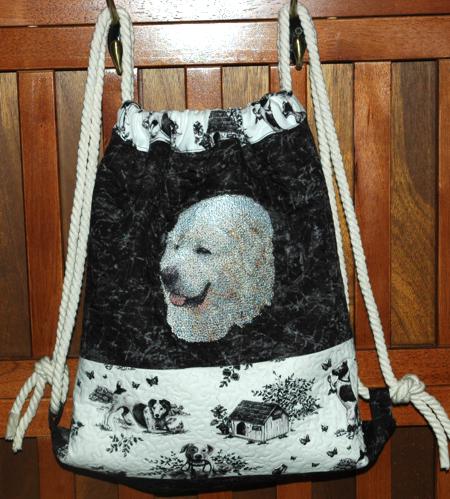
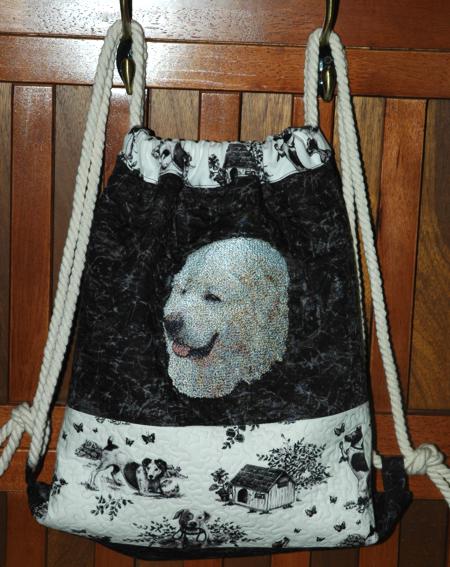
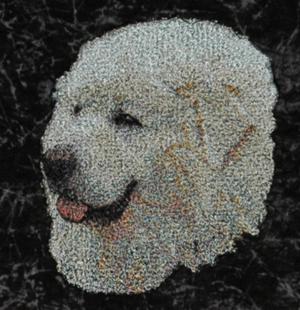
I take this roomy backpack with me when taking the dog for a walk. It's great for holding toys, a water bottle and a convenient bowl for when Duke wants a drink. The front panel features his embroidered portrait. You can find many dog and cat breed designs on our website.
The finished size of the backpack is about 16 1/2" x 16 1/2".
We used 2 fabrics: marbled black (about 1/2 yard) and white with a black pattern of dogs (about 1/2 yard). You will also need backing and batting, each piece measuring about 19" x 38", 4 yards (or 2 pieces 2 yards each) of cord for the handles, and self-adhesive sewing interfacing.
Out of black fabric, cut 2 rectangles measuring 10" x 18",
1 strip measuring 4 1/2" x 18",
1 strip measuring 3" x 10".
Out of patterned white fabric, cut 2 strips measuring 6" x 18". You will need to cut out additional pieces after the quilting, so be sure to hold on to the left-over fabric.
Sew together the strips in the following order. Seam allowance is 1/4".
To each of the 10" x 18" black strips attach the 6" x 18" white strips. You'll get 2 panels.
Join the two panels at the lower edges using the 4 1/2" x 18" black strip.
Stabilize the central part of the front panel with iron-on cut-away stabilizer. Make the embroidery. Cut away the excess stabilizer.
Because our dog embroidery (Great Pyrenees) is white and our background is black, we placed a piece of light-weight white stabilizer on top of the fabric. We trimmed away the topping stabilizer after the second color.
Now place the backing on a flat surface (table) face down. Cover with batting. Spread your working piece over it.
Pin all three layers together with 1" pins and start quilting. We quilted along the lines of the embroidery and made stippling all over the mat.
After the quilting is finished, press the work with heavy steam and square the work -- all corners should be 90 degrees and opposite sides should be of the same length.
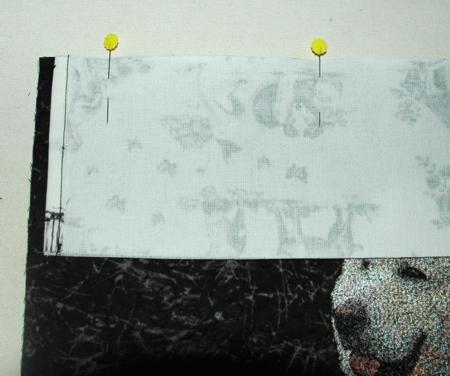
Measure the width of your working piece. After, squaring our work measured 17" wide. We cut 2 white strips measuring 4 1/2" x 17 1/2" and 2 interfacing strips measuring 4 1/2" x 16 1/2".

Place the interfacing strips on the wrong side of the white strips. Align the edges. Position the interfacing so that there is a 1/2" margin at each end.
Fuse the interfacing in place with a hot iron.
Fold the ends of the strips 1/4" back and press. Fold again 1/4" back. Press. Topstitch in place. Now you have 2 strips 4 1/2" x 16 1/2" with finished ends.
Place the backpack panel on the table, face up. Position the strips you just made on each end of the panel, face down. Align the edges. The short sides of the strips should be 1/4" from the edge. Pin in place. Stitch 1/4" from the edge.
Unfold the strips. Press the seam allowance to the strip.
Fold the long edge of each strip 1/4" back and press.
Fold each strip back in half and cover the seam between the backpack panel and the white strip with the finished edge of the white strip. Pin. Topstitch in place.
Take the black strip measuring 3" x 10". Fold the long sides back so they meet in the middle. Press. Fold the strip in half lengthwise. Press. Machine stitch several times, making paralell lines.
Cut the strip in half. Fold each new strip in half widthwise to get 2 loops. Pin the raw edges together. Topstitch 1/2" from the raw edge.
Fold the backpack panel in half, face inwards. Align all sides and pin.
Tuck the loops between the front and back near the bottom of the backpack. Note that you're working from the wrong side of the backpack, so the loops should be inside the backpack and the raw ends should protrude to the outside.
Topstitch to join the sides of the backback. Topstitch 1/4" from the edge and a scant 1/4" from the edge.
Finish the raw edges with zig-zag, serger or bias tape.
Turn the backpack out.

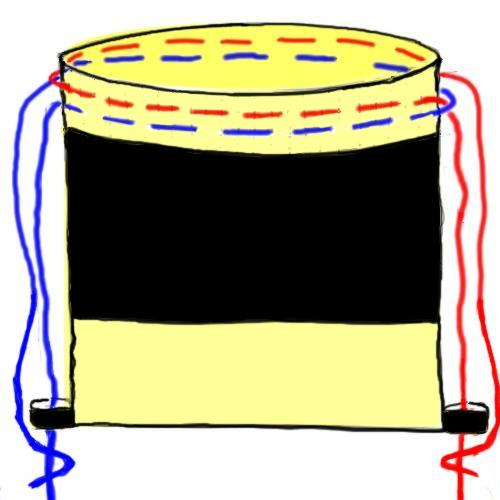
With the help of a safety pin insert the cord handles as shown on the diagram. Tie the ends.