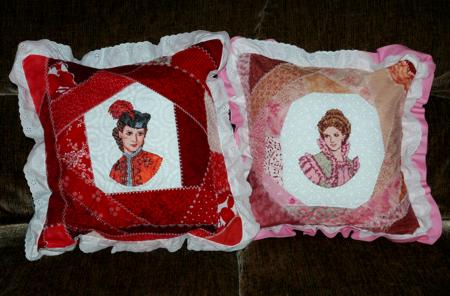
These "crazy" pillow cases are great if you have a bunch of matching scraps lying around. They're quite easy to piece and look gorgeous. You can give them away as a gift to your friends and family!
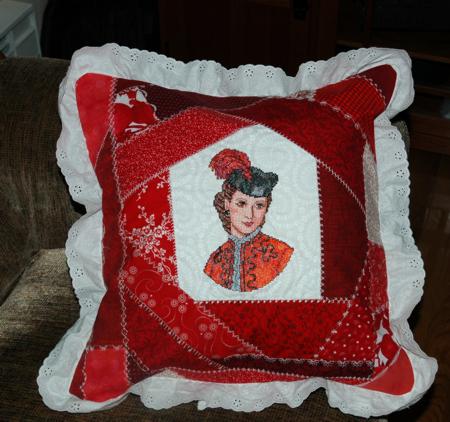
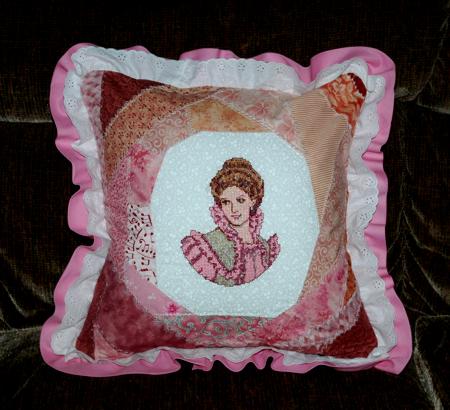
The pillows feature the Victorian Lady in Red and the Victorian Lady in Pink designs.
The finished size of each pillowcase is about 16" x 16".
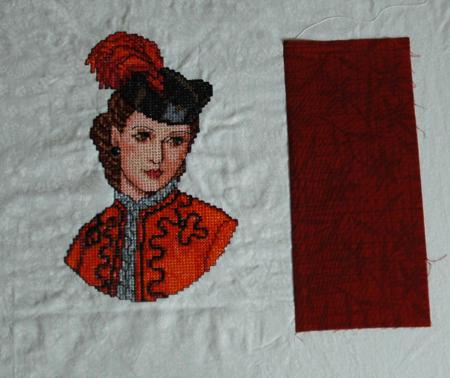
For each pillow you will need white or light cream piece of about 22" x 22" and lots of scraps in pink and red hues. You will also need fabric for the back (a fat quater for each pillow will work nicely), ruffles (optional), Velcro tape and pillow shapes.
Stabilize the central part of each white square with iron-on cut-away stabilizer. Make the embroidery. Cut away the excess stabilizer.
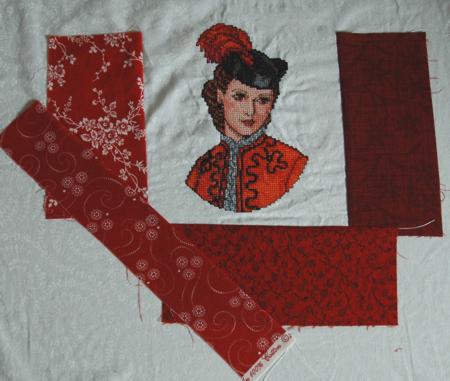
On your working table, place an embroidered piece face up. Organize your scraps by colors. We used red scraps around the lady dressed in red, and pink scraps around the lady in pink. Press and trim them.
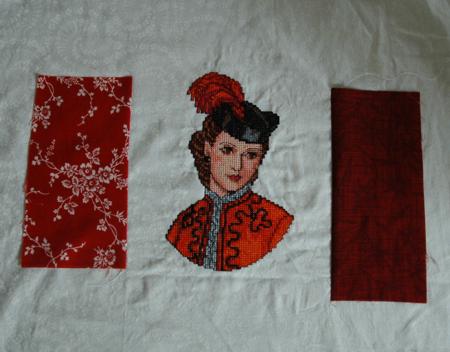
Starting with the smaller scraps, stitch them around the embroidery as shown.
Place a scrap close to the embroidery, face down, make a straight stitch 1/4" from the edge of the scrap.
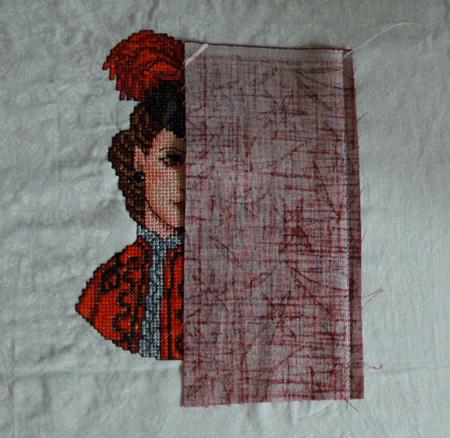
Fold the scrap back and press.
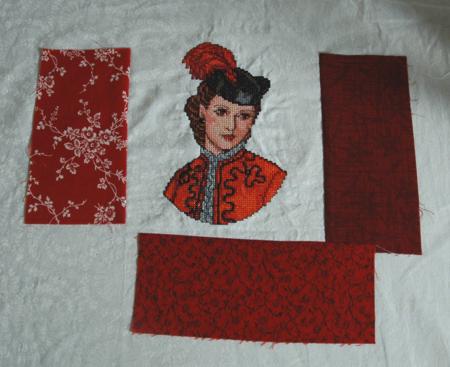
Attach the next scrap in the same way.
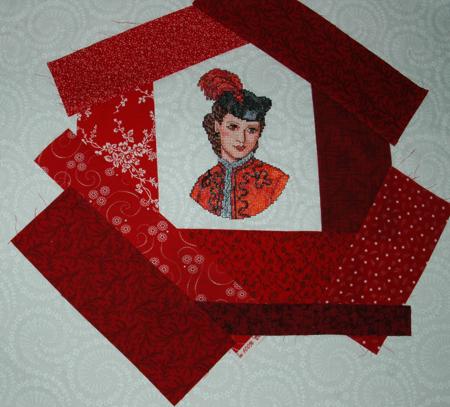
Continue attaching the scraps around the embroidery.
In this picture, we are attaching the next scrap so as to cover the raw edges of the two previous scraps.
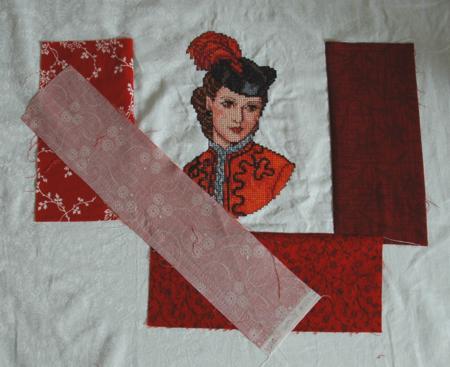
Go on selecting the scraps and sewing them on so that they cover the raw edges of the previous scraps.

Please do not forget to press each seam after you have made it.
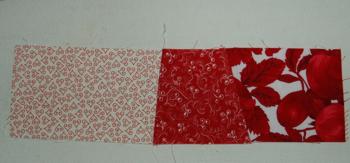
The further from the embroidery and closer to the edges of the white fabric, the longer the scraps you will need. If you do not have strips long enough, consider sewing together several scraps together.
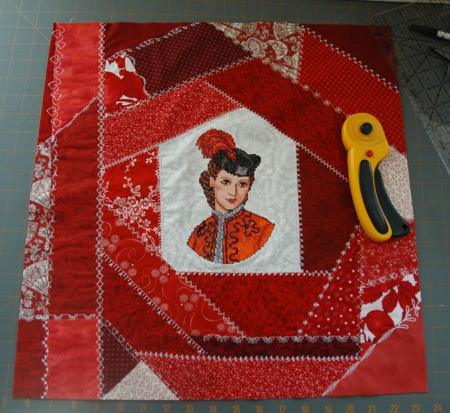
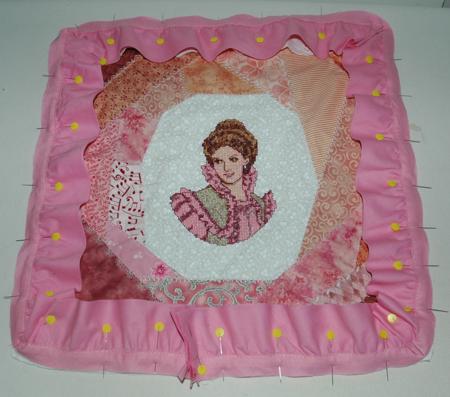
After you have covered all the white fabric around the embroidery with the scraps, press the top again. Using decorative stitches from your machine, topstitch over the seams.
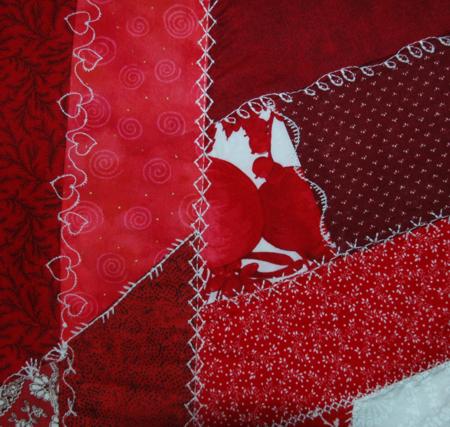
This is what our "crazy" top looked like after quilting. Press the work again.
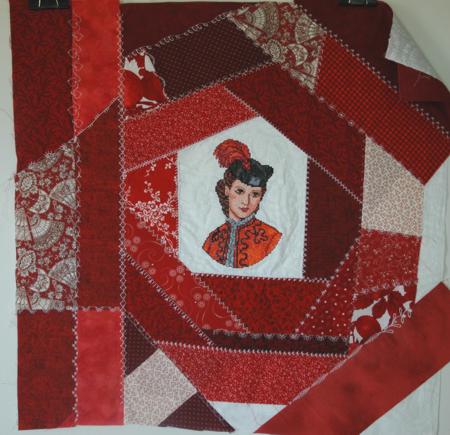
Using a ruler and rotary cutter, cut a 17" x 17" square with the embroidery in the center.
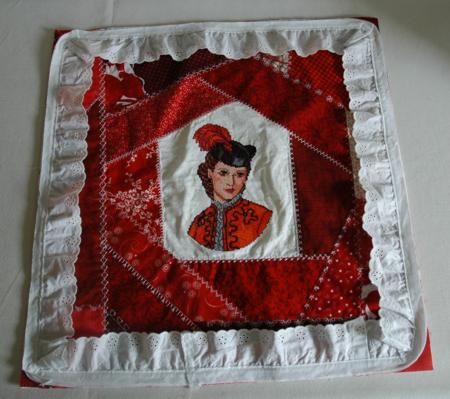
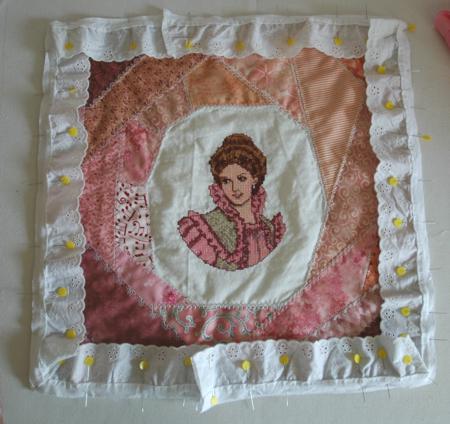
If you are making a pillow with ruffles, place the ruffle in the manner shown in the picture below. Align the raw edges of the ruffle with the raw edges of the pillow. Pin or baste the ruffle, then topstitch it to the pillow top.
If you are making double ruffles, first attach the narrower ruffle as described above.
Then attach the wider ruffle in the same way.
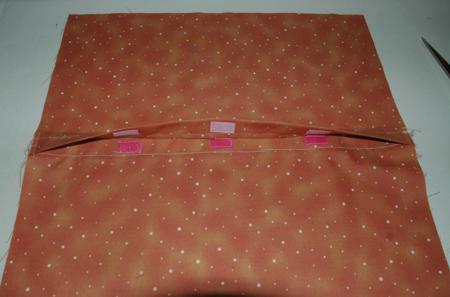
To make the back of the pillow, take your fat quarter. Its usual size is 18" x 22". Check the size of the fat quarter. Cut it to make it 17" wide and 22" long.
Then cut it widthwise to get 2 rectangles measuring 17" x 11". Place them on your working table face down. Working with one at a time, fold back 1" on one 17" long side and press. Fold back another 1" and press. Topstitch in place. Repeat for the second rectangle.
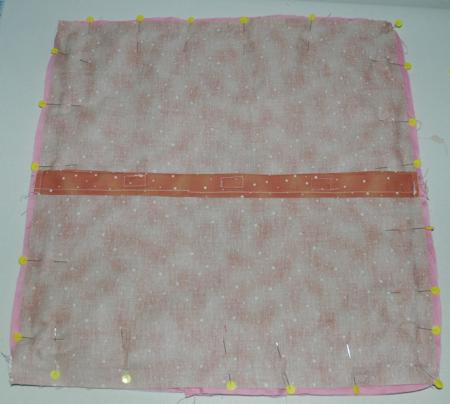
Place both rectangles face up so that the upper rectangle overlaps the lower one by 1". Align the sides. Attach Velcro tape as shown. Then stitch the overlapping parts together.
Place the front panel on your working table, face up. Cover with the back panel, face down. Pin the edges of the front panel and back panels together.
Stitch together about 1/2" from the edge.
Turn out and insert a pillow shape. Fasten Velcro on the back. Your pillow is ready. Enjoy!