Redwork Fine Art designs have a charm and style that is all their own. They're great for framing in regular picture or photo frames, or by taking just an hour of extra time, you can make beautiful quilted "frames", like the ones we describe in this tutorial.
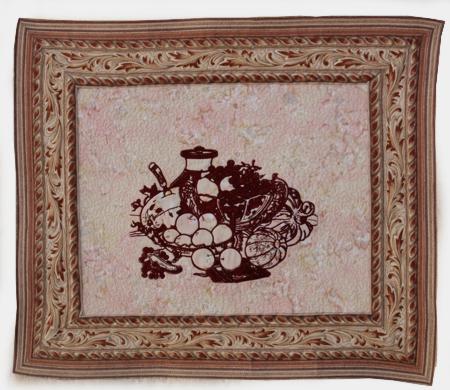
This is a very simple quilt. The central part is made of light batik and is surrounded by the 3" wide borders with mitered corners. We found a fabric with a pattern that looks like a woodem frame. The quilt features the Still-Life with Fruits by Robert Spear Dunning.
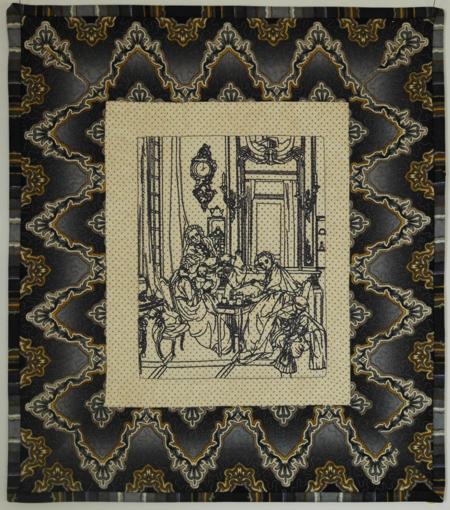
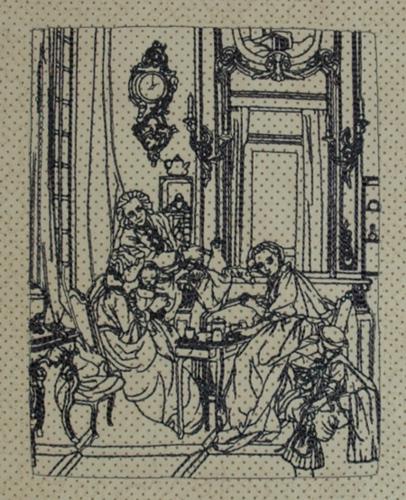
Our second quilt is made in the same way. It features the free design The Breakfast by Francois Boucher, which you can download below.
The finished size of this small quilt is about 14" x 16".
You will need a rectangle measuring 8 1/2" x 10 1/2" of light-colored fabric for the central part and about 1/4 yard of patterned fabric for the borders and binding. You'll also need a piece of batting and backing.
Out of light fabric, cut a rectangle measuring 8 1/2" x 10 1/2".
If you want mitered corners, out of the fabric for the border, cut four strips measuring 3 1/4" x 18" . If you want simple bo corners, cut 2 strips measuring 3 1/3" x 10 1/2" for the left and right borders, and 2 strips measuring 3 1/4" x 14" for the top and bottom borders. For the binding, cut 2 strips 2" wide and the length of the width of the fabric (40"- 42").
Assemble the top before embroidering. Press the seams towards the borders.
Download the embroidery file:
Large Hoop: Size: 129 mm x 166 mm / 5" x 6 1/2"
Stitches: 29231
Colors: 1
Mega Hoop: Size: 155 mm x 199 mm / 6 1/4" x 7 1/2"
Stitches: 33648
Colors: 1
Stabilize the central part of the quilt with iron-on cut-away stabilizer. Make the embroidery. Cut away the excess stabilizer along the borders of the quilt.
You can also use polyester craft felt instead of stabilizer. In this case, we recommend to baste the quilt top to the felt in the ditch along the borders. After the embroidery is finished, rip the baste and cut away the excess felt around the embroidery.
Now place the backing on a flat surface (table) face down. Cover with batting. Spread your working piece over it.
Pin all three layers together with 1" pins and start quilting. We quilted along the lines of the embroidery and made stippling all ove the quilt.
After the quilting is finished, press the work with heavy steam and square the work -- all corners should be 90 degrees and opposite sides should be of the same length.
Finish the raw edges with the binding.


