Please read the General Guidelines first.
Some points to remember from the General Guidelines:
Use Vilene water soluble stabilizer;
Use the same thread for the upper and bobbin to get two-sided embroidery.
DO NOT embroider several designs in one hoop.
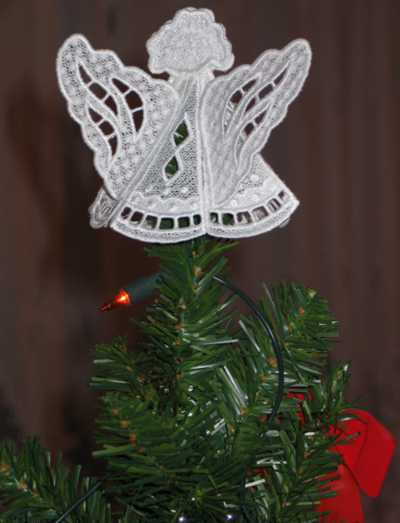
Here are instructions to making a free standing lace Angel Tree Topper .

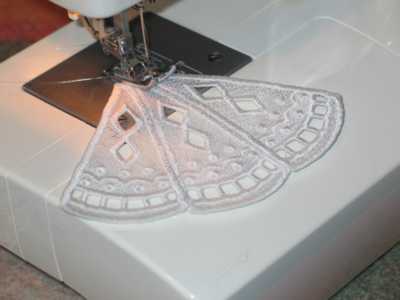
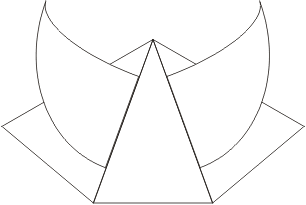
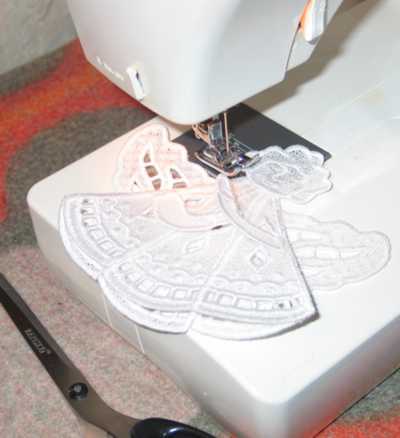
Step One: Hoop two layers of Vilene and embroider the parts out of which you will make your tree-topper. You will need 6 copies of the skirt, 2 wings, 2 arms, one head front and one head back, and the Bethleham star.

Step Two: Cut the parts out. Neatly trim the excess stabilizer. Place under warm running water to wash away the remaining stabilizer. Press between your hands while the designs are still wet to squeeze water out of them and lay flat to dry between two towels. Iron the designs.
Step Three: When the parts are dry, start to assemble the topper. Using a zigzag settig, stitch three parts of the skirt together. This will be the front panel of the skirt.
Stitch the arms to each side of the assembled front panel of the skirt.

Step Four: Assemble the back panel of the skirt with the wings. First zigzag the wings to one panel of the skirt.

Then, fold one wing flat against the skirt panel and zigzag a second skirt panel to the working-piece.


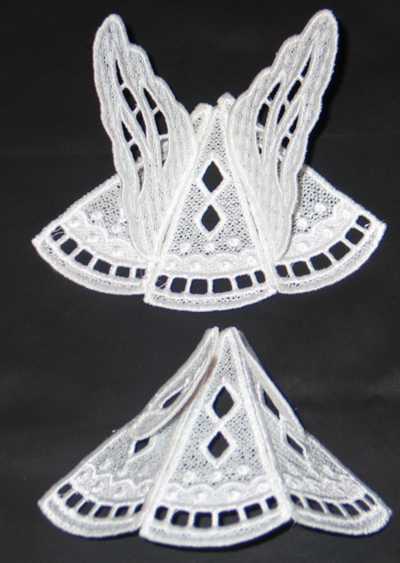
Step Five: Zigzag the face of the angel to the front part of the skirt and the back of the angel's head to the back part of the skirt.
Step Six: Zigzag both halves together. Be careful to avoid stitching through the wings and hands.
The tree-topper is ready. This is the back view.
You can also use this angel as a 3D tree ornament.

 Angel Ornament Set |
 Childhood of Jesus Ornament Set |
 Nativity Ornament Set |
 Nativity Ornament Set II |


