Please read the General Guidelines on Embroidering our FSL designs first.
Some points to remember from the General Guidelines:
Use Vilene water soluble stabilizer;
Use the same thread for the upper and bobbin to get two-sided embroidery.
DO NOT embroider several designs in one hoop.
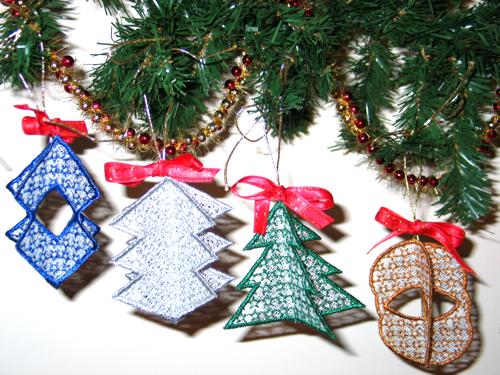
Free-standing lace ornaments can be embroidered both using Rayon and Polyester thread, depending on your preference. For the best results you should use the same thread for the upper thread and bobbin thread. These are the instructions for our
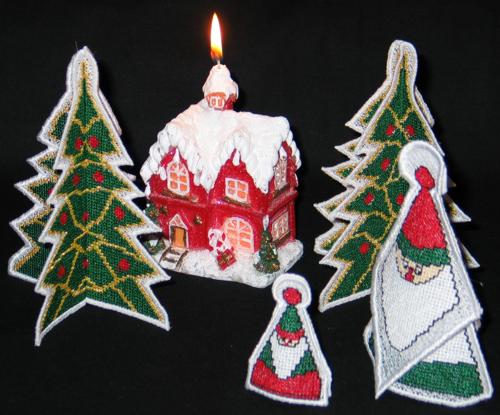
3D Christmas Toys.
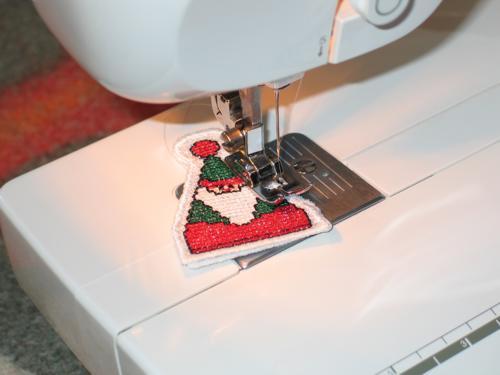
Step One: Hoop 2 layers of water soluble stabilizer. We recommend fabric-like stabilizers, such as Vilene, which dissolves in warm water very quickly. Film-like water soluble stabilizers, such as Solvy and Madeira's Avalon, are not suitable for the purpose. You can purchase it at https://www.pgsspecialties.com/html/stabilizer.html or in other stores.
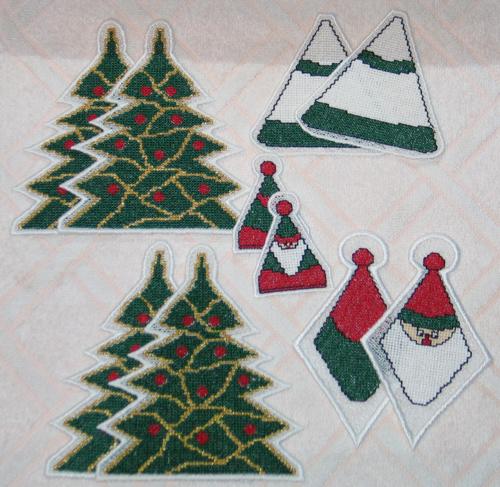
Embroider the tree pattern and the pattern of the larger Santa twice. Rmbroider all other patterns once. DO NOT embroider more than one design in a hoop at at time. Water-soluble stabilizers stretch and if you hoop it incorrectly, or embroider more than one pattern in the hoop, you can easily ruin all your work.
Step Two: Rinse the stabilizer and leave the patterns to air dry. Press with steam.
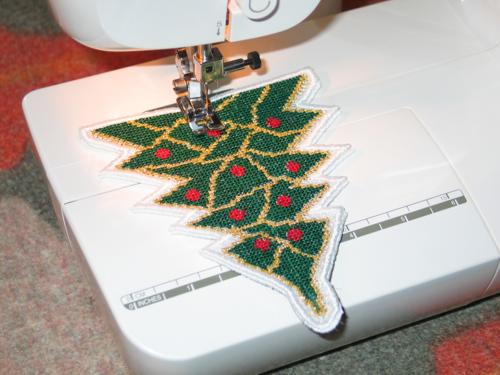
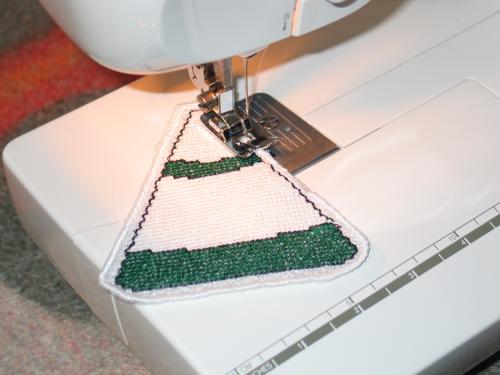
Step Three: To make the tree, take two designs and stitch them together in the middle along an imaginary line from bottom to top.
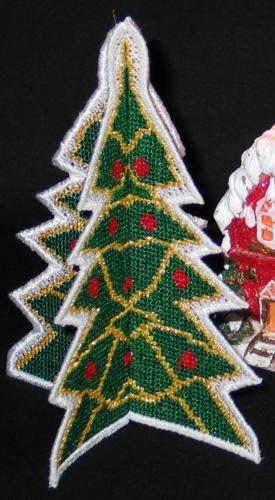
Step Four: Now fold each part along the stitched line, so that the sides of each part meet. Press with steam and let go. The parts will unfold slightly and you'll get a 3D tree.

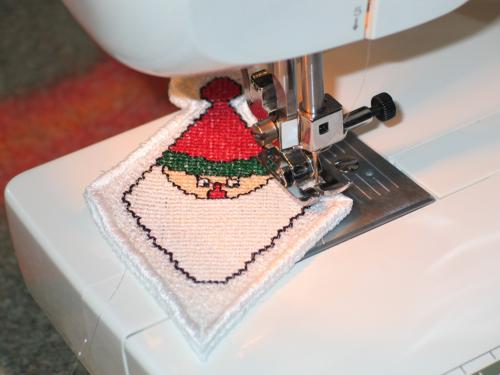
To assemble the larger Santa, place two parts of his coat wrong side to wrong side and stitch them together over the edge. Leave open the bottom part with the wide green strip.
Place the upper panels of the Santa together, wrong side to wrong side and stitch over the edge. Leave the two lower edges open.
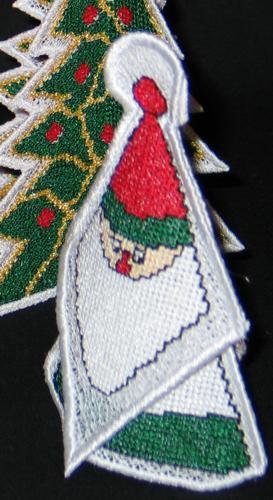
Now slide the head onto the coat.
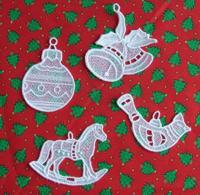
 Lace Ornament Set II |
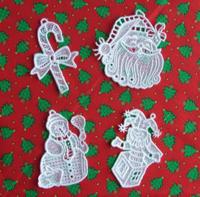
 Lace Ornament Set I |
 Nativity Ornament Set |
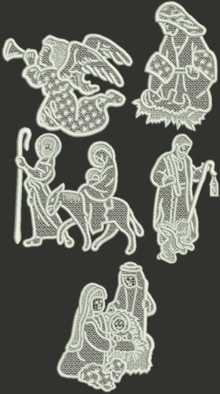 Nativity Ornament Set II |


