
You will need water-soluble Vilene stabilizer and 40-, 50- or 60-weight cotton embroidery threads. The thinner your thread is, the finer the final product. We used Pacesetter 50-weight cotton.
The parts of the cardigan are embroidered like all our FSL crochet, so please read the General Guidelines and Step-by-Step Guide to Embroidering our Crochet-Style FSL designs.
Step One: For one cardigan, embroider
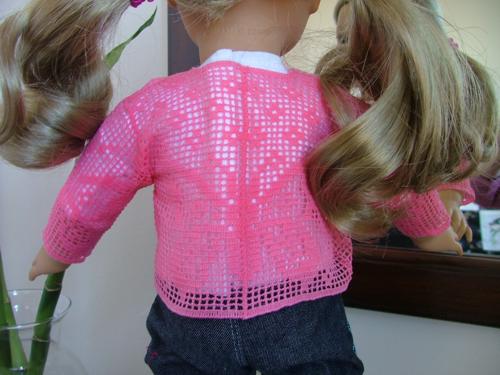
two back parts;
the left and the right front parts;
two sleeves.
Trim the stabilizer close to the designs, leaving at least 3/4" around each design. DO NOT dissolve the stabilizer at this point.
At this stage you can read the Step-by-Step Guide to Assembling Crochet-Style FSL Designs into a Project; it might be helpful.
Step Two: Thread your machine with the SAME thread with which your embroidered the designs. Use short and not very dense zigzag. First, stitch the back parts together. Then make the shoulder seams, attaching the front parts to the back. Next, attach the sleeves.
Now fold the workpiece in half down the center of the sleeves and zigzag over the edge to connect the sleeves and the front and the back.
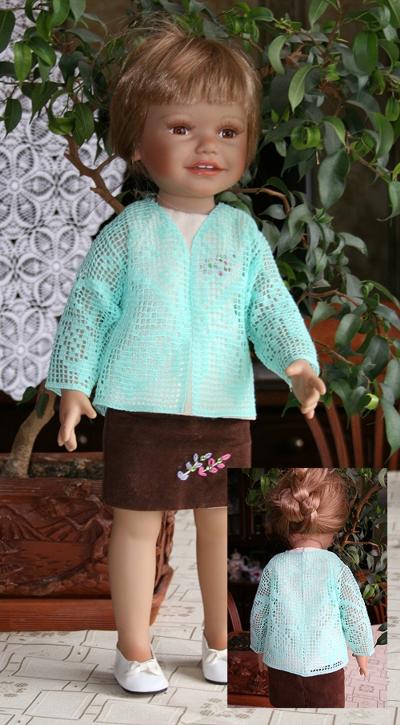
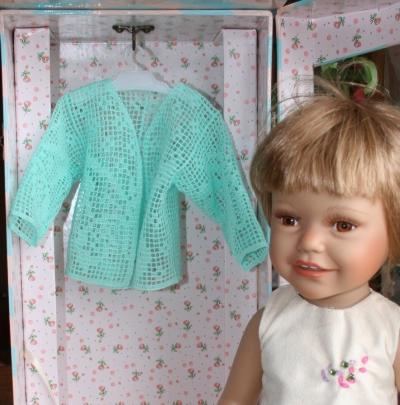
Step Four: You can now go ahead and dissolve the water-soluble stabilizer. Place the cardigan into a bowl of warm water; change the water several times to dissolve the stabilizer completely. So that the cardigan dries evenly, spread it on a flat surface and let it air dry. Iron, if needed, with a mini iron or with the tip of a normal iron.