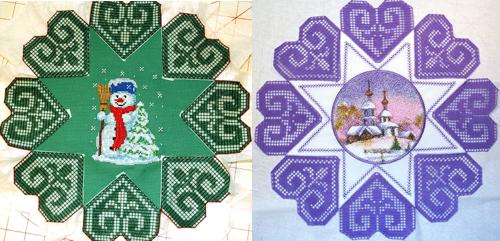
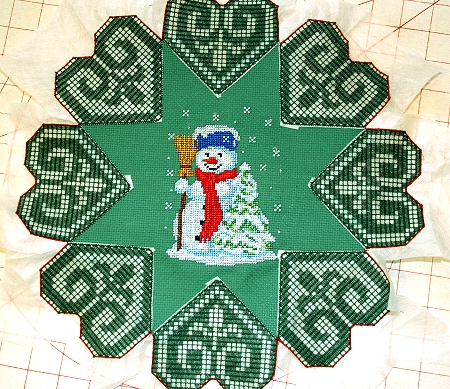
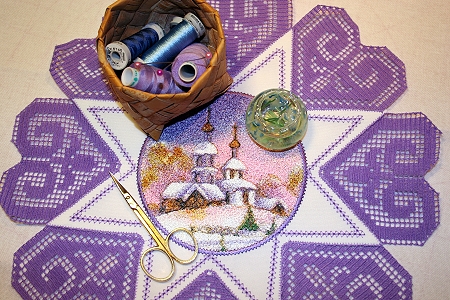
Step One: Embroider the fabric insert first, then set it aside. When embroidering the snowman, we did not embroider its frame.
Before proceeding to step two, please read the General Guidelines and Step-by-Step Guide to Embroidering our Crochet-Style FSL designs.
Step Two: Embroider each Heart design four times.
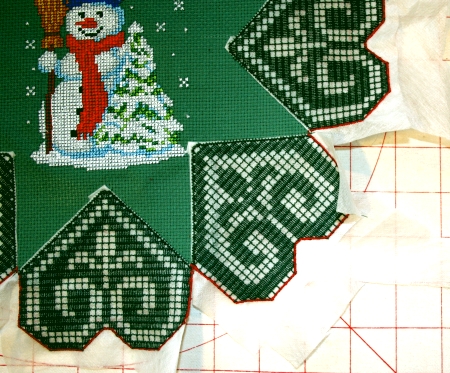
Trim the stabilizer close to the designs, leaving at least 3/4" around each design. DO NOT dissolve the stabilizer now.

Please read the Step-by-Step Guide to Assembling crochet-style FSL Designs into a Project first.
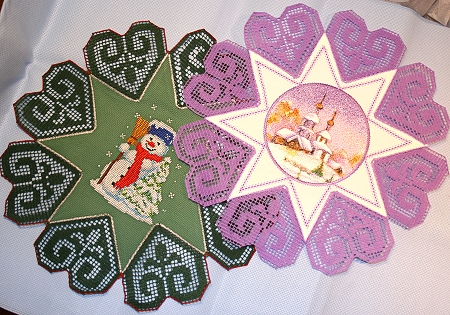
Step Three: Lay out the FSL patterns in accordance with the diagram above, pin them in place and start stitching. You can use either zigzag or any other bridge stitch. The stitch should be dense enough in order not only attach the lace to the fabric, but also finish the raw edges of the fabric.
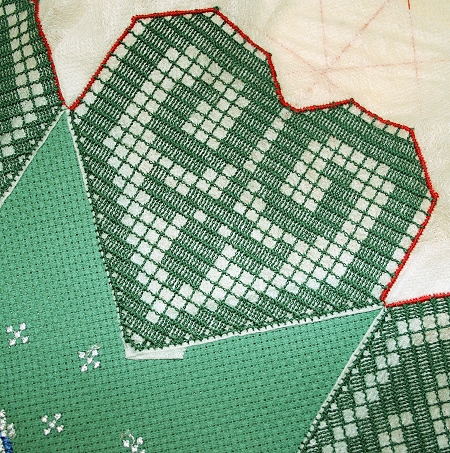
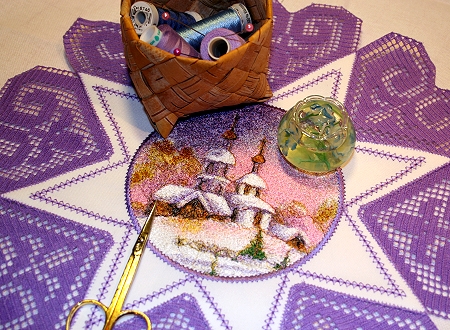
Step Four: Cut away the excess fabric under the lace. You can now go ahead and dissolve the water-soluble stabilizer. Place the workpiece into a bowl of warm water; change the water several times. Spread the doily on a flat surface and leave to air dry.
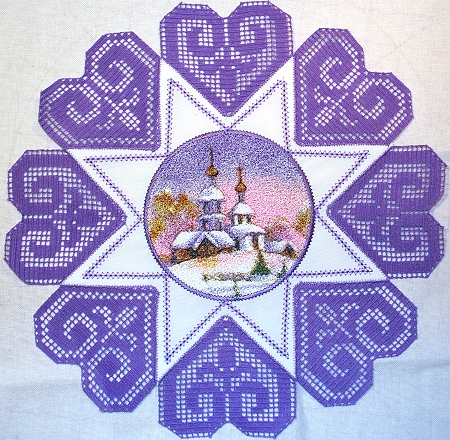
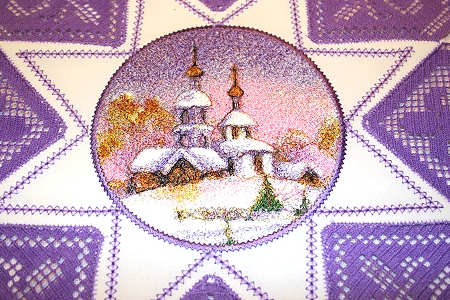
The second doily is made in the same way. We used the design Winter and a decorative stitch from the machine.
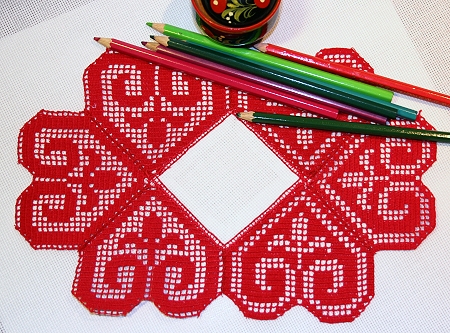
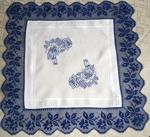
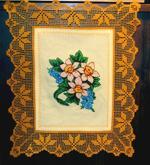
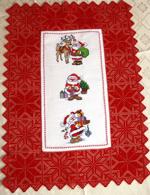
Here is another style of doily with a square fabric insert:
 |
|
 |
|
 |
|


