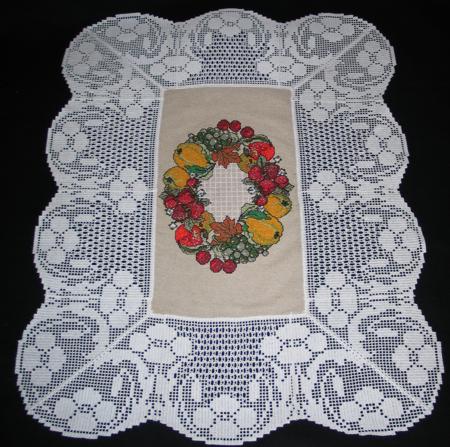
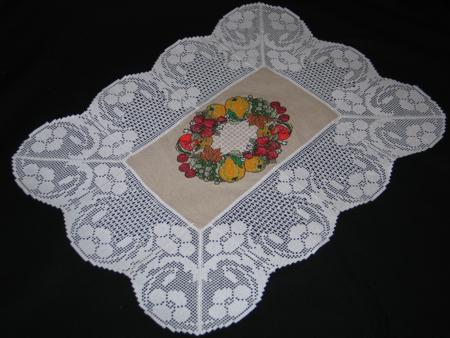
We made a small doily, embroidering the two corner designs four times and the panel design 6 times, but you can easily make a larger project simply by embroidering the panel design as many times as you need.
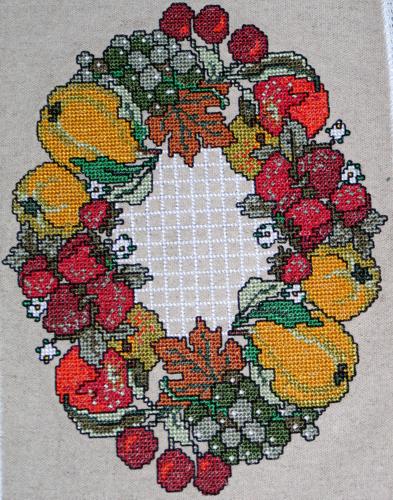
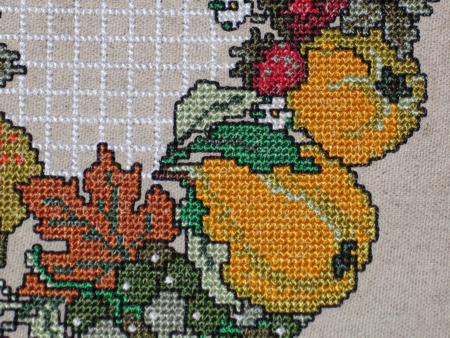
Step One: Find the center on your piece of fabric. Hoop it with water-soluble stabilizer so that the central point is in the middle of the hoop. Embroider the Harvest Wreath design. Set it aside for a while.
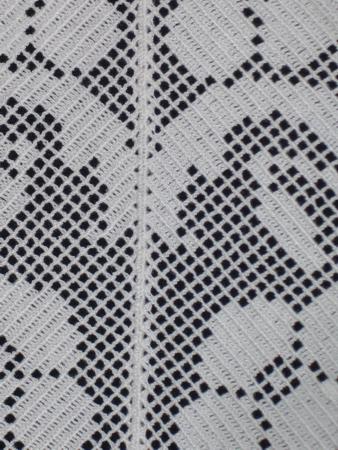
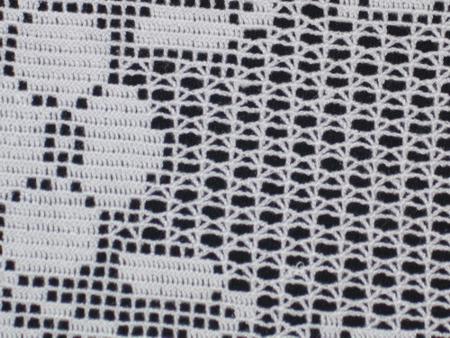
Step Two: Hoop two layers of Vilene water-soluble stabilizer. Embroider each of the two corner designs four times. Embroider each panel design six times.
Trim the stabilizer close to the designs, leaving at least 3/4" around each design. DO NOT dissolve the stabilizer now.
Step Three: On a working table, lay out the embroidered parts to form a lace frame, pin them to each other and start stitching. Use a short zigzag and the same thread that you used for the embroidery. Please read the Step-by-Step Guide to Assembling Crochet-Style FSL Designs into a Project, if you are unfamiliar with the procedure.
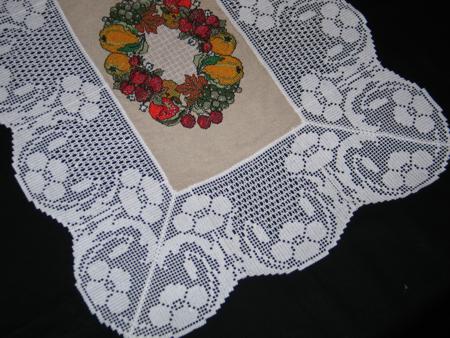
Step Four: Lay the lace frame over the embroidered insert. Pin in place. You can use zigzag or any other bridge stitch. The stitch should be dense enough in order to not only fix the lace to the fabric, but also to finish the raw edges of the fabric.
Step Five: Cut away the excess fabric under the lace. You can now go ahead and dissolve the water-soluble stabilizer. Place the working piece into a bowl of warm water; change the water several times. Spread the doily on a flat surface and leave to air dry.
If you like the idea, but do not have a hoop large enough to accomodate the Harvest Wreath design, you might like to try the following designs:
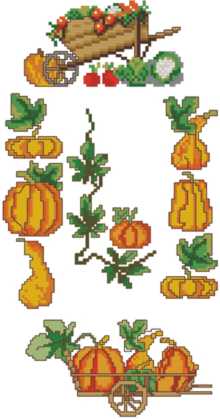
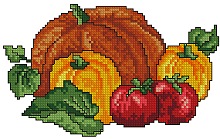 Pumpkin Harvest |
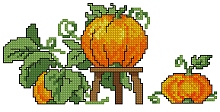 Pumpkin Set |