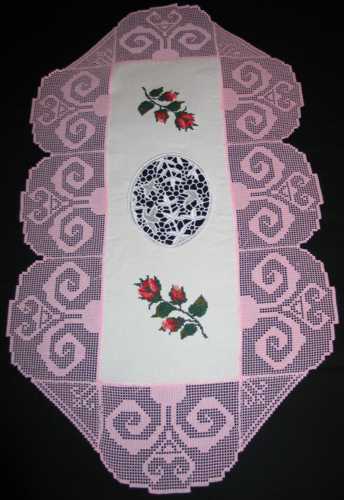
For this project, a table runner and doily, we used the designs from the Red Roses Set and the FSL Crochet Flower Scroll Border Set .

The finished size of the table runner is 16 1/2" x 29 1/2".
The finished size of the doily is about 16" x 16".
For the table runner, you will need a 10" x 23" piece of cotton or linen cloth (we used cotton fabric).
For the doily, you will need a a 10" x 10" piece of cotton or linen cloth (we used cotton fabric).
For both projects, you will also need 40-weight rayon or polyester embroidery threads, water-soluble Vilene stabilizer and 50-weight cotton embroidery threads.
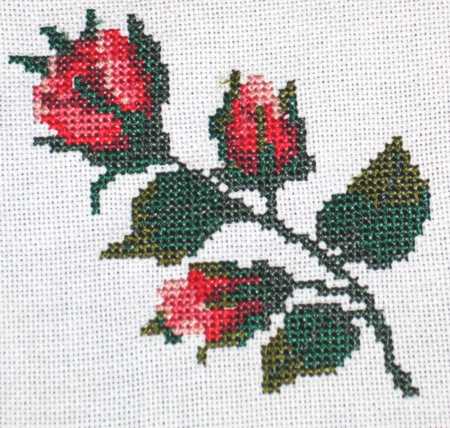
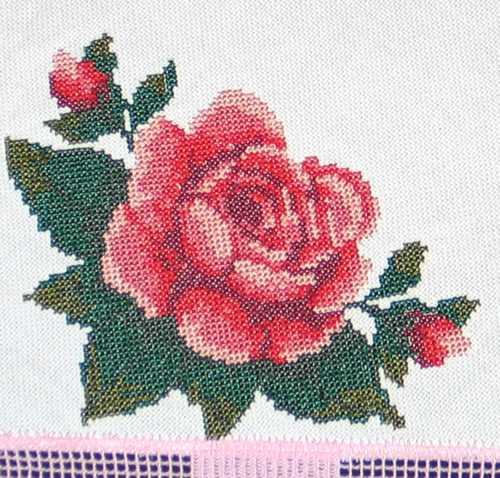
Step One: Pre-wash the fabric. Stabilize the fabric with any water-soluble stabilizer, preferably Vilene. Mark the position of every designs and embroider the roses first.
The roses are in the cross-stitch technique, so trim all the jumps after every color. You do not need to dissolve the stabilizer yet.
Leave the working piece aside for a while.
Before proceeding to embroider the crochet lace, please read the General Guidelines and Step-by-Step Guide to Embroidering our Crochet-Style FSL designs.
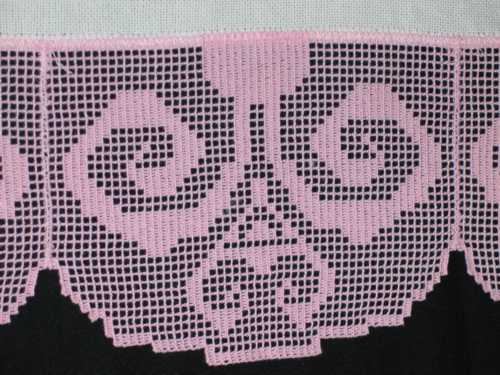
Step Two: Embroider the corner crochet triangles four times.
Embroider each part of the edge lace eight times.
Trim the stabilizer, leaving at least 3/4" around each design. Do not dissolve the stabilizer yet.
Please read the Step-by-Step Guide to Assembling crochet-style FSL Designs into a Project first.
Step Three: Using a dense zigzag, stitch all the edge lace parts together. Start with a triangle and stitch three edge pieces in a row, finish the row with a second triangle, attach one edge piece, finish with a triangle, and repeat for the remaining two sides. You'll end up with a lace frame, the inner opening of which should be about 7 1/2" x 21".
Step Four: Place the lace frame over the embroidered piece. The fabric piece will be larger than the lace frame, but do not trim the excess fabric just now! Pin or baste the lace over the fabric, then zigzag in place. Now trim the excess fabric under the lace.
Step Five: You can now go ahead and dissolve the water-soluble stabilizer. Place the runner into a bowl of warm water; change the water several times. So that the runner dries evenly, spread it on a flat surface and let it air dry. Then press carefully.
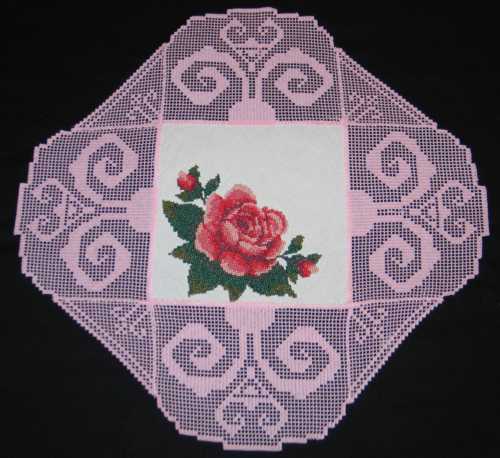
To make this doily, follow the instructions for the table runner.
Embroider the fabric insert first.
To make the crochet edge lace, you'll have to embroider four corner triangles and four lace edge parts. The rest of the procedure is the same as for the table runner.
We hope that you like our ideas and will come up with many of your own.


