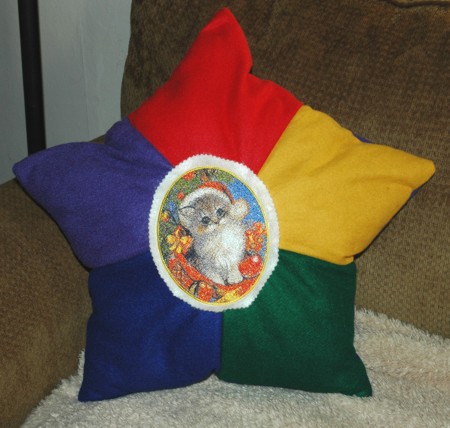
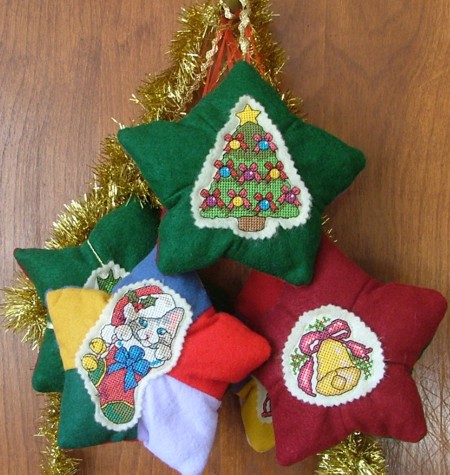
These star-shaped cushions are an extremely easy and quick project. We made them in two sizes: a larger one that can be used by a child or placed on a couch, and smaller ones that can be hung on a Christmas tree or around the home. Both are made exactly the same way except for a difference in proportions.

The embroidery design used on the larger cushion is Santa's Pet .
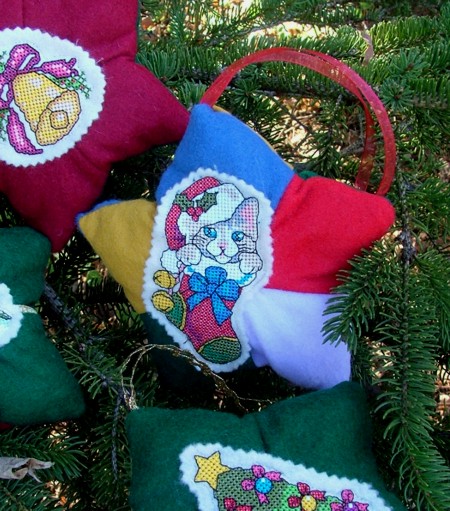
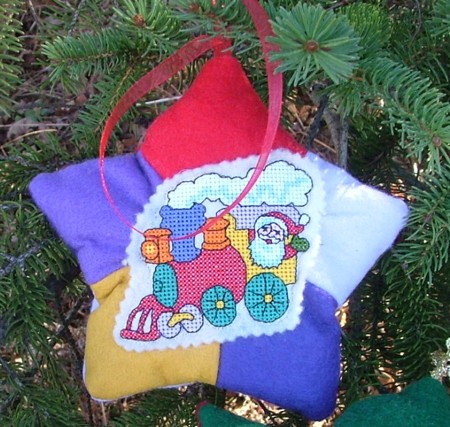
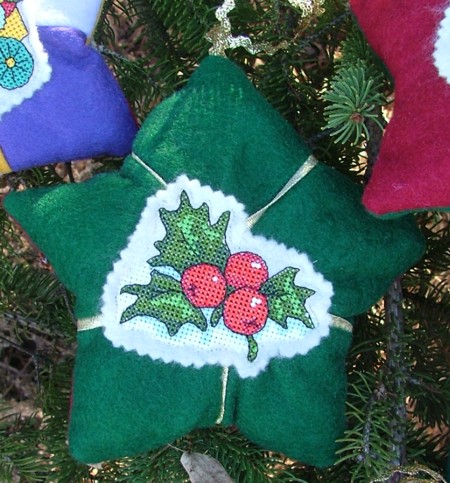
The small cushions are embellished with the designs from the Christmas Miniatures Set I and Christmas Miniatures Set II.
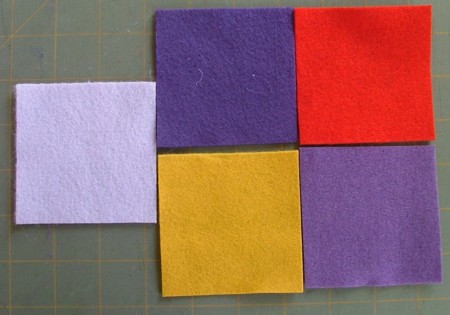
You will need either wool or polyester felt of different colors, pieces of trim or ribbons, stuffing, embroidery threads, and light-weight cut-away stabilizer.
Note: you can use any fabric for the project. However felt is very easy to work with and we recommend it.
For a large cushion cut 10 squares measuring 8" x 8".
For each small cushion cut 10 squares measuring 3" x 3".
Hoop light-colored felt stabilized with light-weight cut-away stabilizer. Embroider the designs you like.
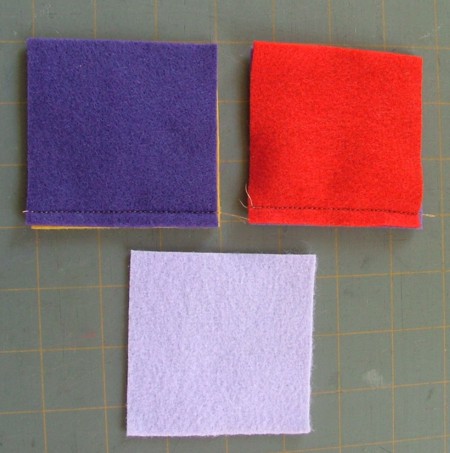
Take 5 squares.
Place 2 pairs together, align the sides. Sew one side with seam allowance 1/4".
Unfold.
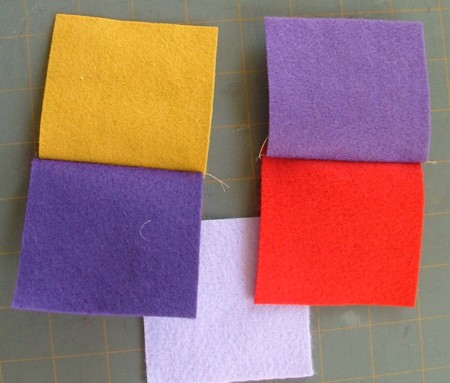
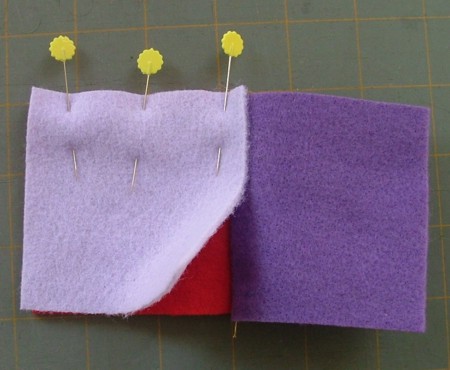
Position the remaining square over one of the paired squares. Align the edges and pin.
Stitch 1/4" from the pinned edge.
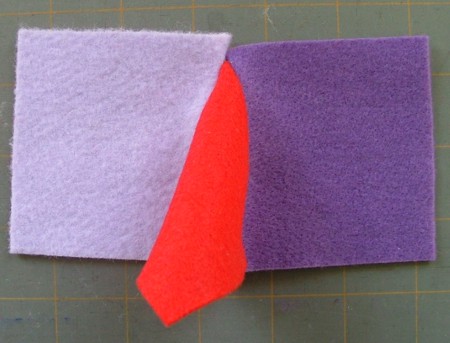
Unfold.

Take the piece by the first and third squares and unfold them in a straight line, as in the picture below.
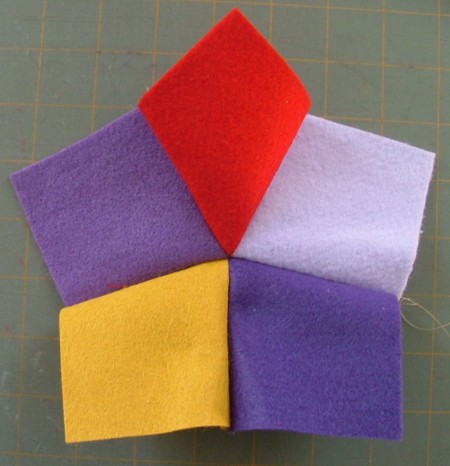
Cover with the second unfolded pair. Align the long edge. Pin. Straight-stitch 1/4" from the edge.

Unfold. You will get one half of the cushion. In the same way, sew the second panel.
Take your embroidery and position it over the center of one of the panels. Baste-stitch it to the panel making sure that there are no large pleats on the panel.
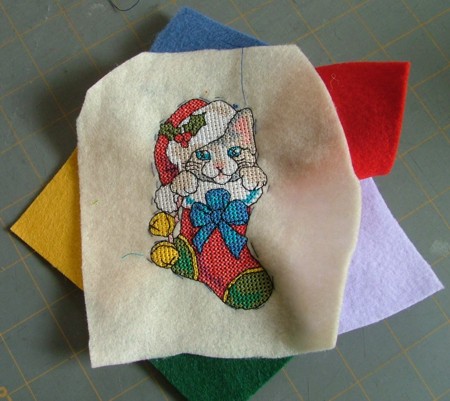
Machine-stitch the embroidery in place following the outline of the design. We used the free-motion foot on our machine for this purpose.
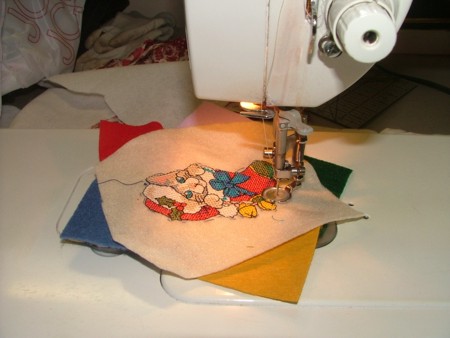
With a pair of fancy-edged scissors, cut away the excess felt close to the embroidery.
Cut a piece of trim, fold it in a loop, and pin the ends of the loop to the upper ray of the star.

Cover with the second panel. Align and pin all edges. Machine stitch 1/4" from the edge. Leave one side of the last square open.
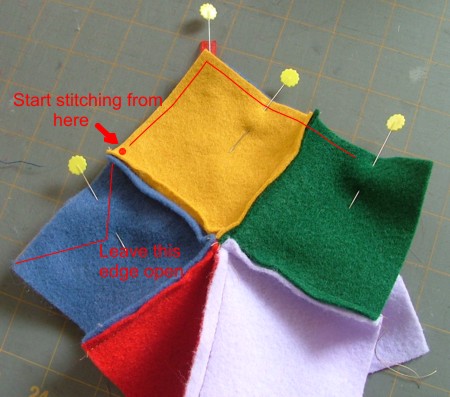
Turn the cushion right side out through the opening. Stuff with stuffing. Hand-stitch the opening closed.