The designs from our FSL Rose Gift Box are embroidered as regular FSL. You can read about this in our General Guidelines.
To embroider this set we used 40-weight polyester embroidery threads; you can also use rayon or cotton (50- or 60- weight) embroidery threads. If you use cotton embroidery thread, we recommend to clean the machine after embroidering every part because cotton threads, even ones specially made for embroidery machines, leave a lot of lint.
Some points to remember from the General Guidelines:
Use Vilene water soluble stabilizer;
Use the same thread for the upper and bobbin to get two-sided embroidery.
DO NOT embroider several designs in one hoop.
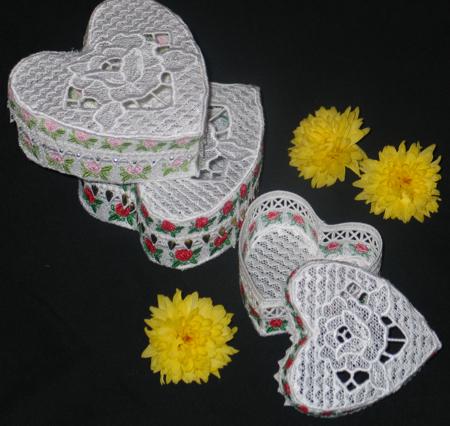
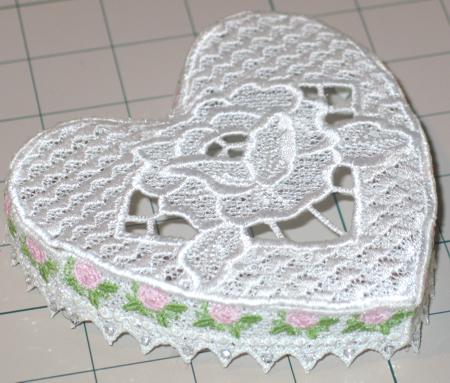
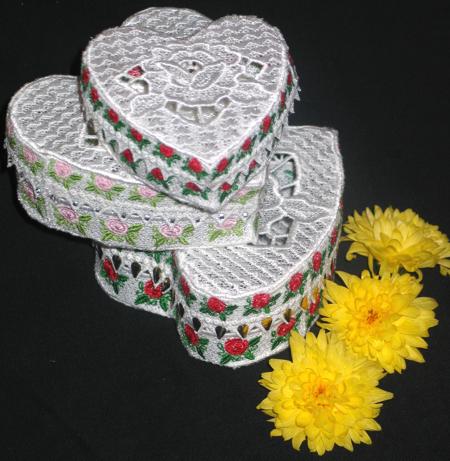
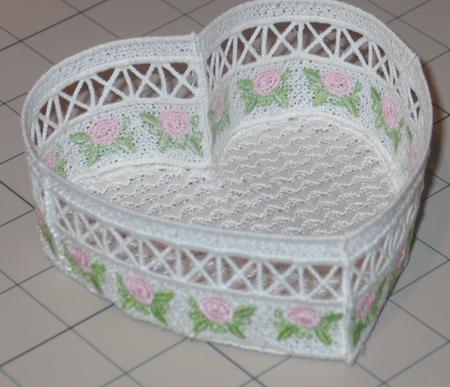
The finished size of the small box is about 3 1/2" wide and 1 1/2" high; and the large box - about 5" wide and 2" high.
You will need: embroidery thread, water-soluble Vilene stabilizer, invisible thread for assembly and hot-fix crystals (optional).
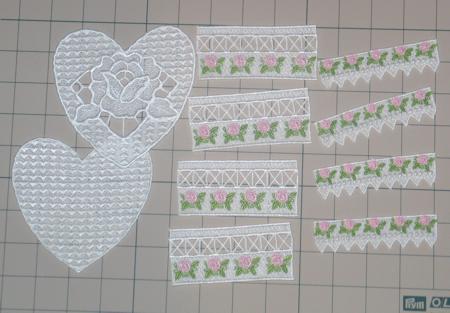
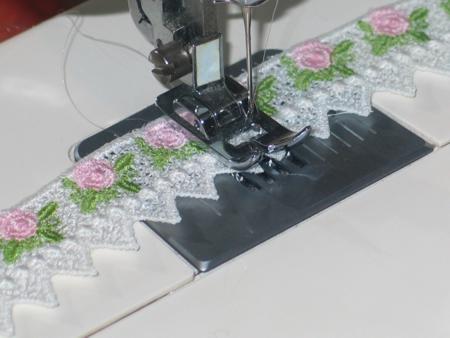
Step One: Embroider the box's lid and bottom once; embroider the side parts four times each. The wide parts are for the bottom, the narrower parts, with frills, are for the lid.
Step Two: After you embroider the necessary parts, rinse the stabilizer and leave to air dry. Press all parts with steam.
Step Three: Stitch the side parts together in pairs - you'll get 2 longs sides for the bottom and two long sides for the lid.
If you want to decorate the box with beads or hot-fix crystals, do this now.
Step Four: Take the bottom part and one long side for the bottom. Using invisible thread and zig-zag stitch, join the parts as shown. Work from the inside of the box.
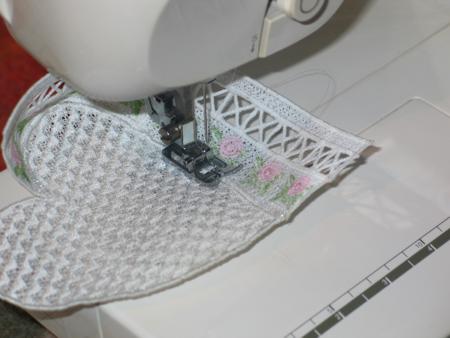
Step Five: Repeat Step Five for the second side. Join the open seams - the upper seam stitch from the inside, and the bottom seam stitch from the outside of the box.
Step Six: Take the lid and one of the long sides with the frills. Working from outside the box, attach the side to the lid as shown.
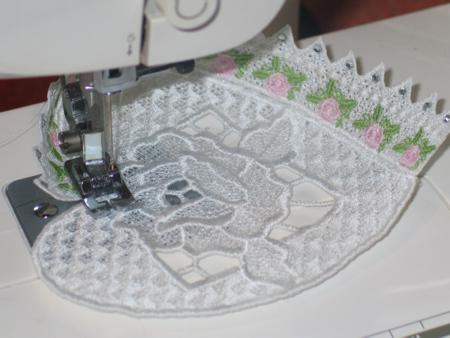
Step Seven: Repeat Step Six for the remaining side part. Join the open seams - the upper seam from the inside of the lid, and the bottom seam from the outside of the lid.