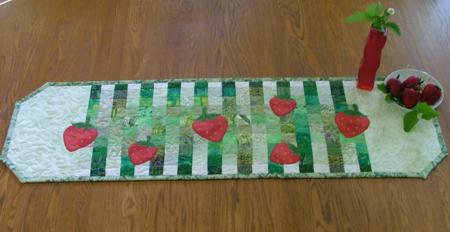
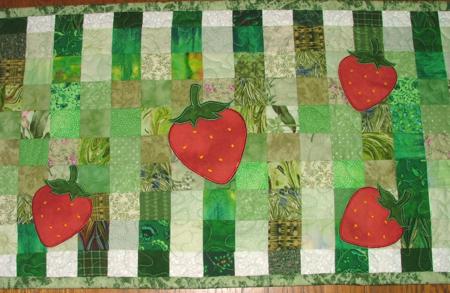
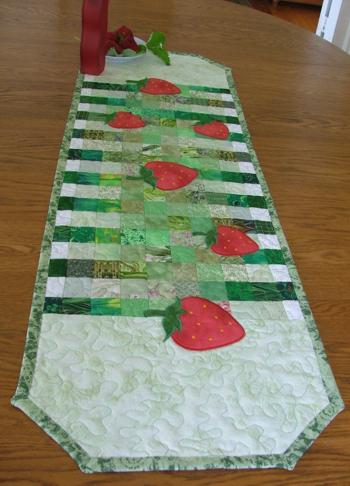
For this project we used the design of strawberry from the Fruit Appliqué Set. We used designs for both the large and small hoops. The finished size of the table runner is about 45" x 14".
You will need scraps of green fabrics and 1 fat quarter of light green fabric for the top, scraps of red and dark green fabric for the berries, batting and fabric for the backing and binding. You will also need 2" fusible grid - it will make your work easier and faster. Fusible grid is available in quilt and craft shops and in the craft departments of large stores, such as WalMart and JoAnn.
Cutting:
Out of the fusible grid, cut a piece meausring 10 x 20 grid blocks.
Out of the green scraps cut 2" x 2" squares. You will need 200 squares.
Out of the light green fat quarter cut 2 rectangles measuring 14" x 8 1/2".
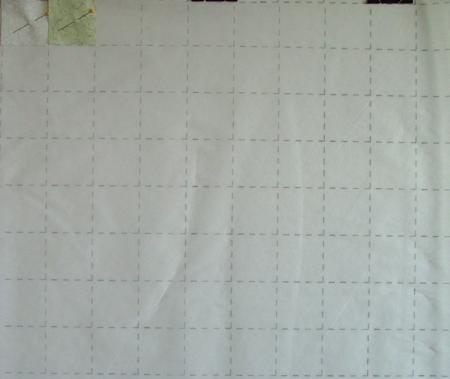
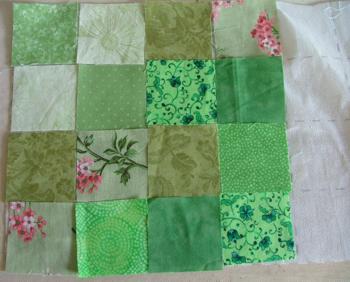
Step One: Spread the fusible grid on a table, or a designer wall. Arrange your green pieces on the grid. If it's lying on a table, just place the fabric squares over the squares of the grid; if you're using a designer wall, attach the squares with pins.
When you are satisfied with the arrangement, take the grid to the ironing board and press the squares with a hot iron. The fabric will fuse to the grid. You now have a 20" x 40" working piece. Take it to your sewing machine.
Step Two: Place the working piece face up. Fold the first row over the second row. Stitch 1/4" from the edge. Repeat with the second row, folding it over the third row. Do the same for the third row, then the fourth row and so on. You'll have to make 19 seams.
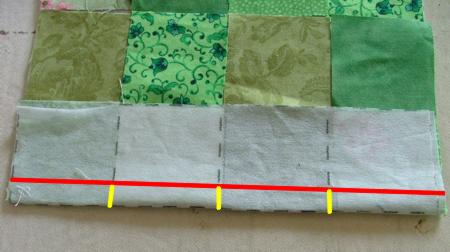
Step Three: With a pair of scissors, make cuts in the seam allowance along the grid lines. This prevents the seams from becoming too thick when you are stitching the rows together in the other direction. In the picture below, the seam is marked in red, and the cuts that you have to make are marked in yellow.
Step Four: Now fold the first long row onto the second long row along the grid line. Unfold the seams allowances in different directions and stitch 1/4" from the edge. Repeat for the rest of the long rows. You should have 9 seams in total.
Step Five: Press the working piece with steam, then square it.
Step Six: Attach light green rectangles to the short sides. Your top is ready for embroidery.
Choose any design from the Fruit Appliqué Set.
We used the design of a strawberry. Hoop the top with a light-weight cut-away stabilizer.
Select threads to match the colors of your fabrics.
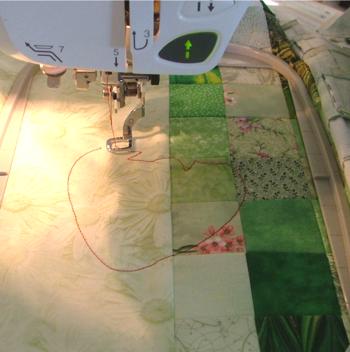
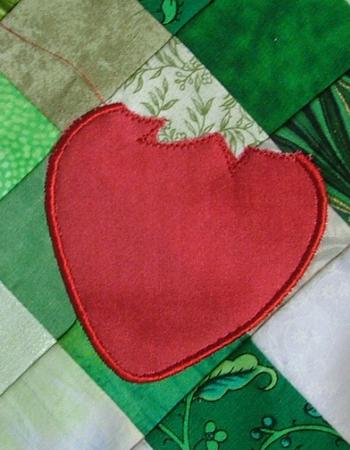
Start embroidering with red threads. Start the machine. It will embroider an outline of the berry and stop.
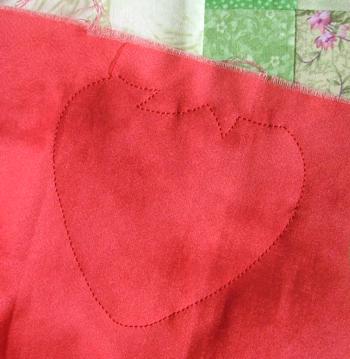
Cover the outline with a piece of red fabric and start the machine. It will embroider the outline of the berry over the fabric.
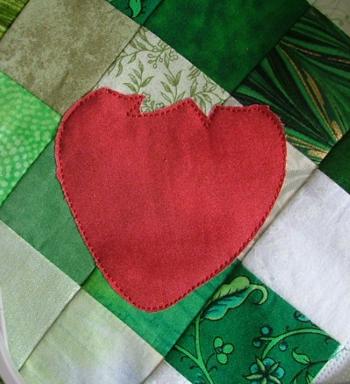
With a pair of scissors, cut away the excess fabric as close to the seam as possible. Return the hoop to the machine and finish the outline.
Change the threads to green ones and repeat the procedure to embroider the leaves.
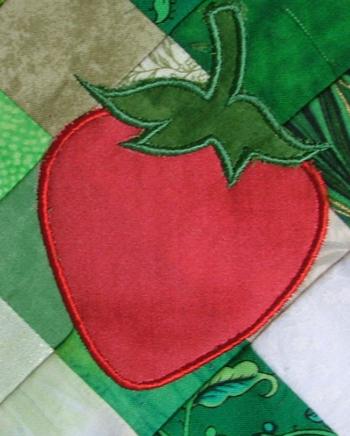
Change threads again and embroider the pips. Repeat the pattern as many times as you like.
After the top is embroidered, press it thoroughly. Make a sandwich out of the backing, batting, top. Secure all three layers with pins. With scissors, cut away the excess batting and fabric, but not too close. Quilt with a matching thread starting from the center.
We quilted with large meandering.
When the quilting is done, press the working piece with steam.
Place the working piece on the cutting mat. With the help of a ruler and rotary cutter square the table runner. Measure 3" from each corner, mark the dot. Place the ruler so it connects the dots and cut along the line. Repeat with all four corners to give the table runner its final shape.
Finish the raw edges with the binding. Press.

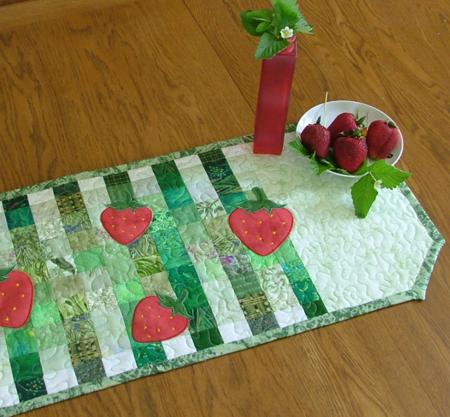
We hope that you liked our idea and will come up with many of your own.


