 |
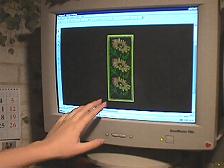
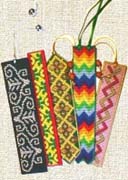
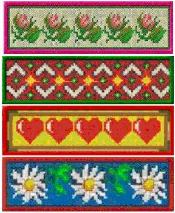
Step One: Open our "Sunflower" file and transfer it to the memory card of your embroidery machine. This and other similar designs you may find in our Bookmarks section. |
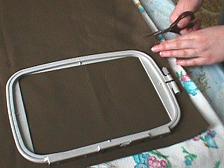 |
Step Two: Use a hoop of size 5.2" x 7.2" (13x18 cm). Cut a piece of fabric of around 6" x 8" (15x20 cm). |
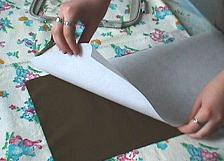 |
Step Three: Cut out a rectangle of iron-on stabilizer of the same size... |
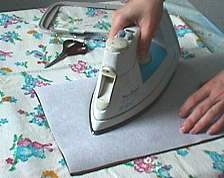 |
Step Four: ...and iron it onto the back of the fabric. |
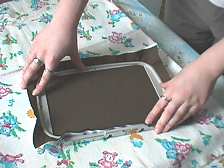 |
Step Five: Hoop the fabric and stabilizer. |
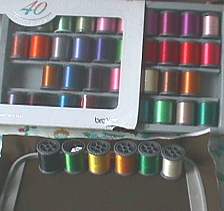 |
Step Six: Select the required colors, using the description in the color chart that came with the "Sunflowers". |
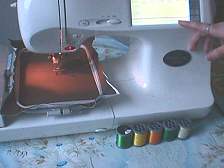 |
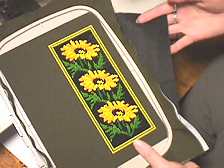
Step Seven: Install the loop onto your embroidery machine and embroider each color in turn, as shown on the photograph. |
 |
Step Eight: At every pause, carefully take the hoop off and remove all jump stitches. |
 |
Step Nine: Before embroidering the final color - the frame - stretch some material across the back of the embroidery. This can be cut-away stabilizer, canvas or flannel: it depends on what you're going to use the emroidery for. A glasscase requires silkier fabric, a bookmark -- something stiffer. This hides the threads at the back of the embroidery. |
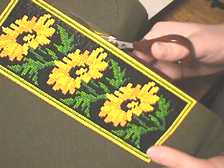 |
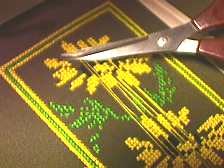
Step Ten: Remove the finished embroidery from the machine, take it out of the hoop and cut neatly along the edge of the motif. If this is a bookmark, you are basically finished. You can add beads, ribbons and tassels for decoration, if you wish. If you are making a glasscase, repeat steps 2-10 and then continue with steps 11 and 12. |
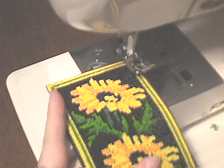 |
Step Eleven: Press the two embroideries together, back to back, and sew them together on your machine with a compact zig-zag. Make sure you sow the corners together first. Use the same color of thread as the border. |
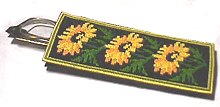 |
Step Twelve: Your glasscase is ready! |
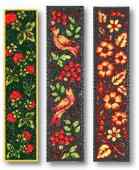
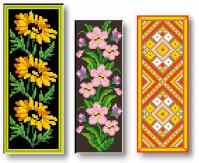
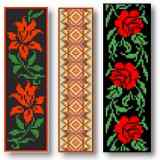
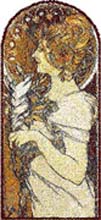
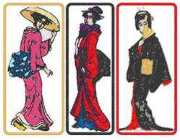
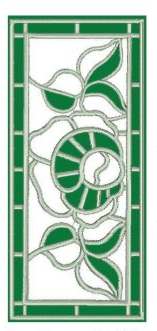
You can use the following designs to create a similar project:
 |
 |
 |
 |
 |
 |
 |
 |
 |


