|
An appreciable part of our designs are in the photo stitch technique, and our customers often ask us about it. We prepared several lessons and invite you to browse through them. See also Lesson I and Lesson II.
|
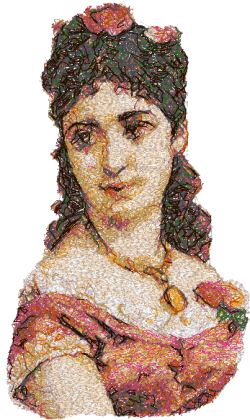
Photo stitch uses very densely placed stitches, often overlapping each other, to give an almost Impressionist effect, which is why this technique is often used when digitizing works of art. The colors are put down in layers, layer after layer, and go from the lightest to the darkest. That is why it's very important to follow the order of colors as they are on the color card. If for any reason you miss a color, it's impossible to return to it.
The third lesson is devoted to the embroidering of faces and people. All the rules remain the same, as we learned them from the previous two lessons:
1. Choose the fabric and stabilizer correctly and hoop them evenly and tightly.
2. Follow the color card.
3. Trim the jump stitches after every color. |
| Step One: Download the the Portrait design. The embroidery file, together with the color card are compressed into a ZIP file. Unzip the file to a folder on your computer using WinZip or a similar program. Transfer the embroidery file to your machine. Print out the color card. |
Size: 89.0 x 152.7 mm (3.5" x 6.0")
Stitches: 45001
Colors: 12
Click to download a zip file containing the corresponding format:
|
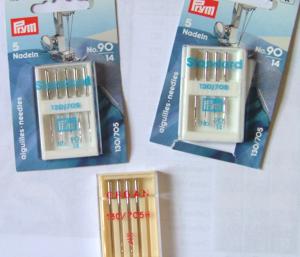
| We used embroidery #90/14 needles because we're going to use medium-weight fabric. For light-weight fabric use thin (#75-80) needles. |
|
| Depending on the project in which you are going to use the embroidery, the bobbin thread can be #50-70. The thinner the bobbin thread the thinner your final embroidery will be. So for embellishing clothes use bobbin thread #70, for a picture which will be framed - thread # 50. We're going to use our design on a pillow-case, so our choice is #60. |
| There are 45 thousand stitches in the design, so it will take you about 2 hours to embroider it if your machine works at 600 SPM and even longer if you work at a lower speed. If you do not have the time, you will have to pause during the work. Read this lesson to the end; there will be some tips on how to stop embroidering safely in the middle of the work. |
| Step Two: Select the threads in accordance with the color card. |
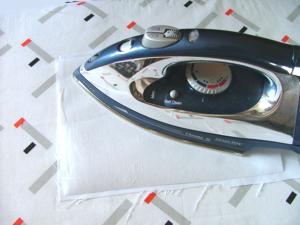
| Step Three: For our lesson we've chosen linen-like synthetic, medium-weight, evenly-woven fabric, and medium-weight, iron-on, tear-away stabilizer. Iron the stabilizer onto the fabric. |
|
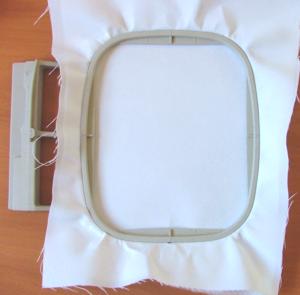
| Step Four: Hoop the fabric with the stabilizer, stretching them in the hoop tightly. There should not be any folds or areas where the fabric has puckered. |
|
| Step Five: We can now start embroidering. The photos below show the result after every color. |
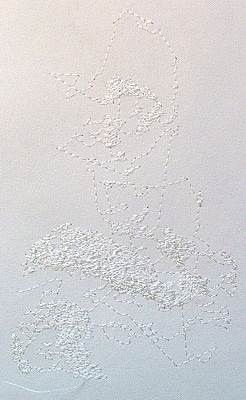
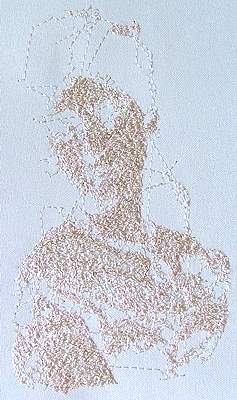
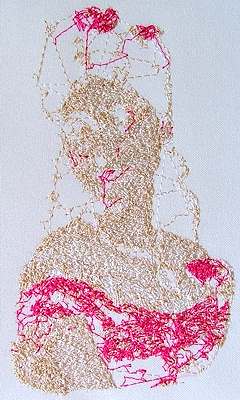
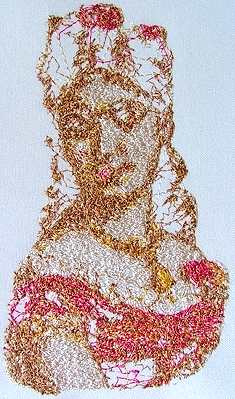
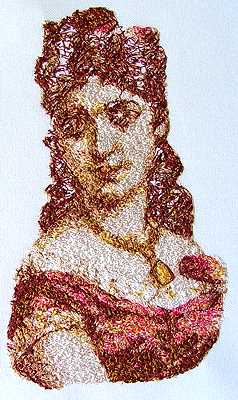
| After the first color your embroidery should look like this: |
|
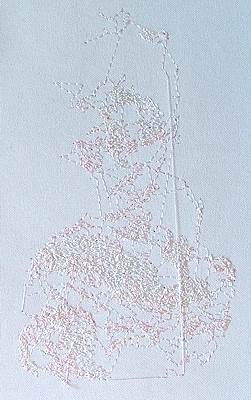
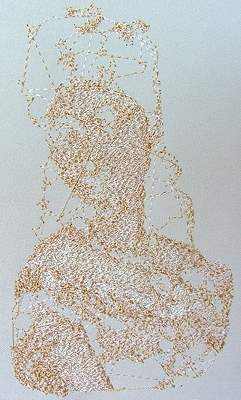
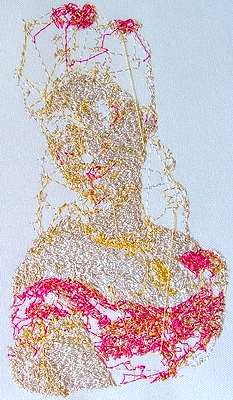
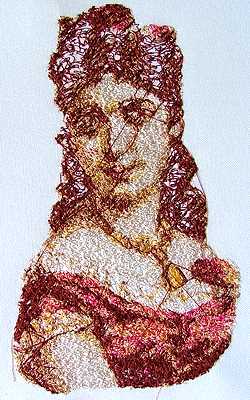
| The second color before trimming the jump stitches: |
|
| After you trim them, the embroidery should look like this: |
|
| It is extremely important to trim jump stitches after every color! If you do not do this, the design will be ruined completely by the end. Normally there are few jump stitches in the beginning, with light colors, which create the basis of our future picture and fill comparatively big parts. The number of the jump stitches gradually increases with the darker colors, which "draw in" the details. |
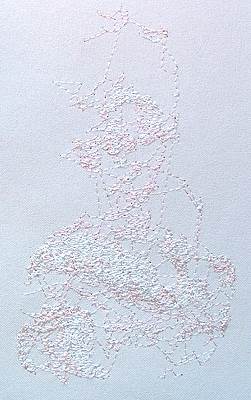
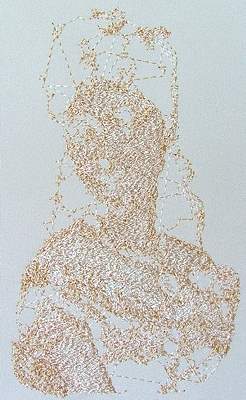
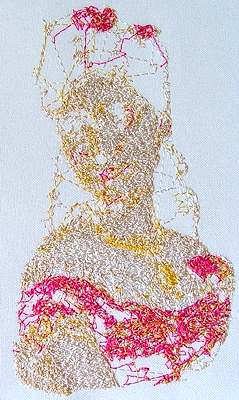
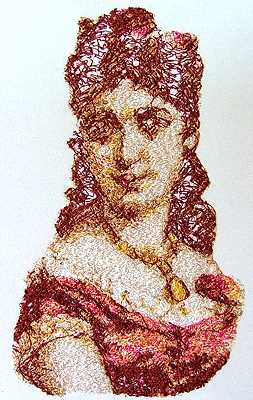
| The third color with jump stitches... |
|
| ...And after trimming them: |
|
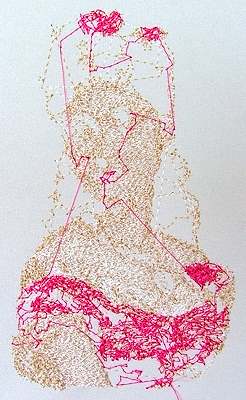
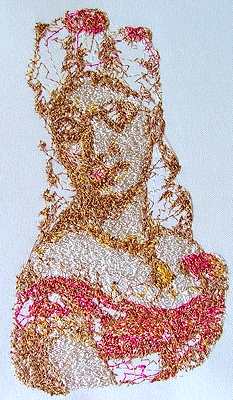
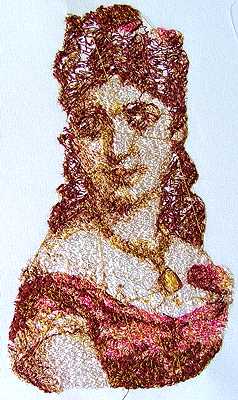
| The fourth color with and without jump stitches: |
|
|
| Color five. There are more jump stitches with this color, because, except for the dress, it is also used to place some artistic strokes here and there... |
|
|
| The embroidery after color six, below, with jump stitches and without. |
|
|
| Correspondingly, this is color seven, ... |
|
|
| This is what the embroidery looks like after the eighth color has been used. Pay special attention to the jump stitches on the face and trim them very carefully. |
|
|
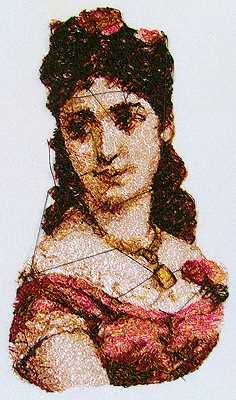
| This is the embroidery after color nine. |
|
|
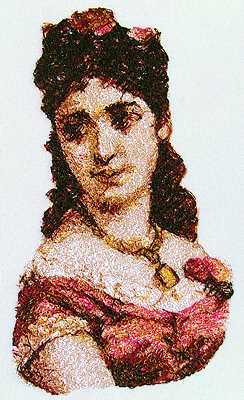
| Next is color ten. Our Lady is almost ready... |
|
|
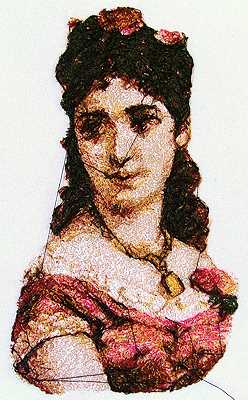
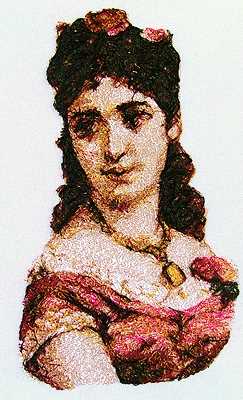
| The photos below shows the embroidery after its eleventh color with jump stitches and without. |
|
|
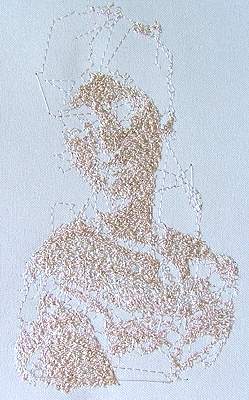
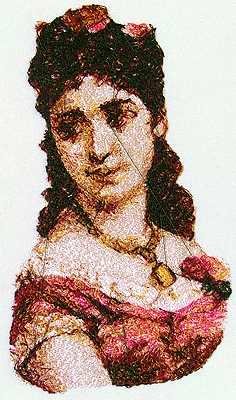
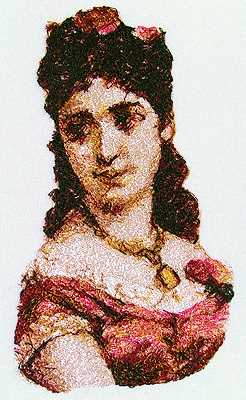
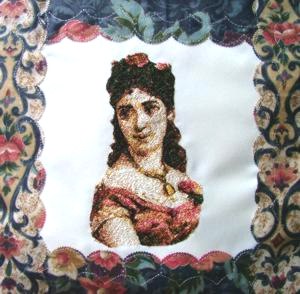
| The twelfth color is also the final one. This is what everything should look like: |
|
|
The embroidery is ready. If you did everything correctly, you should get a similar result.
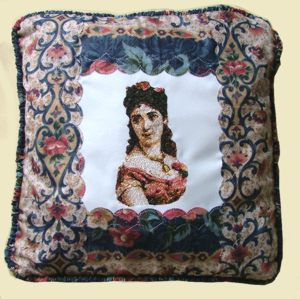
We used this embroidery to create this Victorian-style pillow case. We'll be happy to hear from you about your projects. |
|
|
Here are some other designs of the same level of difficulty: Angel with a Star and other similar designs from the Angel section,
Fashionable Ladies of the Past Set I and Set II, First Kiss by William Bouguereau, Chocolate Lady, and many other designs in our catalog. |
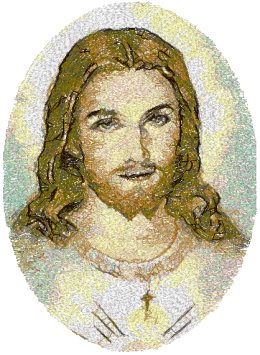
| For your homeworkwe offer a Jesus image. |
Size: 107mm x 148mm (4.28" x 5.92")
Stitches: 48911
Colors: 12
Click to download a zip file in the corresponding format:
|
| Depending on the speed of your machine the work may take from 2 to 4 hours. If you cannot afford to spend so long and have to make a stop, please remember the following: Never ever switch the machine on and off with the hoop attached!
However small the weight of the hoop might be, it will prevent the carriage from assuming the correct possition and the embroidery will be displaced. Even a fraction of an inch displacement is enough to ruin the work.
|
If you have to make a stop during the work:
1. Finish embroidering the color you're on and write down the number of the next color from which you will continue the work next time.
2. Detach the hoop with the embroidery and switch off the machine.
When you are ready to continue the work:
1. Switch on the machine.
2. Find your pattern (from the memory of the machine, or from the floppy or card). Find the place you stopped your embroidery.
3. Attach the hoop with embroidery.
4. Go on working. |
| After finishing, you should get a result similar to this one: |
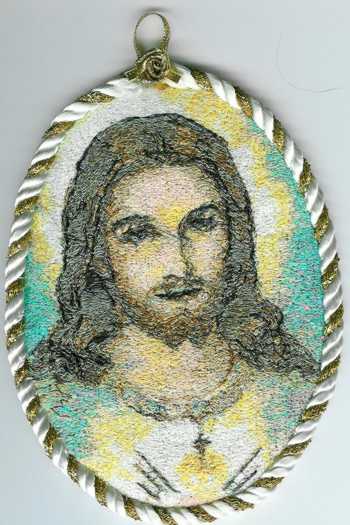
This work was done by a customer as a gift for her 92 year old aunt.
|
| To help us improve this tutorial please don't hesitate to ask questions. |
| Our next lesson will involve designs which consist of 2 and more files. These are large designs, very often works of art. The main difficulty is that they take a very long time and need a lot of patience. There will be more tips on working with photo stitch embroidery. |
|
Other Lessons: Lesson I, Lesson II, Lesson IV
|


