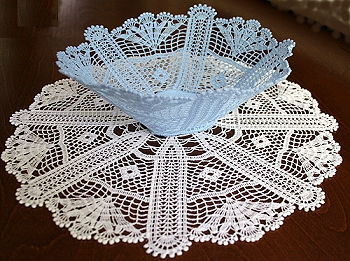
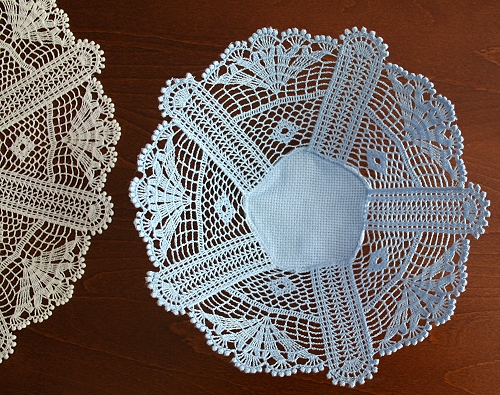
The Antique FSL Crochet Bowl and Doily is a set of three machine embroidery designs. The designs should be embroidered as we recommend in our General Guidelines and Step-by-Step Guide to Embroidering our Crochet-Style FSL designs.
The bowl and doily should be embroidered with 40-weight 100% cotton Signature thread for machine quilting.
Some points to remember from the General Guidelines:
Use Vilene water soluble stabilizer;
Use cotton thread;
Use the same thread for the needle and bobbin.
DO NOT embroider several designs in one hoop.
Make sure you use a sharp needle.
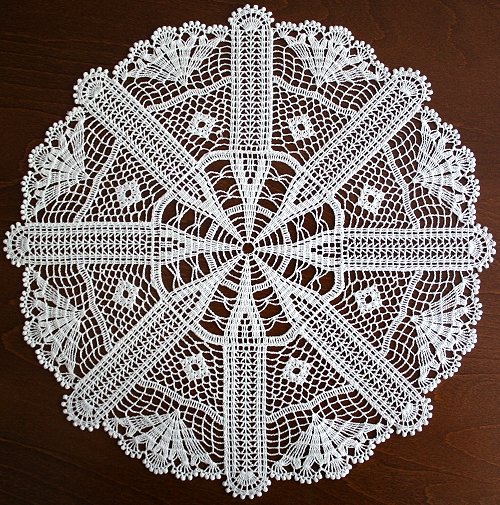
Step One: To make the doily, embroider the panel eight times and the doily's central part once. Do not dissolve the stabilizer. Trim the stabilizer, leaving at least 1/4" around each design.
Step Two: The Step-by-Step Guide to Assembling crochet-style FSL Designs into a Project might be helpful at this point.
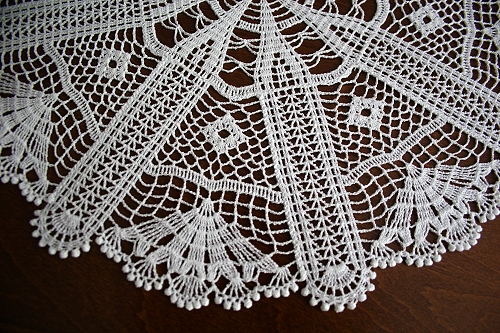
Lay the FSL parts around the central part and start stitching. Treat the Vilene like fabric. Fold it and, using a zigzag, stitch the FSL parts to each other. Use the same thread with which you embroidered the doily. The zigzag stitch should be short but not very dense. You can do this either on your machine or manually.
Step Three: You can now go ahead and dissolve the water-soluble stabilizer. Place the doily into a bowl of warm water and change the water several times. So that the doily dries evenly, spread it on a flat surface and let it air dry. Then press with steam, if needed.
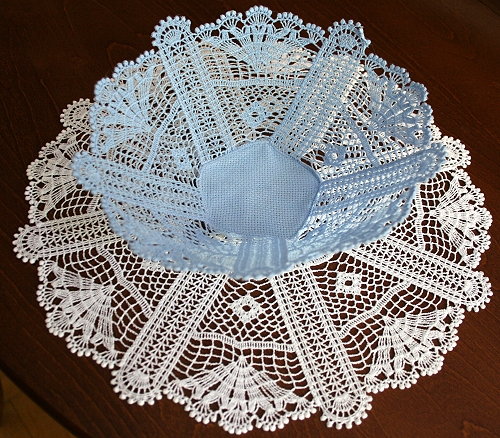
Step One: To make the bowl, embroider the panel part five times. As with the doily, trim the stabilizer, leaving at least 1/4" around each design. Do not dissolve the stabilizer.
Step Two: Treating the stabilizer like fabric, fold it, and using a zig-zag stitch and the same thread that you used for the embroidery, attach the panels to each other, leaving the last seam open.
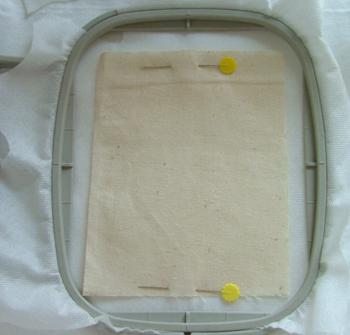
Step Three: The bottom of the bowl is made of fabric. To make the bottom, hoop one layer of Vilene into a 4"x 4" hoop. Take two squares of cotton fabric measuring about 4 1/2" x 4 1/2" . Place the squares back side to back side and place them over the Vilene stabilizer, securing with pins.
Start embroidering. After the machine does the first color - the outline - and stops, take the hoop out of the machine (but DO NOT unhoop the stabilizer!) and, using a pair of sharp scissors, cut the fabric out as close to the outline as possible.
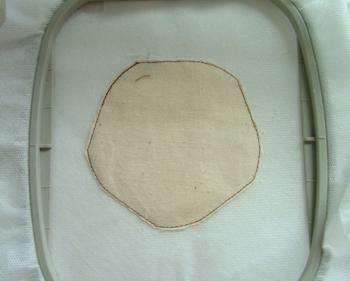
Return the hoop to the machine and finish the embroidery. Cut away the excess stabilizer.

Step Four: Dissolve the stabilizer by placing the embroidery (including the bowl's bottom) into lukewarm water for a minute. Don't change the water and don't let the pieces soak too long: we want the bowl to be pretty stiff. So that the bowl panels dry evenly, spread it on a flat surface and let it air dry. Press with steam.
Now attach the panels to the bowl's bottom. Finally, stitch together the edges of the first and last panels. This can be done either on your sewing machine or manually.


