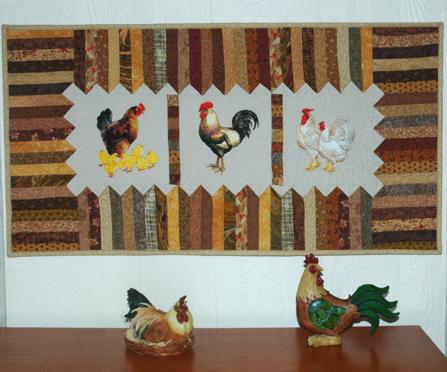
The earthy tones and farmyard theme of this embroidery make it great for giving your home a relaxed, rustic touch.
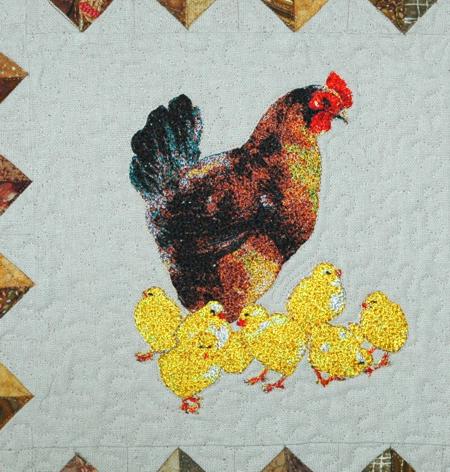
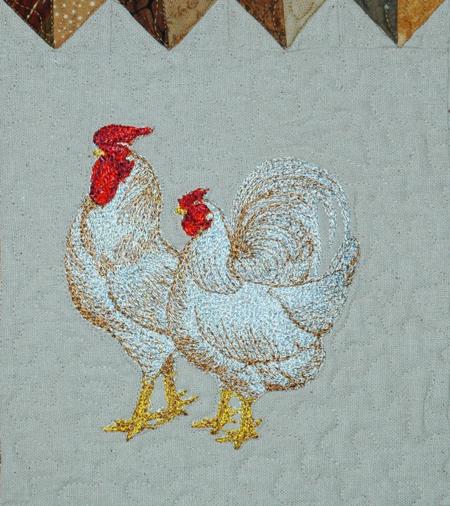
The embroidery designs used are from the Hens, Roosters and Chicks Set.
The finished size of the wallhanging is about 20" x 37". You can also use the same pattern for a tablerunner.
We used about 1/2 yard of Osnaburg fabric, and a lot of scrap strips 1 1/2" wide and 6 1/2" long in various brown and cream tones.
You will also need a piece of batting, fabric for backing, and binding.
For embroidery, we used embroidery polyester threads.
Out of Osnaburg fabric, cut 3 squares measuring 8 1/2" x 8 1/2" and
72 squares measuring 1 1/2" x 1 1/2";
Out of brown scraps, cut 92 strips measuring 1 1/2" x 6 1/2",
and 16 squares measuring 1 1/2" x 1 1/2".
Step One: Sew the 1 1/2" x 1 1/2" scrap squares into 2 strips, with 8 square in each strip.

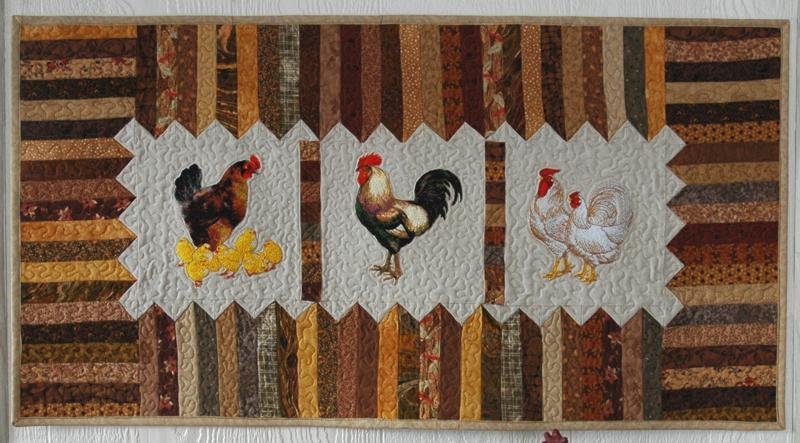
Step Two: Using the new strips and the 8 1/2" x 8 1/2" Osnaburg squares, assemble the center of the wallhanging. Set aside for the meantime.

Step Three: Take twenty 1 1/2" x 6 1/2" scrap strips. Sew them into 4 units, 5 strips in each:
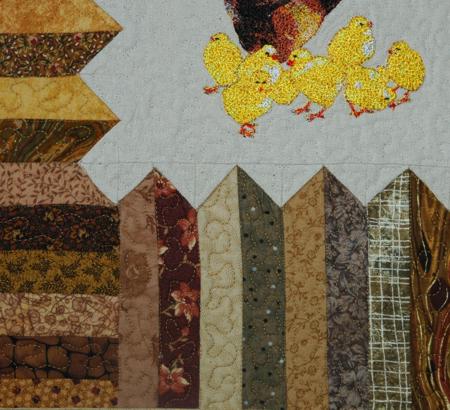
Step Four: Take the remaining 72 scrap strips and 72 Osnaburg 1 1/2" x 1 1/2" squares. Place each square face down over one end of each strip face up.
Topstitch along the diagonal of the squares. Stitch 36 squares from upper left corner to lower right corner and stitch 36 squares from the upper left corner to the lower left corner.
Step Five: Cut 1/4" away from the stitch. Open and press.
Step Six: Sew 68 of the strips in pairs to form "fence boards". You'll get 34 "fence boards".
Step Seven: Sew 13 "fence boards" together to form a border. Repeat with another 13 pairs.
Step Eight: Attach the borders to the upper and lower edges of the central part.
Step Nine: Sew 4 "fence boards" into a short border. Add a single strip to each end. Repeat to make the other short border.
Step Ten: Sew the striped units to each side of the side borders..
Step Eleven: Attach the side borders to the left and right edges of the top.
Stabilize each Osnaburg square with iron-on cut-away stabilizer. Embroider the designs one by one. Cut away the excess stabilizer.
You can also use polyester craft felt instead of the stabilizer. In this case we recommend to baste the quilt top to the felt in the ditch along the colored borders. After the embroidery is finished, rip the baste and cut away the excess felt around the embroidery.
We embroidered Hens, Roosters and Chicks Set. We positioned the embroidery horizontally. If you prefer, you can make a vertical wallhanging.

Now place the backing on a flat surface (table) face down. Cover with batting. Spread your working piece over it.
Pin all three layers together with 1" pins and start quilting. We quilted along the lines of the embroidery and made stippling all over the wall hanging.
After the quilting is finished, press the work with heavy steam and square the work -- all corners should be 90 degrees and opposite sides should be of the same length.
Finish the raw edges with the binding.
Attach a sleeve, if you want to use the quilt as a wall hanging, or don't if you would prefer a table runner.