These are instructions on how to embroider blocks from the Stained Glass Applique Sea Set. The set comes in three sizes: for large hoop (5" x 7"), mega hoop (6" x 10"), and commercial hoop (10" x 12").
The designs have a double zig-zag-stitch finish. We recommend to use cotton or polyester machine quilting threads for the finish.
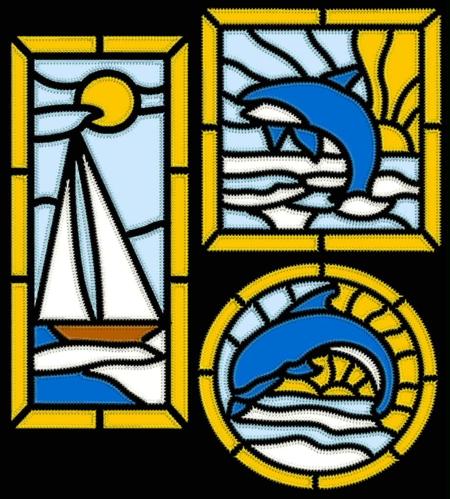
| Round Panel: | Rectangular Panel: | Square Panel: | |
| Large Hoop: | Size: 129 x 129 mm Stitches: 14 679 Colors: 4 Stops: 11 |
77 x 179 mm 15 079 5 14 |
129 x 138 mm 18 972 4 11 |
| Mega Hoop: | Size: 149 x 149 mm Stitches: 16 840 Colors: 4 Stops: 11 |
111 x 258 mm 21 126 5 14 |
149 x 160 mm 21 623 4 11 |
| Commercial Hoop: | Size: 199 x 199 mm Stitches: 22 124 Colors: 4 Stops: 11 |
126 x 294 mm 23 871 5 14 |
198 x 2212 mm 28 166 4 11 |
You will need:
All three parts are embroidered in the same way.
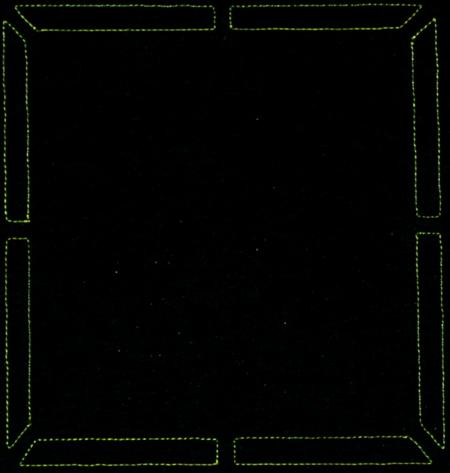
Step One: Hoop the black fabric, stabilized with an appropriate stabilizer.
Upload the file into your machine. Start embroidering. The machine will embroider the placement of the first applique fabric.
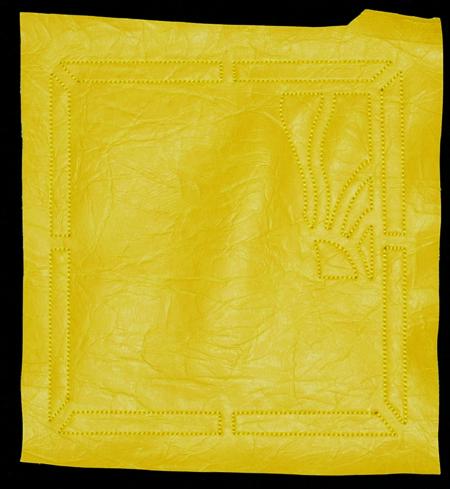
Step Two: Cover the outlines with the applique fabric. You can pin or tape the applique fabric outside the embroidery field to hold it in place.
Start the machine. It will embroider the same outlines and the outline of the sun.
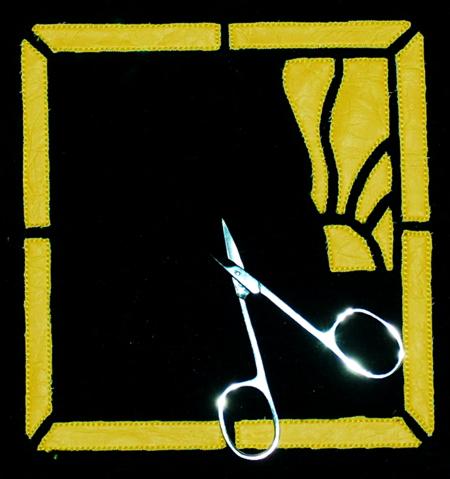
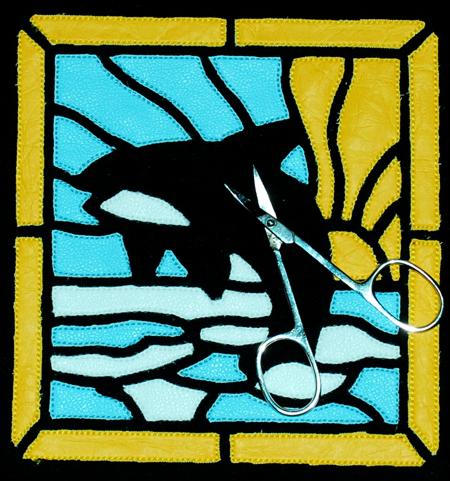
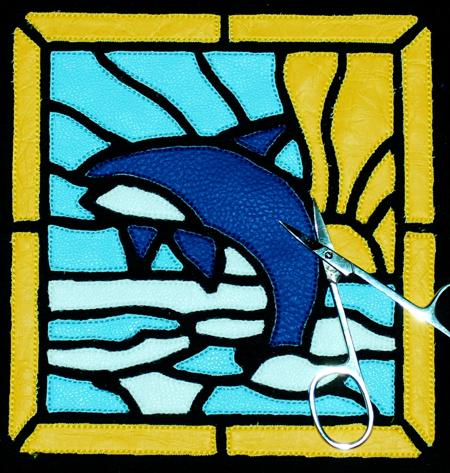
Step Three: With a pair of sharp scissors, cut away the fabric around the stitches.
Step Four: Return the hoop to the machine. The next color will embroider the outline of the blue water.
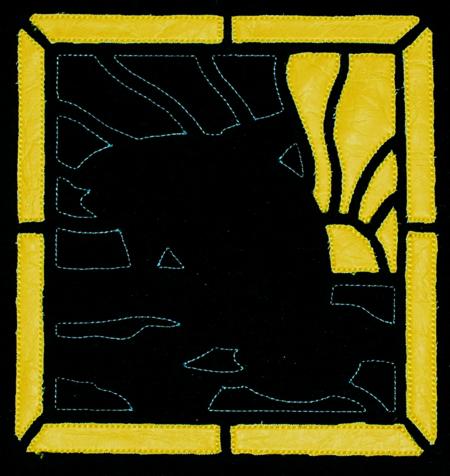
Cover the outlines with the applique fabric and embroider the next color, which will embroider the same outlines over the applique fabric:

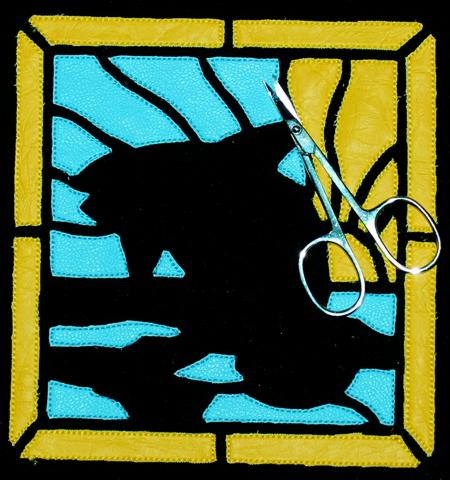
With a pair of sharp scissors, cut away the fabric around the stitches.
Step Five: Return the hoop to the machine. The next color will embroider the outline of the white seafoam on the waves.
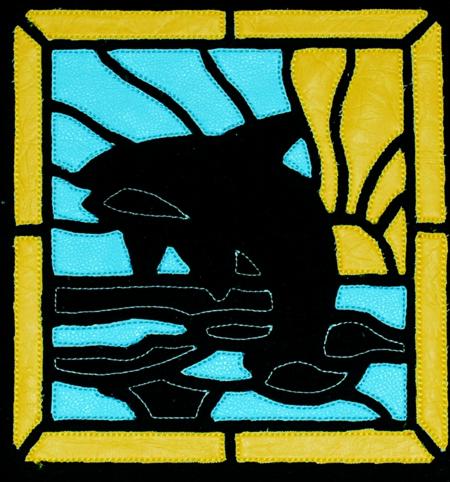
Cover the outlines with the applique fabric and embroider the next color:
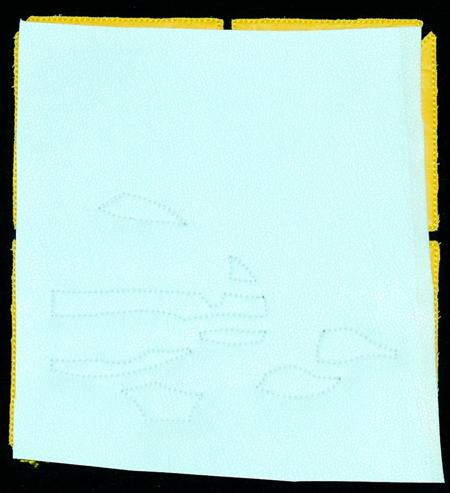
With a pair of sharp scissors, cut away the fabric around the stitches.
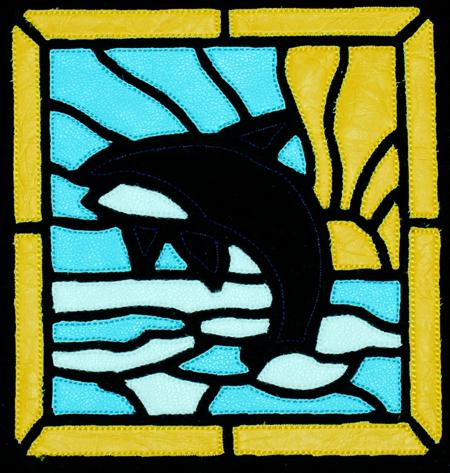
Step Six: Return the hoop to the machine. The next color will embroider the outline of the dolphin.
Cover the outline with a piece of applique fabric. For the dolphin, we used blue leatherette.
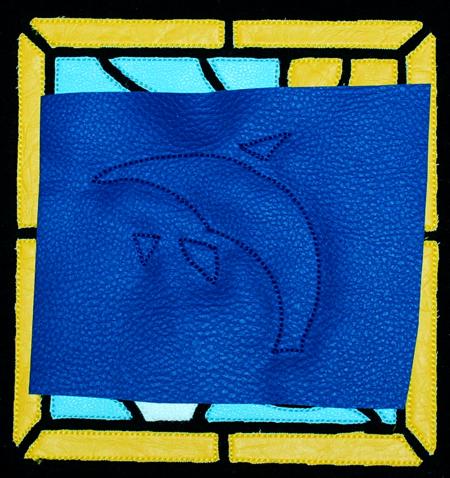
Cut away the leatherette close to the stitches.
Step Four: Return the hoop to the machine and finish embroidery. The designs have a double zig-zag stitch finish. We recommend to use cotton or polyester machine quilting threads for the finish. Change colors if needed.
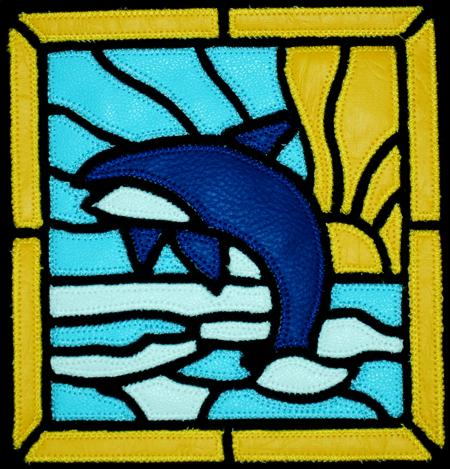
Step Five: In the same way, embroider the rectangular and round panels.
Trim the blocks to the size you need. Leave at least 1/2" for seam allowance.
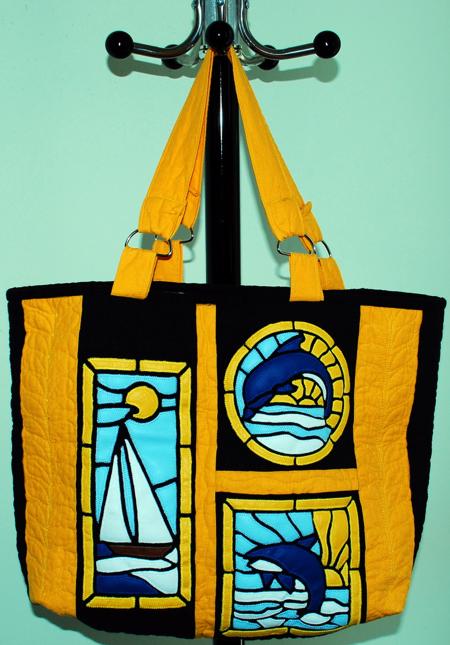
We used the stitch-outs to make a nautical-themed tote bag. We have a separate project page with instructions.