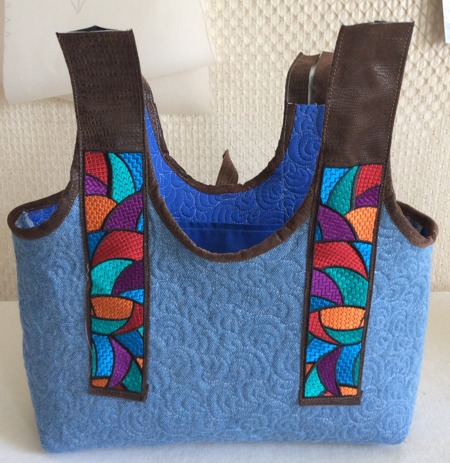
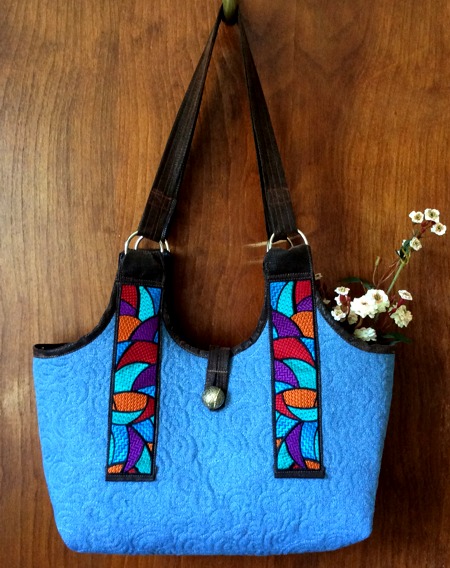
This handsome quilted tote would be great for carrying around your crafting projects, whether it's quilting, knitting, crochet or something else. It would also serve well as a market bag.
The tote is made out of one large piece of one large piece of fabric, and we include a printable template that makes assembling this bag a cinch!
We decorated this tote with designs from the Stained Glass Bookmark Set. |
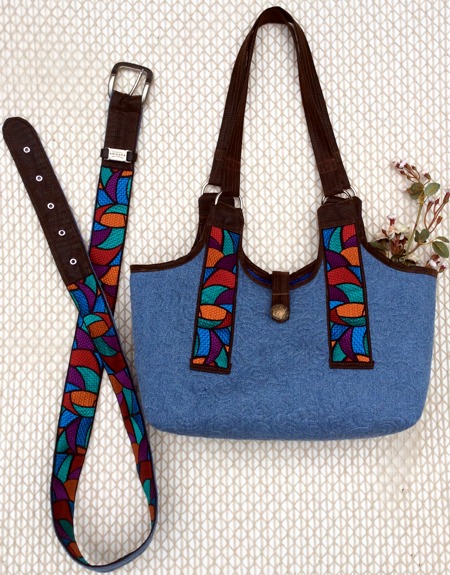
You can read about how to make the belt on the page Embroidered Fabric Belt using Bookmark Embroidery .
|
The finished size is about 12" wide x 10" H (excluding the handles) x 4" deep. We also made a matching belt, the instructions on how to make it will come soon.
|
You will need :
- embroidery threads (choose any colors to your taste),
- medium-weight iron-on cut-away stabilizer
- light-weight iron-on sewing interfacing,
- about 1/2 yard of medium-weight polyester leatherette,
- about 1/2 yard of medium-weight denim fabric,
- about 1/2 yard of cotton fabric for the lining,
- batting,
- 4 D-rings (size 1 1/2" - 1 3/4"),
- quilting thread, quilting needle #14,
- heavy-duty sewing thread, sewing needle #18,
- a decorative button,
- quilter's ruler and rotary cutter, chalk pencil/marker and scissors,
- scotch tape.
- You will also need a printer to print out the PDF template. Please note that if you download these instructions as a PDF, you will have to download the template separately!
|
Embroidery:
|
Select threads to match the colors of your project. We chose jewel tones.
Upload one of the files from Stained Glass Bookmark Set into your embroidery machine.
Stabilize leatherette with medium-weight iron-on stabilizer. Hoop it, tighten the hoop.
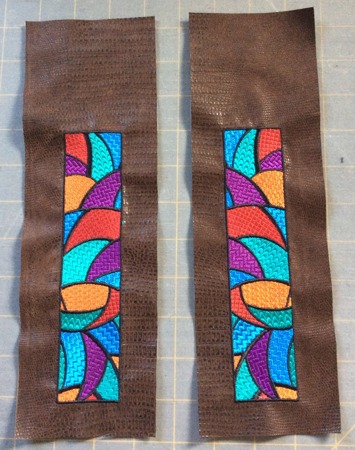
Embroider the file. You will need 4 stitch-outs.
|
After the stitch-outs are done, trim them leaving 1" margins around the embroidery on the left, right and bottom edges. Leave 3 1/2" margin on the upper edge.
|
|
Preparing the Fabric for the Bag:
|
Out of the fabric for the lining, cut a piece measuring 20" x 26".
Out of the batting, cut a piece measuring 20" x 26".
Out of denim fabric for the top, cut a piece measuring 19" x 25".
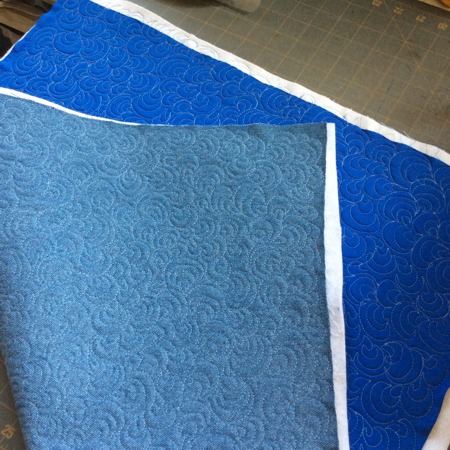
Place the lining piece on a flat surface (table) face down. Cover with batting. Spread your working piece over it.
Pin all three layers together with 1" pins and start quilting. We quilted all over the piece in a free motion style, using quilting thread of denim blue color. |
Press with heavy steam when you are done.
|
|
Assembling the Bag Pattern:
|
Download the template file. To open and print the template, which is a PDF file, you will need Adobe Reader or a similar program. Chances are, your computer can already open PDF files, but if it can't, the program is free to download and install.
Please note that if you download these instructions as a PDF, you will have to download the template separately! Please download the template here. |
| Template Download |
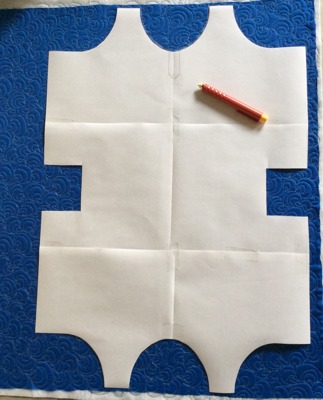
| Print out the template. Put together the separate pages using scotch tape. Cut out the template. |
| Position the template over the quilted piece. |
Using a chalk pencil, trace the template onto the fabric.
Cut it out. |
|
| On your sewing machine, using zig-zag stitch, or on your serger, finish the raw side edges. |
Attaching the Stitch-outs:
|
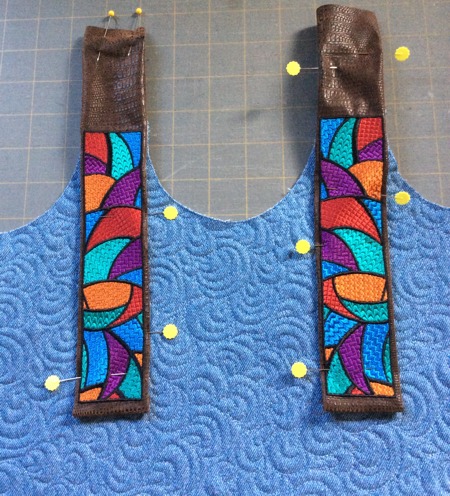
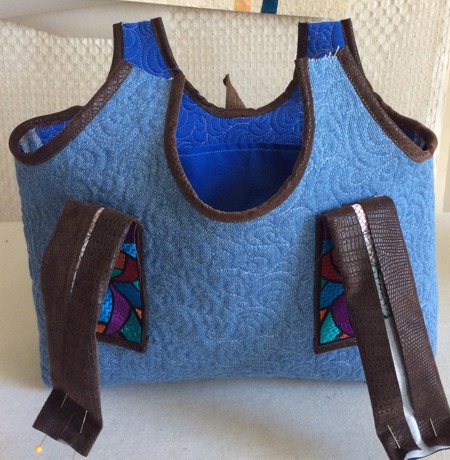
Fold the margins back. Pin the handles to the right side of the bag. Visually divide the embroidery in half and topstitch along the lower part of the right edge, lower edge and lower part of the left edge.
|
|
| Leave the upper part of the handle unstitched. |
|
Inner Pocket:
|
Out of the fabric for the lining, cut a piece measuring 9 1/2" x 11 1/2". Out of sewing interfacing cut a piece of the same size. Fuse the lining and interfacing together.
Fold it in half widthwise face to face. Stitch the long sides together.
|
Turn right side out. Press the seams.
Fold the raw edges of the unfinished side 1/2" inside and press.
Topstitch along one of the long sides (this will be the upper edge of the pocket.)
|
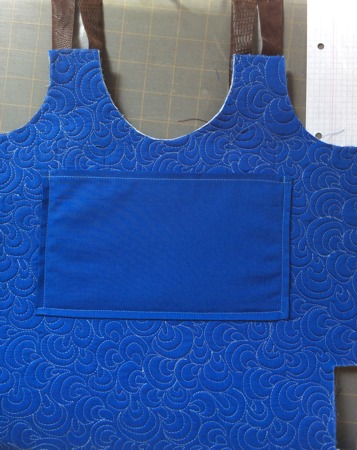
Position the pocket on the back / lining side of bag The pocket should be equal distance from the side edges. Please take care that the side edges of the pocket protrude beyond the embroidery on the front of the bag.
Pin the pocket in place. Topstitch along 3 sides.
|
|
Sewing the Bag:
|
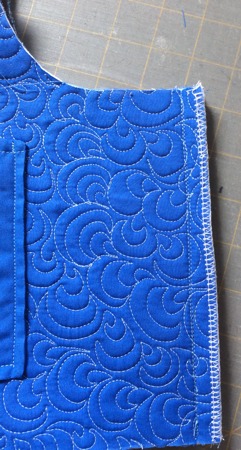
Fold the bag, face inside, align the sides and sew them together. Seam allowance is 1/2". Make another seam 1/32" (1 mm) from the first one.
Open the seams and press.
|
|
| To shape the bottom, pinch the corners as shown in the diagram below. Pin. Stitch them closed. Seam allowance is about 1/2". Make another seam 1/32" (1 mm) from the first one to reinforce the bottom. |
|
Finish the raw edges with either zig-zag, serger, or bias tape.
|
|
Making a Closure:
|
Out of leatherette, cut a strip measuring 1" x 9".
With a chalk pencil draw a line, dividing the strip in half lengthwise.
Fold one of the long edges to the line. Topstitch it in place.
Fold another edge to the line. Topstitchin in place.
|
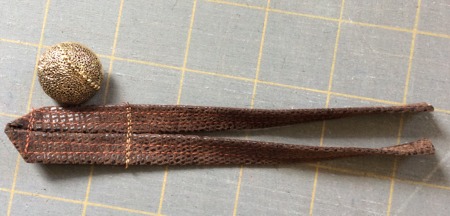
Fold the strip in half, turn to make the strip shape a corner and lay the rest as 2 parallel strips. Topstitch the end.
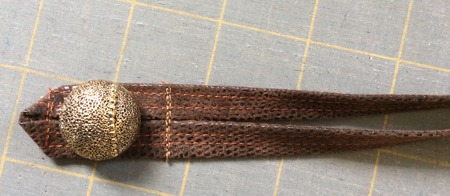
Topstitch across both parallel pieces about 2" from the first stitch (it should accomodate your button).
Topstitch across both parallel pieces 1/4" from the ends.
|
|
|
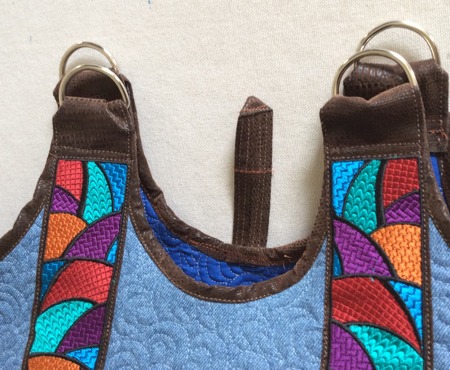
Position the closure on the right side of the back panel, in the center, Pin to the upper edge so that the ends protrude about 1".
Topstitch in place. |

|
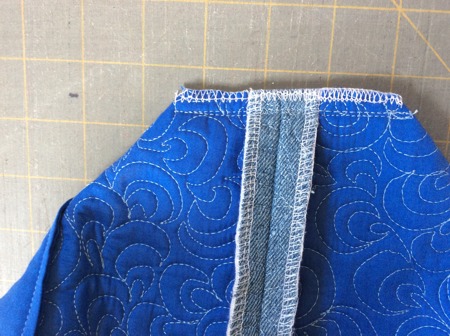
Finishing the Raw Upper Edges:
|
Out of leatherette, cut bias strips 1 1/4" wide . You will need 2 strips 10" long and 2 strips 15" long.
|
|
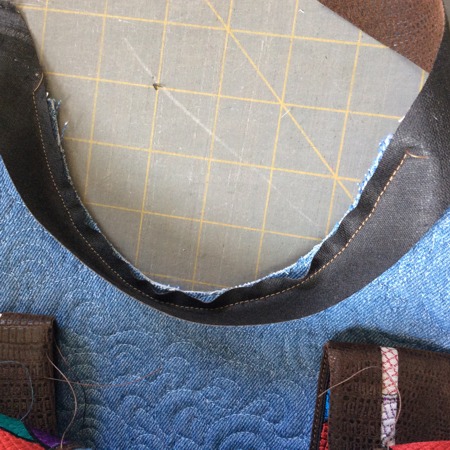
Finish the raw edges of the central parts of the front and back panels with the 10" long strips and the raw edges of the side parts with the 15" long strips in the following way:
Position the bias tape, face to face, along the edge.
Topstitch 1/4" from the edge.
|
|
Fold the tape over the edge onto the wrong side.
Topstitch in place from the right side.
Neatly trim the excess bias tape close to the stitches. |
|
Finishing the Handles:
|
|
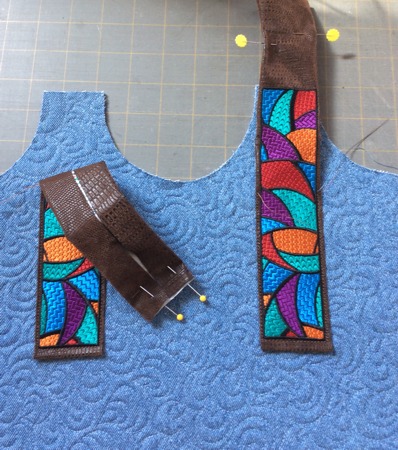
Finish attaching the embroidered parts of the handles to the front and back panels of the bag,
|
|
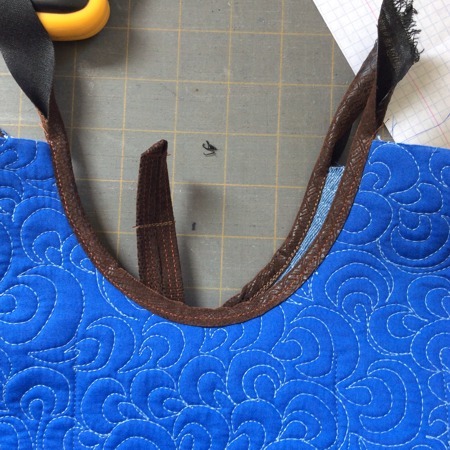
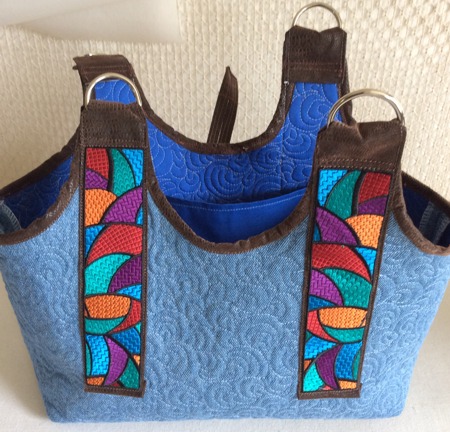
Insert D-rings into the ends of the handles. Fold the ends onto the bag and topstitch in place.
|
|
|
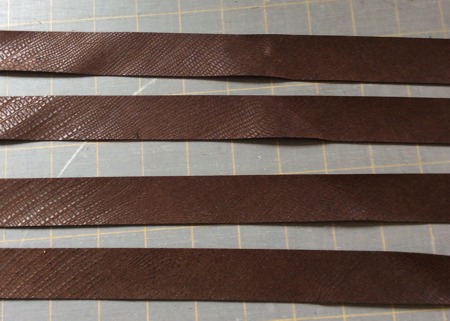
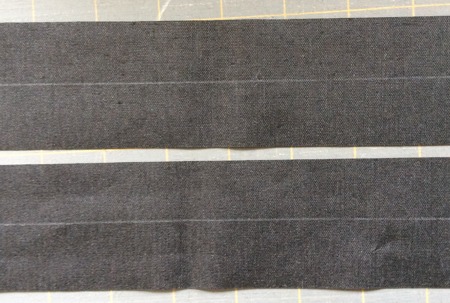
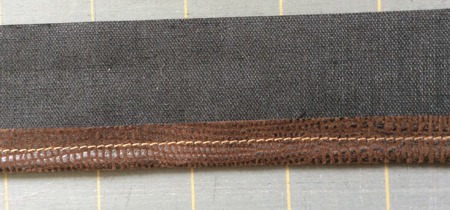
Out of leatherette, cut 2 strips measuring 2" x 23". Stabilize them with light-weight iron-on interfacing.
With the chalk pencil and ruler, draw a central line dividing the strip lengthwise in half.
|
|
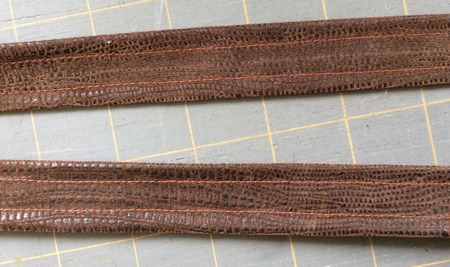
Fold one of the long edges to the line. Top stitch it in place.
Fold another edge to the line. Top stitch it in place. |
|
|
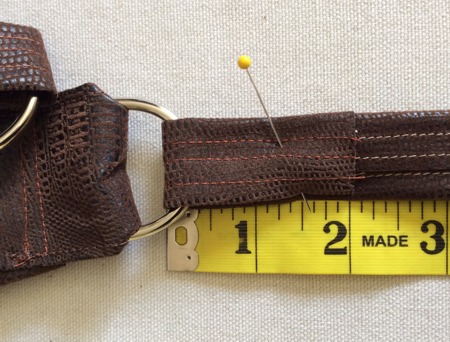
Insert the ends of the handles through the rings. Fold the ends about 2" and topstitch in place.
|
|
| Sew the button to the front panel. |
| Enjoy! |
|
|
Back to Stained Glass Bookmark Set
|
Back to Projects Page
|


