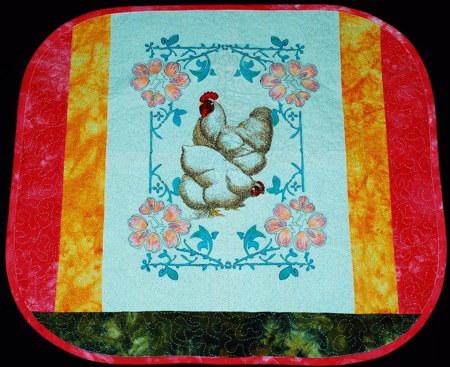
This rustic table mat uses the designs White Cochins for the large hoop and one of the frames from the Redwork Flower Corner Set for the mega hoop.
The finished size is about 22" x 19 1/2".
You will need :
Cutting:
Out of colored fabrics, cut
Embroidery:
Choose any frame from the Redwork Flower Corner Set. Upload the files into the machine. Embroider them following the instructions.
Trim and sew the stitch-outs together as recommended in the instructions to form a frame. Stabilize the frame with medium-weight iron-on stabilizer.
Print out the color card for the White Cochins design for the large hoop (5" x 7") and select threads according to the color card.
Upload the file into your embroidery machine.
Embroider the file. Please don't forget to trim jump stitches after every color.
After the stitch-out is done, trim it to 12 1/2" x 17 1/2".
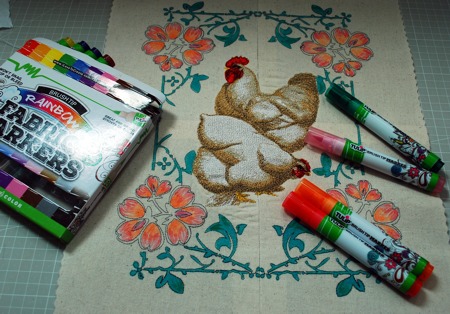
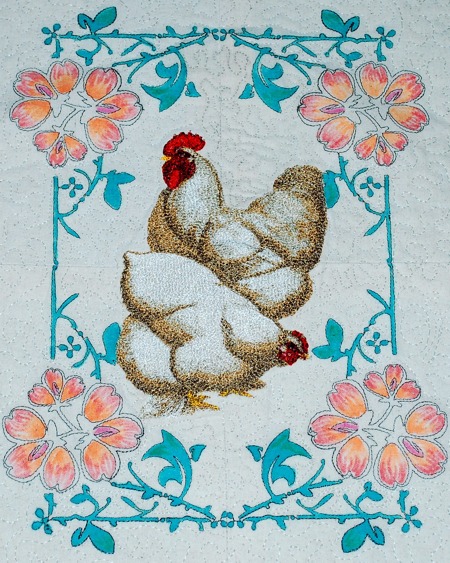
Color the frame around the chicken embroidery with fabric markers. Follow the manufacturer's instructions.
Assembly of the Top:
Note: seam allowance is 1/4", press each seam after you made it.
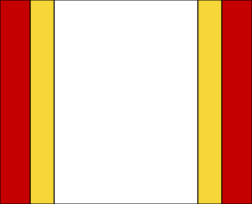
Sew each red strip to a yellow strip.
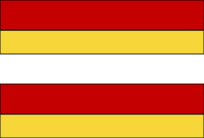
Sew these 2-colored strips to the embroidered block with the yellow strips on the inside.
Sew the green strip to the bottom of the working piece.
Quilting and Finishing:
Now place the backing on a flat surface (table) face down. Cover with batting. Spread your working piece over it.
Pin all three layers together with 1" pins and start quilting. We quilted through the embroidery with invisible (polyamide) thread in a freemotion style. Then we around the embroidery and all over the topper with a free motion meandering pattern.
After the quilting is finished, press the work with heavy steam and square the work -- all corners should be 90 degrees and opposite sides should be of the same length.
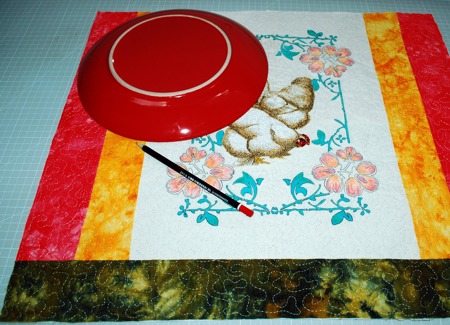
If you'd like to round the corners, position the plate over the corner and cut it away with a rotary cutter.
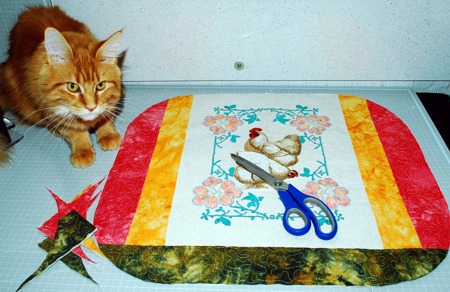
Or you can trace the edge of the plate and cut the corner with scissors. Kitty is helping.
Finish the raw edges with the binding.
Enjoy!


