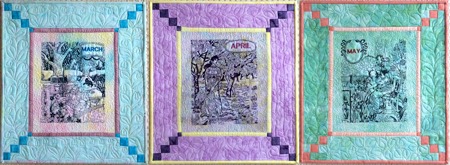
These three "Calendar" quilts form a matched set that's a perfect seasonal decoration for your home. Check out our Winter, Summer and Autumn Calendar Quilts too!
For these spring-themed quilts we used the March, April and May designs from the My Beautiful Garden series for the commercial (8" x 12") hoop. Using appropriate fabrics and other patterns from the series, you can make a set for the whole year!
The finished size of each quilt is about 17" x 19 ".
|
|
You will need
- embroidery thread (either polyester or rayon), we used:
- dark green, purple and navy blue for the main embroidery, and
- aqua blue, salmon pink and lilac for the name of the months.
- white or cream polyester craft felt, used as stabilizer and batting;
- 1 fat quarter of light-colored fabric for each quilt - this is used for the central embroidered parts of the quilts (read about our color choices below);
- small amount of fabrics for the first borders and corner blocks,
- about 1/2 yard of fabric for the second border and binding,
- fabric for the backing,
- quilting thread,
- quilter's ruler and rotary cutter, or pencil and scissors.
|
March Quilt:
|

|
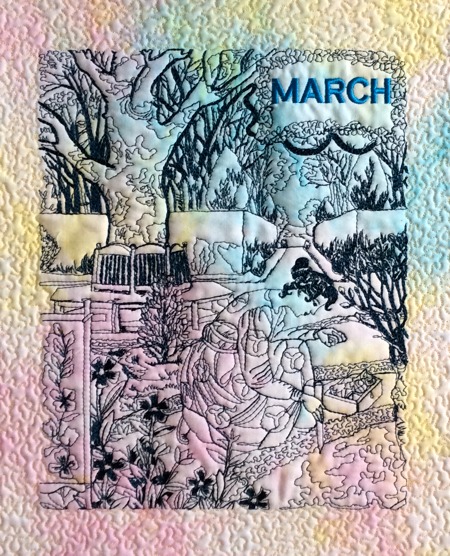
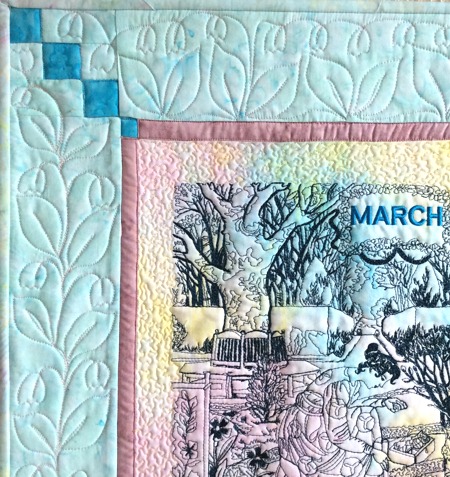
| For this quilt, we used pale pink, blue and yellow batik for the central part, a faded rose batik for the first border, pale blue batik for the second border and the binding, and sky blue batik for the corner squares. The embroidery used navy and aqua blue thread. |
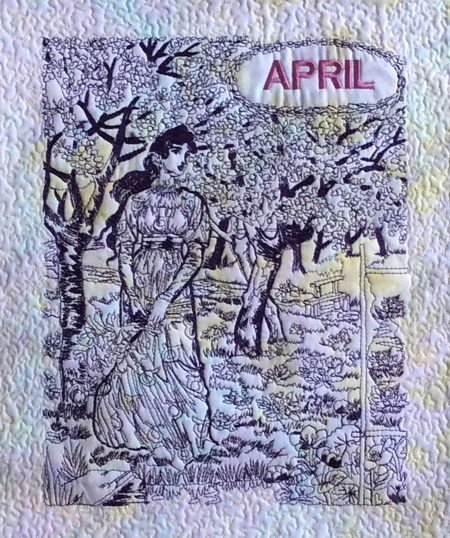
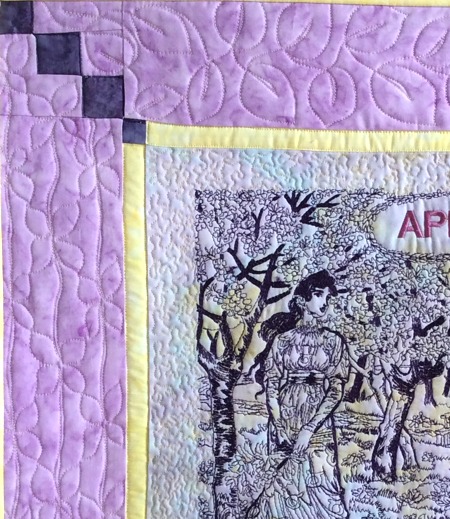
| April Quilt: |

|
| For the April quilt, we used a gray and lilac batik for the central part, bright yellow batik for the first border and the binding, dark lilac for the second border and purple for the corner squares. The embroidery is in purple and lilac. |
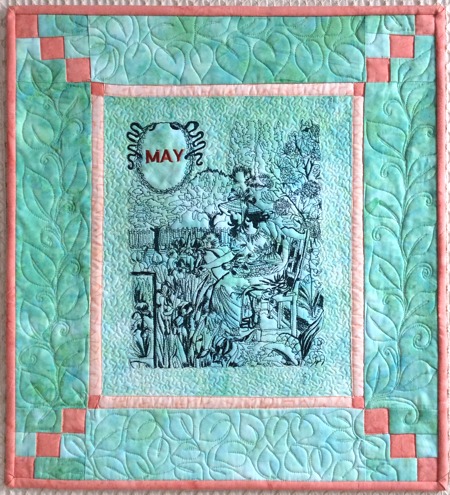
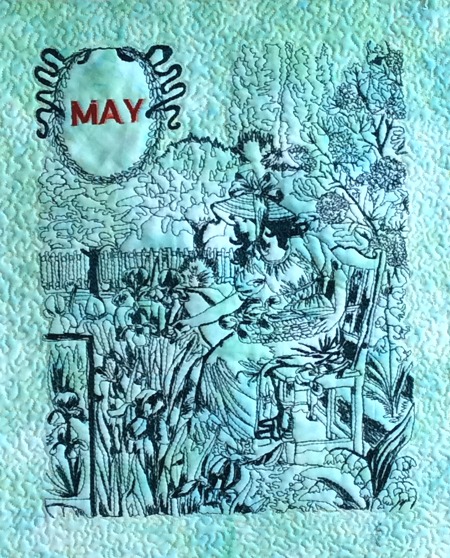
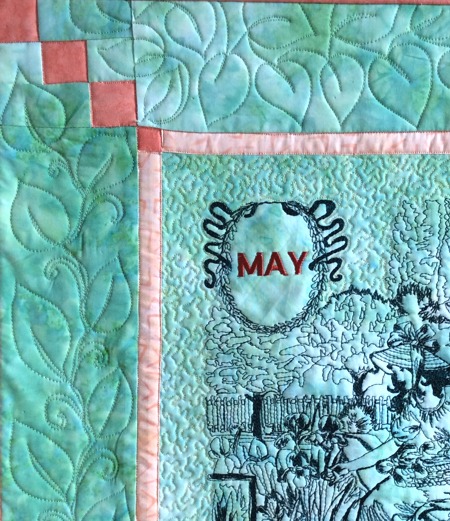
| May Quilt: |
|
| For the May quilt, we used pale green for the central part, darker green for the second border, pale salmon pink for the first border, dark salmon pink for the corner squares and the binding. The embroidery is in dark green and salmon pink. |
Cutting for 1 Quilt:
|
Out of pale fabric, cut a piece measuring 10 1/2" x 12 1/2" for the central part;
Out of the fabric for the first border, cut
- 2 strips measuring 1" x 10 1/2",
- 2 strips measuring 1" x 12 1/2"
Out of the fabric for the second border, cut
- 2 strips measuring 3 1/2" x 11 1/2",
- 2 strips measuring 3 1/2" x 13 1/2",
- 8 strips measuring 1 1/2" x 2 1/2" and
- 8 squares measuring 1 1/2" x 1/2".
Out of contrast fabric for the corner squares, cut
- 4 squares measuring 1" x 1",
- 12 squares measuring 1 1/2" x 1 1/2".
|
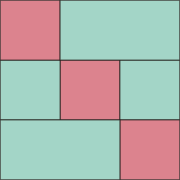
| Sewing the Corner Blocks: |
| Note: seam allowance is 1/4", press each seam after you make it. |
| Using 2 squares of the second border color and 1 square of the corner color, sew a strip with the corner-color square in the center. |

|
| Out of the 1 1/2" x 2 1/2" strips and contrast color squares, sew 2 strips. |

|
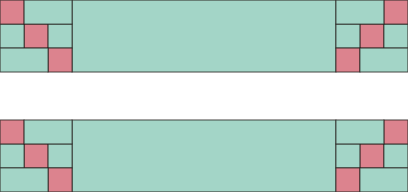
Sew the new strips together to get the block you see below.
|
|
Repeat until you have all 4 corner blocks.
|
|
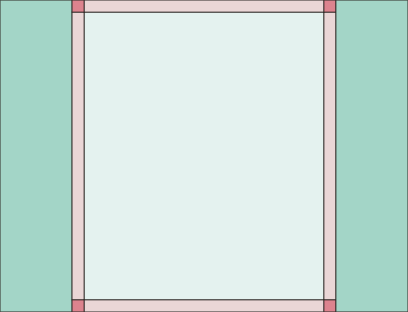
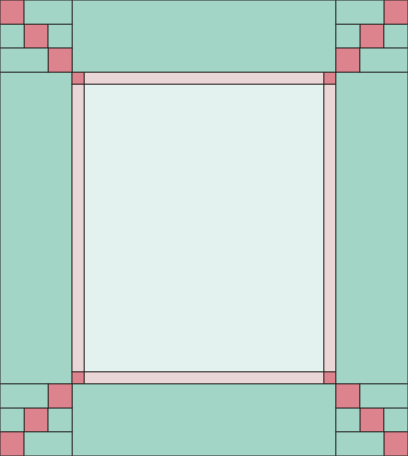
Assembly of the Top:
|
Sew the 1" x 12 1/2" strips (first border) to the left right edge of the central piece.
|

|
| Sew the 1" x 1" squares to the ends of the 1" x 10 1/2" strips. Press the seams. |

|
| Sew the strips to the upper and lower edges of the central part. |

|
| Sew the second border, strips measuring 3 1/2" x 13 1/2" to the left and right edges of the working piece. |
|
| Sew the corner blocks to the ends of the 3 1/2" x 11 1/2" strips. Please note the orientation of the blocks before you sew them on! |
|
| Sew the borders with corners to the upper and lower edges of the central part. |
|
Embroidery:
|
Spread the quilt top over the piece of polyester craft felt. Press with your hands. The felt will cling to the fabric. Hoop the central part.
Upload the file March, April and May into your machine and embroider it. |
|
|
|
|
| Quilting and Finishing: |
Now place the backing on a flat surface (table) face down. Spread your working piece over it. You do not need any additional batting! The polyester felt will work as the batting.
Pin all three layers together with 1" pins and start quilting. We quilted in a freemotion style, with matching threads, each part of the quilt - around the embroidery, the first and the second borders.
After the quilting is finished, press the work with heavy steam and square the work -- all corners should be 90 degrees and opposite sides should be of the same length.
Finish the raw edges with the binding. |
|
|
|
| Enjoy! |
|
|
Back to March, April and May
|
Back to Projects Page
|


