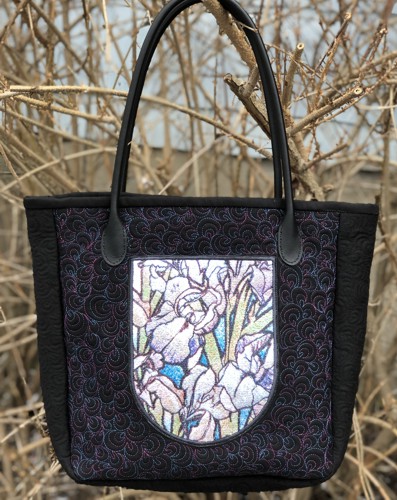
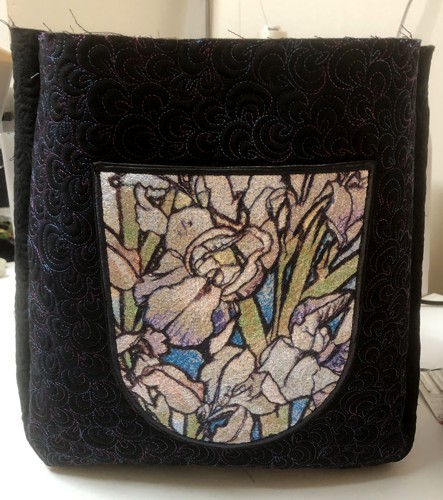
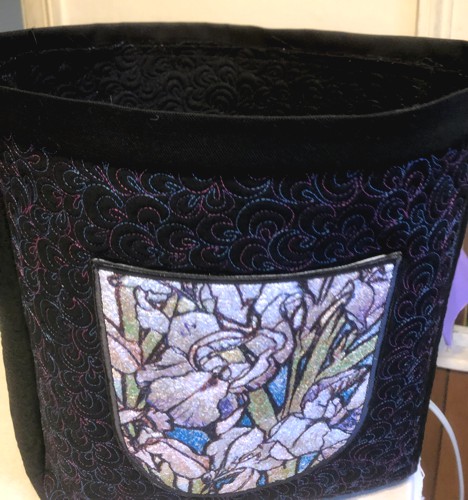
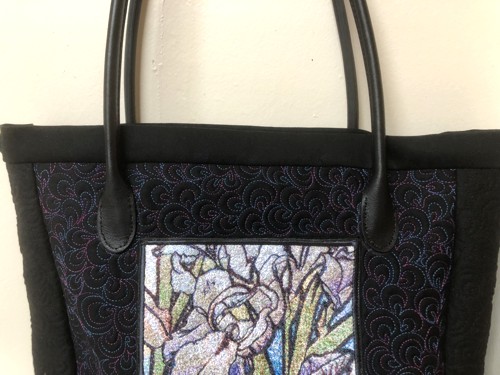
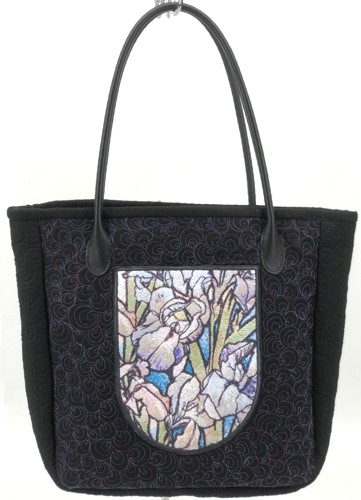
The quilted tote bag with Iris embroidery on an outer pocket is a great Spring-time accessory.
The design used is Irises Bag Panel.
The finished size of the tote is about 13"H x 13"W x 3"D. |
|
You will need :
- embroidery threads either polyester or rayon for embroidery;
- fabric for embroidery;
- mediumt-weight cut-away embroidery stabilizer;
- about 2 yards of solid-colored cotton fabric (we used black)
- about 1/2 yard of cotton fabric for the lining,
- batting;
- quilter's ruler, rotary cutter, and/or scissors, safety pins;
- chalk pencil;
- ready-made pair of handles (alternatively, you can sew a fabric pair yourself);
- iron;
- #12-14 and #18 (heavy-duty) universal needles;
- sewing pins;
- #12- #14 quilting needles;
- quilting thread (if you use dark solid fabric, variegated thread looks beautiful. We used Sulky variegated thread with purple and blue hues);
- sewing threads - regular #40 and heavy duty (we used thread for upholstery).
|
| Embroidery: |
| Prepare the fabric for embroidery. We recommend to embroider the Iris design on pale-colored fabric. If you want to use dark fabric, be sure to cover the embroidery field with light-weight white topping stabilizer and cut-away the excess before the last color. |
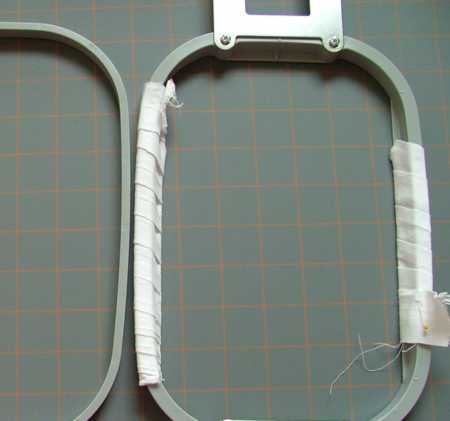
| It's very impotant, when you embroider the large and dense designs, to hoop the stabilized fabric really tight. We recommend to wrap the long sides of the inner frame with strips of muslin. After you hoop the stabilized fabric, you can also pin the edges of the fabric to the muslin strips, if will help to hold the fabric in place. |
|
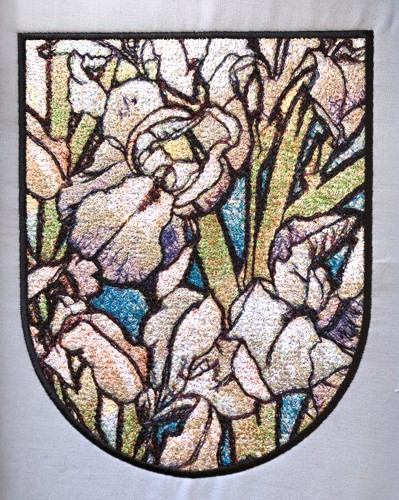
Select threads using our color card. YOU CANNOT SUBSTITUTE COLORS IN A PHOTO-STITCH DESIGN. Upload the file into your machine.
Skip the first color. The first color is for those who are making a crochet bag, it shows where to punch the base material.
Embroider the design from the second to the last colors.
Remove the excess stabilizer as close to the stitches as possible. Take care not to cut through the stitches. |
|
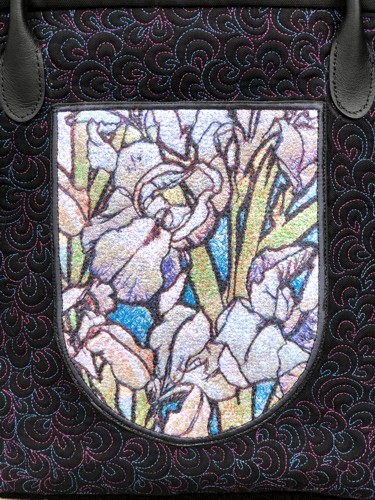
| Outer Pocket with Embroidery: |
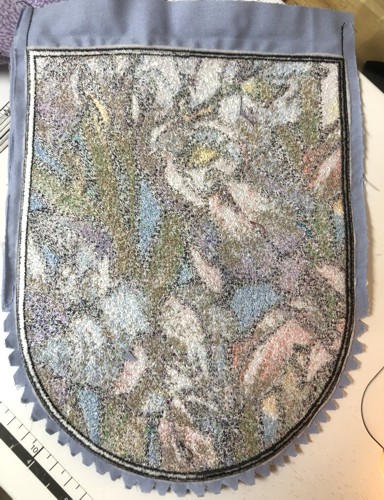
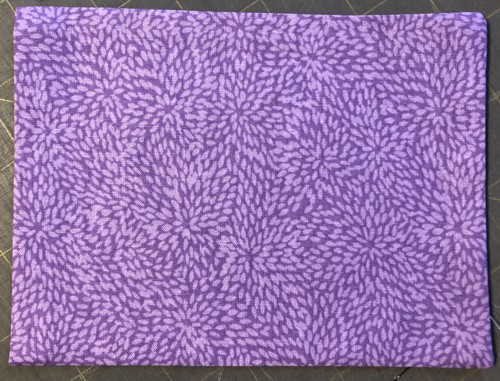
Trim the stitch-out, leaving about 1" margins around the embroidery.
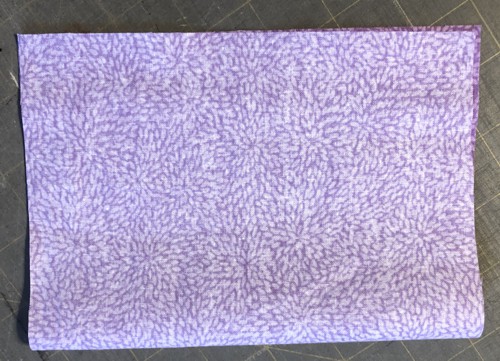
Cut a piece of fabric for the lining of the same size.
Place the stitch-out and a piece of fabric face to face, align and pin the edges.
Stitch along the outer border of the stich-out, as close as possible, leaving the upper edge unstitched. |
Cut the fabric, leaving 3/8" seam allowance around the sides and bottom curve and about 1" around the upper edge.
Notch the curve. |
|
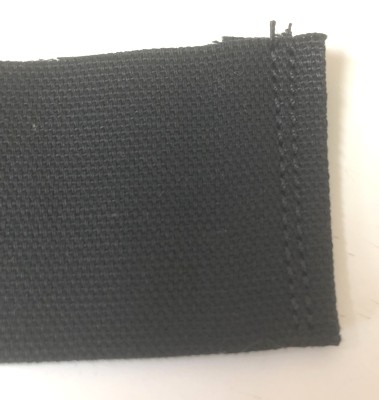
| Turn the working piece out. Press. Tuck in the fabric on the upper edge. Topstitch the upper edge closed just inside the satin-stitch outline, using black sewing thread. Press again and set the pocket aside for now. |

|
Cutting and Quilting the Bag Parts:
|
Out of black fabric, cut
- 4 squares measuring 16" x 16" and
- 2 strips measuring 6" x 43"-44" (the width of the fabric),
- 1 strip measuring 3" and the length of the width of the fabric (about 43"-44").
Out of batting, cut
- 2 squares measuring 16" x 16" and
- 1 strip measuring 6" x 43"- 44" (the width of the fabric).
|
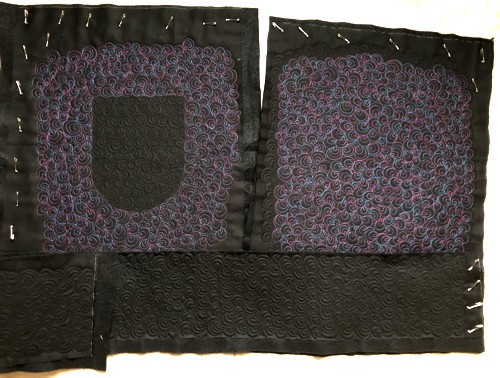
Out of 2 fabric parts and 1 batting part, each, make 3 "sandwiches", pin them together and quilt. Use any dense pattern for quilting.
We used variegated and black quilting threads: the back panel is quilted with variegated thread, the side-bottom strip with black, and the front panels with both threads. |
|
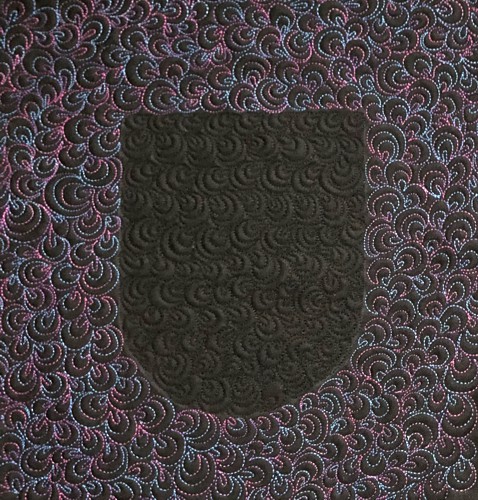
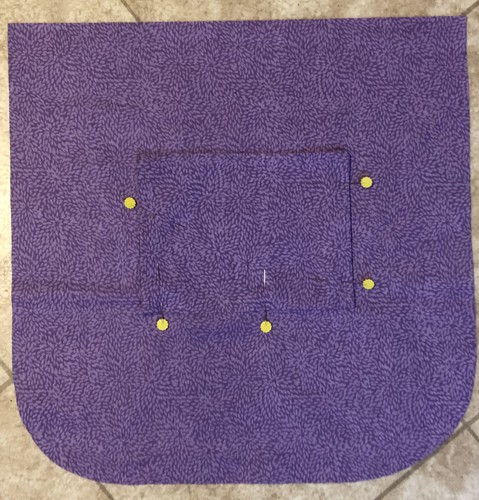
| As we were not sure we had enough variegated thread for both panels, we placed the pocket on the front panel, traced it with a chalk pencil and then quilted the area under the pocket with black threads. |
|
Trim the quilted pieces: the front and back panels to 14" x 14" squares, the strip to 4" x 42".
Round the lower corners. Out of paper cut a 14" x 14" square. In each lower corner measure 3" in each direction. Connect the marks with a curve, you can use a plate for this. Place the paper template over the panels, trace the rounded corners with the chalk pencil. Cut them out. |

|
Assembly:
|
| Note: For the outer bag we used a #18 sewing needle, upholstery thread, and seam allowance 1/2". |
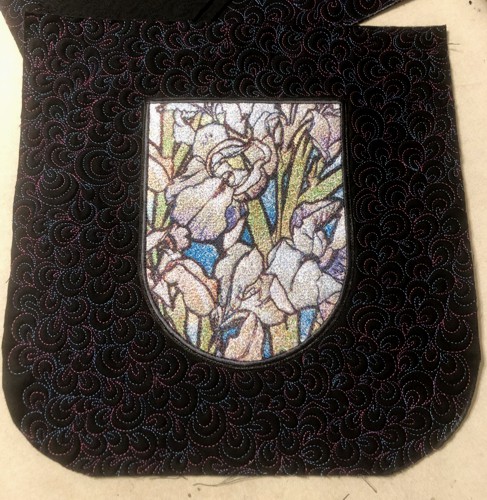
Pin the outer pocket to the front panel. Topstitch in place just inside the satin-stitch outline of the embroidery.
|
|
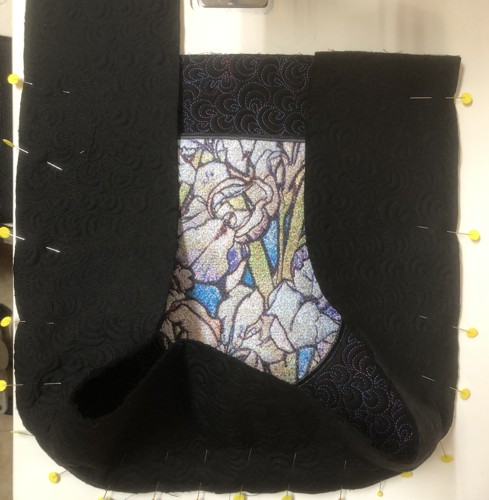
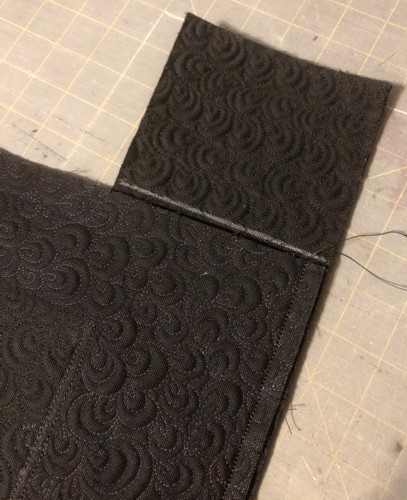
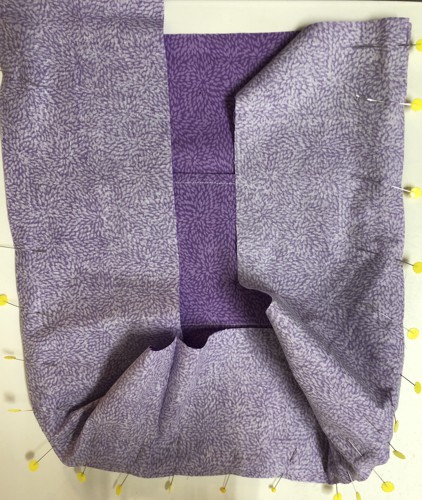
With right sides together, pin the side-bottom strip along the side-bottom edges of the front panel. One short of the side strip will protrude beyond the upper edge of the front panel.
|
|
Stitch both parts together. Cut away the protruding end of the side panel.
|
|
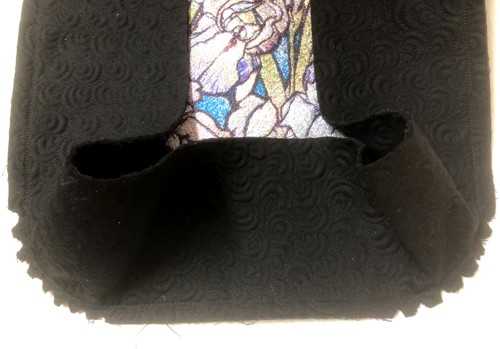
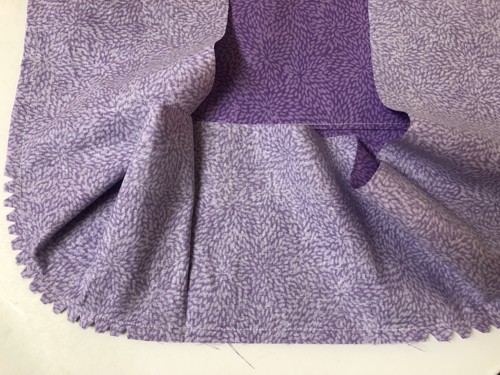
Notch the curves.
|
|
| In the same way attach the back panel. |

|
Press all seams to the side panel. Turn the working piece right side out.
|
|
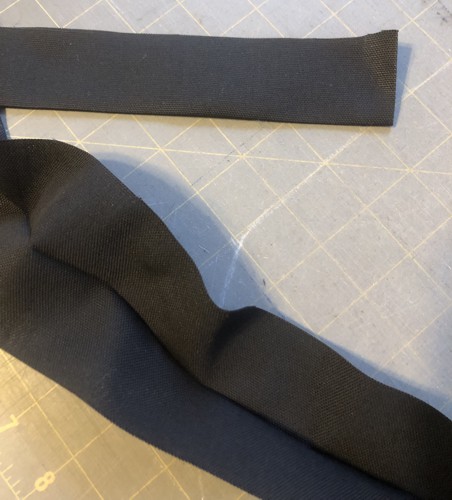
Measure the circumference of the upper edge. Add 1". The circumference of my bag is 35", plus 1", is 36". Cut the 3" wide black strip to this size.
Fold the strip lengwise in half and press. |
|
| Fold one of the short edges 3/4" inside, press, then stitch in place. |
|
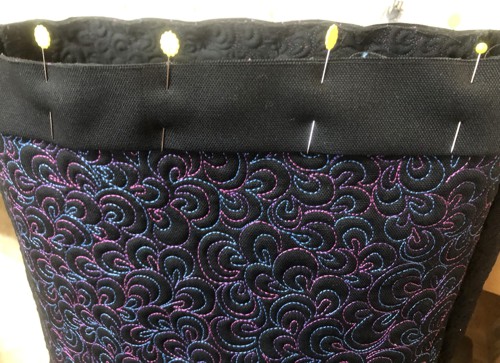
| Starting with the finished short edge, pin the strip with its raw edges along the upper edge of the bag. Start in the middle of the side panel. |

|
| The other short edge would overlap the finished short edge. |
|
| Stitch the strip to the bag, seam allowance slightly larger than 1/4". Press the seam. Fold the strip up and press again. |
|
| Fold the strip inside to cover the raw seam. Press. |
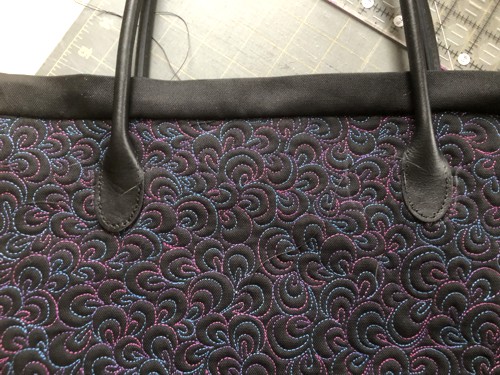
| Sew on the handles. |
|
|
| Note: If you do not have ready-made handles and/or prefer to make your own, you should attach them BEFORE the upper binding. You can read about how to make fabric handles and attach them to the bag in our project Ancient Egypt Themed Quilted Tote Bag. |
| Set the bag aside for now. |
The Lining:
|
Out of fabric for the lining, using the paper template, cut
- front and back panels,
- 1 strip measuring 4" x 42" and
- 1-2 rectangles measuring 8" x 11" for the pockets.
|
| Note: for the lining, use regular sewing thread, #12 sewing needle, seam allowance 3/8". |
| Fold the piece for each pocket in half widthwise right side inwards. Stitch along 2 open edges. |
|
| Press seams. Trim corners. |

|
| Turn right side out. Press. Tuck the raw edges 1/2" in. Press. |
|
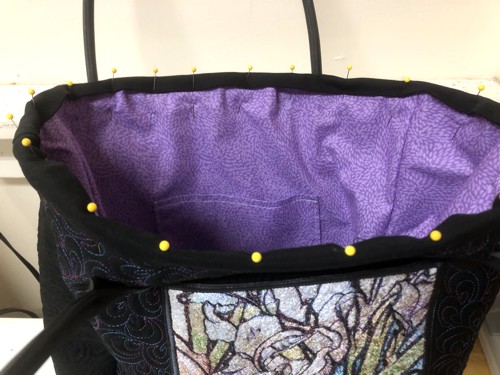
| Position the pocket on the lining panel, pin, topstitch in place. |
|
| Then sew the side strip and the front panel in the same way, as described above for the outer bag: pin the parts together, stitch together, cut away the protruding short edge of the strip. |
|
| Notch the curves. Attach the other panel. |
|
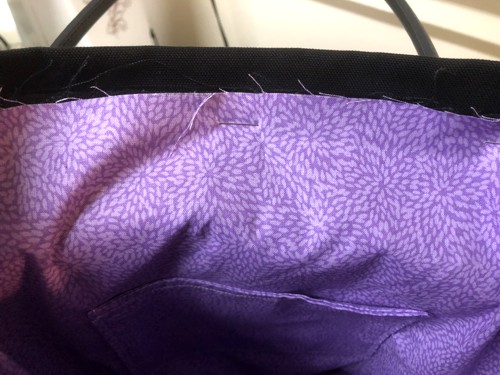
| Insert the lining into the bag. Align the seams and the upper raw edges - the raw edge of the lining with the raw edge of the bag. |
|
| Fold the binding back and cover the raw edges. Pin in place. Topstitch. |
|
| The tote bag is done. |
|
| Have fun! |
|
|
|
Back to Irises Bag Panel
|
Back to Projects Page
|


