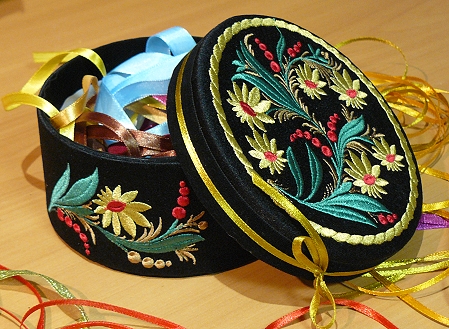
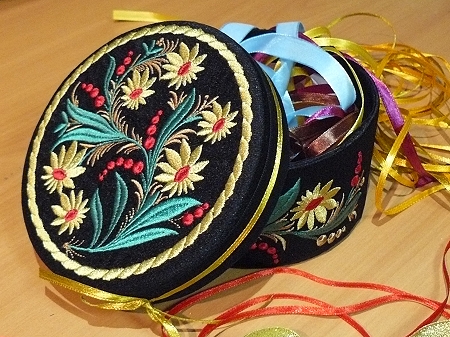
This handsome little box features designs from the Folk Style Decorative Motif Set. It's a great keep-sake, and excellent for packaging small gifts.
You will need: a carbord box with a lid 5 - 5 1/2" in diameter, fabric for the embroidery (try to choose something non-fraying), coordinating ribbons or trims (approximately the width of the rim of the lid), 2-sided scotch tape 1/2" and 2" wide, self-adhesive fabric, self-adhesive stabilizer or film and permanent fabric adhesive.
Step One: Trace the bottom of the box and the lid onto self-adhesive fabric. Add 1" beyond the lines and cut out the circles.
Notch the fabric between the edge and the tracing lines.
Peel the paper from the lid circle and place it onto the underside of the lid. Smooth and press with fingers to make the fabric adhere. The notches should adhere to the insides of the rim.
Peel the paper from the bottom circle, insert it inside the box and attach it to the bottom in the same way.
Step Two: Measure the circumference and the height of the box. On the self adhesive fabric, draw a rectangle the same width as the height of your box and the same length as the circumference of the box. Add 1/2" to each measument. Cut out the pattern.
Peel the paper off and insert the fabric into the box and glue it to the sides. Overlap the "seam" and press with fingers. Trim the excess lining near the upper edge of the box.
Step Three: In the same way, finish the inner rim of the lid.
Step One: Stabilize a piece of fabric with iron-on stabilizer and embroider the circle design. Cut away the circle leaving about 2 1/2" margins around the embroidery.
Step Two: Trace the lid of the box onto a piece of 2-sided self-adhesive stabilizer and cut the circle out. Peel the paper off one side and adhere it to the lid. Peel the paper off the other side and stick the embroidery to the lid. The margins will protrude about 2".
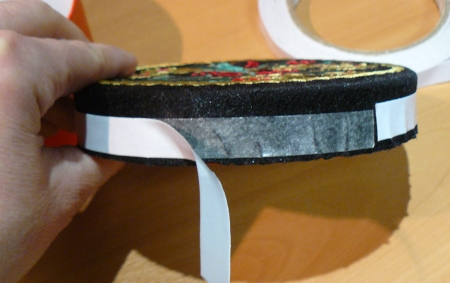
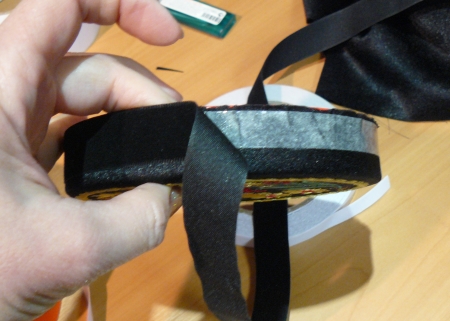
Step Three: Wrap the 2-sided scotch tape around the rim of the lid. Peel away the paper covering the second side. Fold the fabric margins onto the rim of the lid. Press with fingers to stick the fabric in place.
Wrap a piece of 2-sided scotch over the fabric around the rim. Cut away the excess fabric.
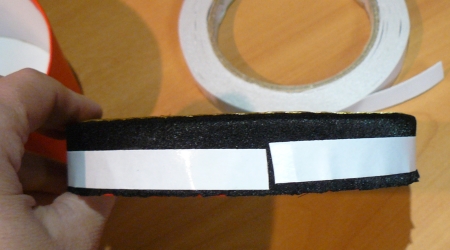
Take the paper off the second side.
Stick a ribbon or trim onto the scotch around the rim. The lid is done.
Step Four: Measure the circumference and the height of the box.
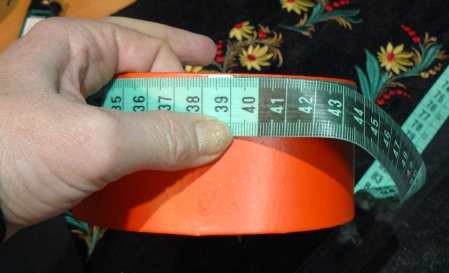
Next, on a piece of fabric, draw a rectangle the same width as the height of your box and the same length as the circumference of the box.
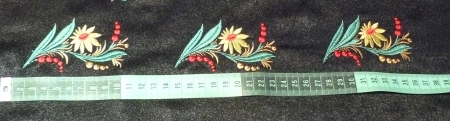
Embroider designs inside the rectangle. Add 1" of seam allowance all around and cut the rectangle out.
Fold one of the short sides of the rectangle 1/2" and press.
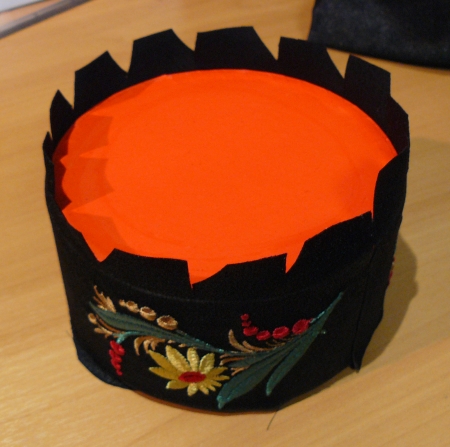
Step Five: Wrap the 2-sided scotch around the box. Peel the paper off and wrap the embroidered strip around the box. The short folded edge should overlap the short raw edge. Press with fingers to secure in place. The upper and lower edges should protrude 1" . Place some fabric adhesive under the overlapping edge and glue the "seam".
Step Six: Notch the protruding edges. Cover the bottom with fabric glue, fold the edges onto the glue and press.
To finish the bottom, trace it onto the self-adhesive fabric, cut out the circle, remove the paper and adhere the fabric to the bottom.
Step Seven: To finish the upper edge of the box, notch the protruding fabric to the upper edge of the box. Fold inside and glue in place. Then, glue a trim over the notching fabric to hide it.
To further decorate the lid, tie a narrow ribbon around the rim of the lid.