Please read first our General Instruction on embroidering our FSL designs.
Some points to remember from the General Guidelines:
Use Vilene water soluble stabilizer;
Use the same thread for the upper and bobbin to get two-sided embroidery.
DO NOT embroider several designs in one hoop
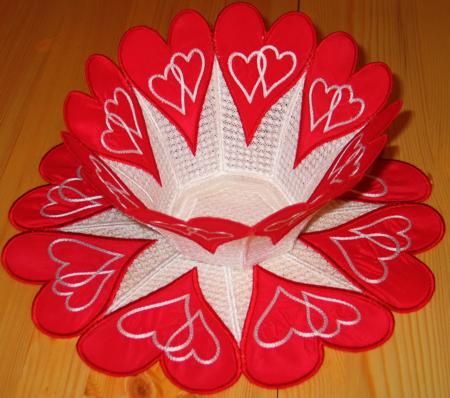
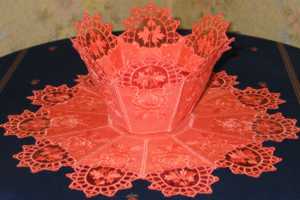
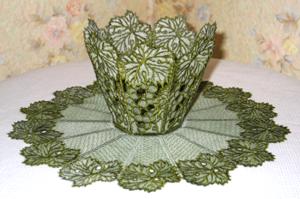
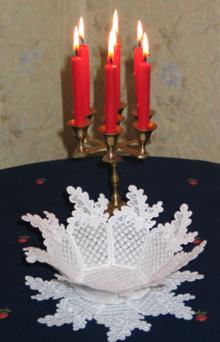
Here are instructions on how to embroider a freestanding lace bowl with applique. As an example we used the Valentine Bowl.
You will need fabric for the applique, light-weight iron-on cut-away stabilizer and Vilene water soluble stabilizer.
Step One: Stabilize fabric with cut-away stabilizer and cut out 16 pieces of about 5" x 5".
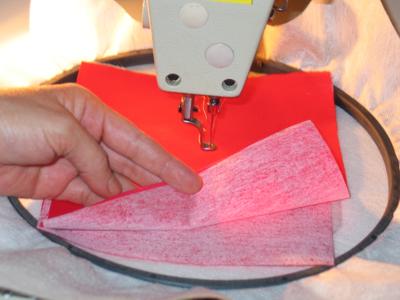
Hoop 2 layers of wash-away stabilizer.
Place 2 pieces of stabilized fabric together, with the stabilizer facing inside. Place on top of the hoop.
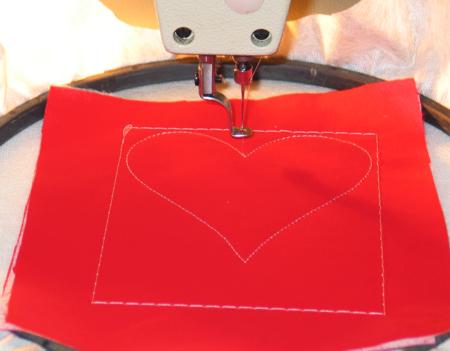
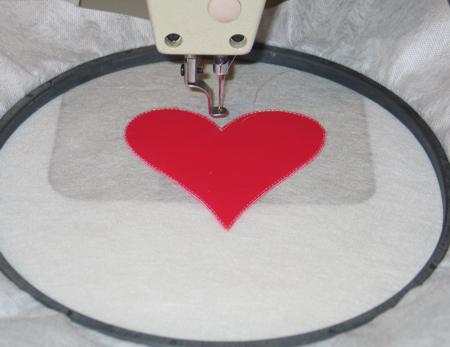
Step Two: Start embroidering. The machine will make a baste stitch, then it will embroider the heart outline and stop.
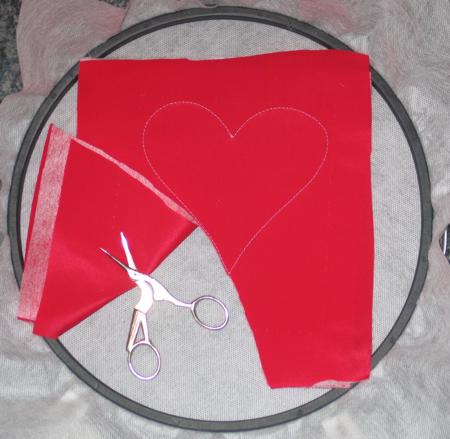
Step Three: Detatch the hoop and with sharp scissors cut away the excess fabric outside the heart outline. Be careful not to cut the water soluble stabilizer.
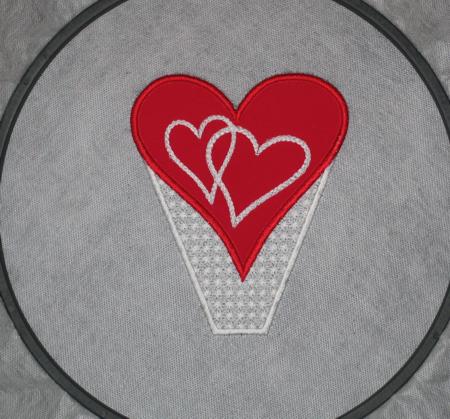
Step Four: Insert the hoop into the machine and finish the embroidery.
Step Five: After the embroidery is finished, the panel of the bowl will look like the one on the photo. Take it out of the hoop, cut away excess stabilizer and wash away the rest of the stabilizer. Spread to air dry.
Step Six: Embroider the remaining 7 panels of the bowl in the same way.
Embroider the hexagon bottom of the bowl.
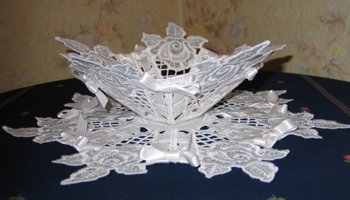
Step Seven: Press each panel with steam and stitch together with invisible thread. You can read on how to stitch the panel together in our Guide on Assembling a Frestanding Lace Bowl.
 |
|
 |
|
 |
|
 |
|


