This is the third part of our Plastic Mesh Tote Bags project. Here, we explain some more ways to use the mesh for bags. You can read about how to embroider on plastic mesh in the Plastic Mesh Tote Bags with Embroidery Part I

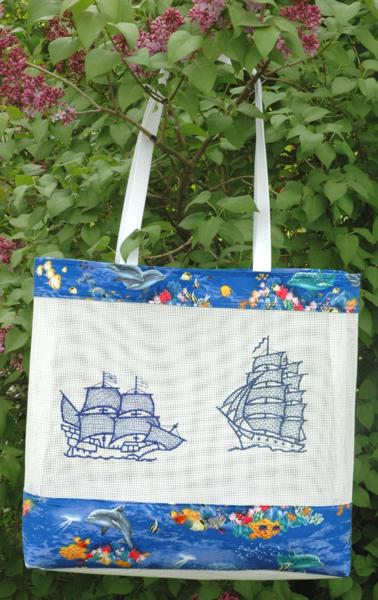
You can read about our Nautical tote-bag in Part II.
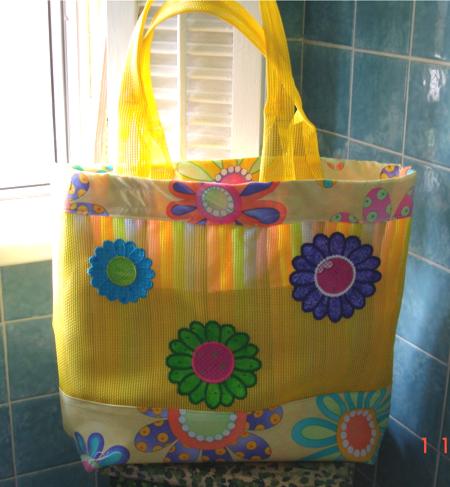
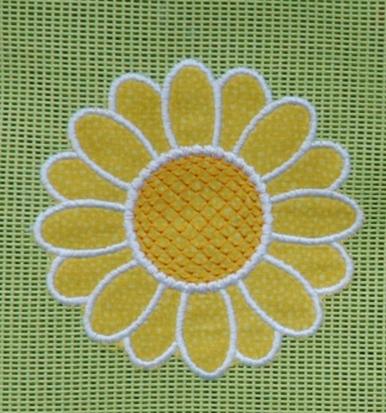
This week, we are going to talk about our Daisy Tote Bag.
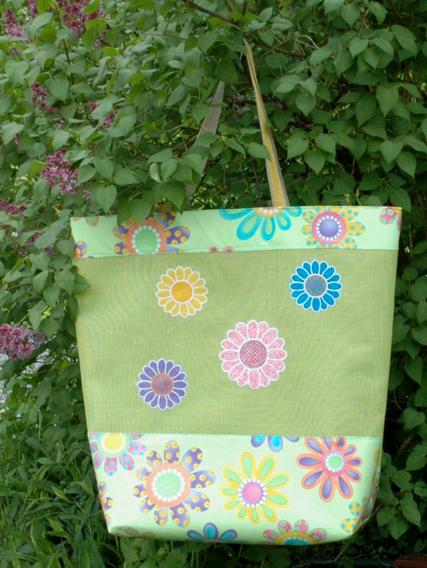
This large tote is 23" high x 26" wide. The bottom is 8" wide. The tote features the applique design of Sunflower, which here looks like a daisy. We used the designs for the small and the large hoops and made the daisies in different colors to match the daisies of the fabric.
We used lime green mesh, measuring 27" x 54". We also used about 3/4 yard of fabric.
Step One: Fold the mesh in half widthwise and mark the central line with a removable marker or pencil.

Step Two: Out of fabric, cut one strip 19" wide and 27" long and two strips 7" wide and 27" long. Out of light-weight iron-on cut-away stabilizer, cut one strip 18" wide and 27" long and two strips measuring 6" x 27".
Iron the stabilizer strips onto the back of the fabric. Leave a 1/2" margin from each long edge of the fabric strips. Fold the 1/2" edges to the back of the fabric and press. Fold the fabric strips in half lengthwise and press to mark the central line.

Step Three: Place the larger fabric strip onto the mesh and match the central lines. Topstitch the fabric piece onto the plastic mesh.

Step Four: Make the applique embroidery on the mesh. We described how to do this in Part I. Rinse the wash-away stabilizer. Wipe the mesh with a cloth.
Step Five: Unfold the remaining two fabric strips and pin them onto the ends of the mesh, 3" from the edge, so that the crease in the fabric strip is aligned with the top of the panel. Top-stitch the strip in place along its inner edge. Repeat for the second strip.
Step Six: Fold the working piece right side inside. The fabric strips on the upper edges should be unfolded. Pin. Using a straight stitch, sew the sides together 1/2" from the edge. (The stitch is marked red in the diagram below.)
Step Seven: Fold back the fabric strip. Unfold the side seams in the fabric area, press with fingers, match the seams and pin together.
Step Seven: For the handles, cut 2 pieces of webbing measuring 1 yard each. Measure 10" from each side seam, tuck 1" of the webbing's ends under the fabric. Pin. Repeat for the other side. Note: the handle loops should be pointed towards the bottom of the tote.
Machine stitch 1/8" from the lower edge of the fabric strip to attach the handles and secure the fabric to the tote. Make the second stitch 1/4" from the same edge.
Fold the handles upwards. Pin. Machine-stitch 1/4" from the upper edge of the tote bag to secure the upper edge and the handles.
Step Eight: Make box corners at the bottom of the bag. For this, separate the front and back sides at the corners. Center the side seam with the central line of the bottom. Measure 4" along the seam from the corner and machine-stitch perpendicular to the seam across the corner. Do not trim the seam. Fold it onto the bottom and attach with several manual stitches. Repeat for the second corner.
You are done!
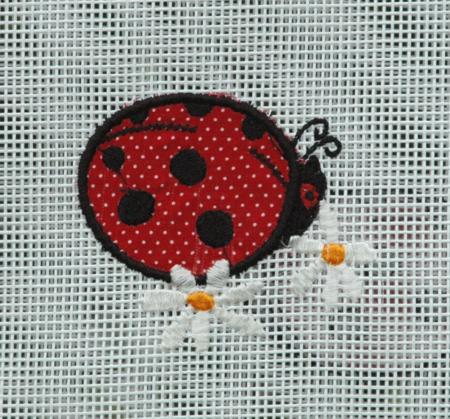
The ladybug tote is about 20" high and 18" wide. The bottom is 4" wide. The Ladybug tote features the designs from the Ladybug Appliqué Set . This tote bag is sewn like the Daisy tote described above.
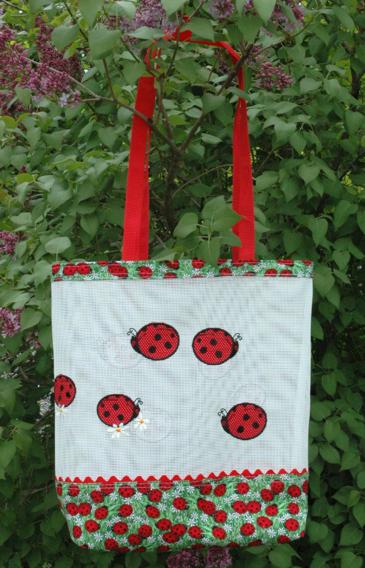
You will need a piece of white mesh measuring 19" x 40" and 1/2 yard of fabric. Out of fabric cut: one strip measuring 19" x 17" (for the bottom) and two strips measuring 19" x 3" (for the upper edges). Out of light-weight iron-on cut-away stabilizer, cut one strip 16" wide and 19" long and two strips measuring 2" x 19". Follow the instructions for the Daisy Tote.
We hope that you liked our idea and will come up with many of your own.
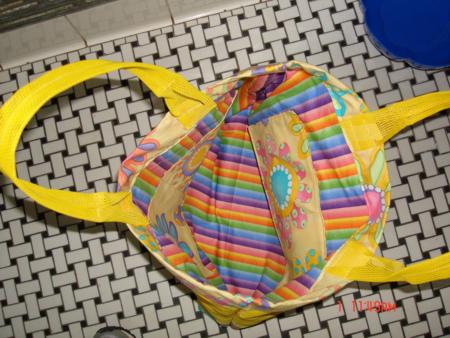
One of our customers, Kay Wheeler, sent in pictures of a tote bag that she made based on our Daisy Tote. She used the same design and fabric, but she added a lining and inside pockets for a wallet and purse. Thank you for sharing the photos, Kay!